


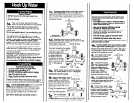
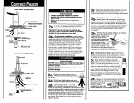
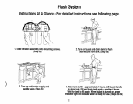

Flush System
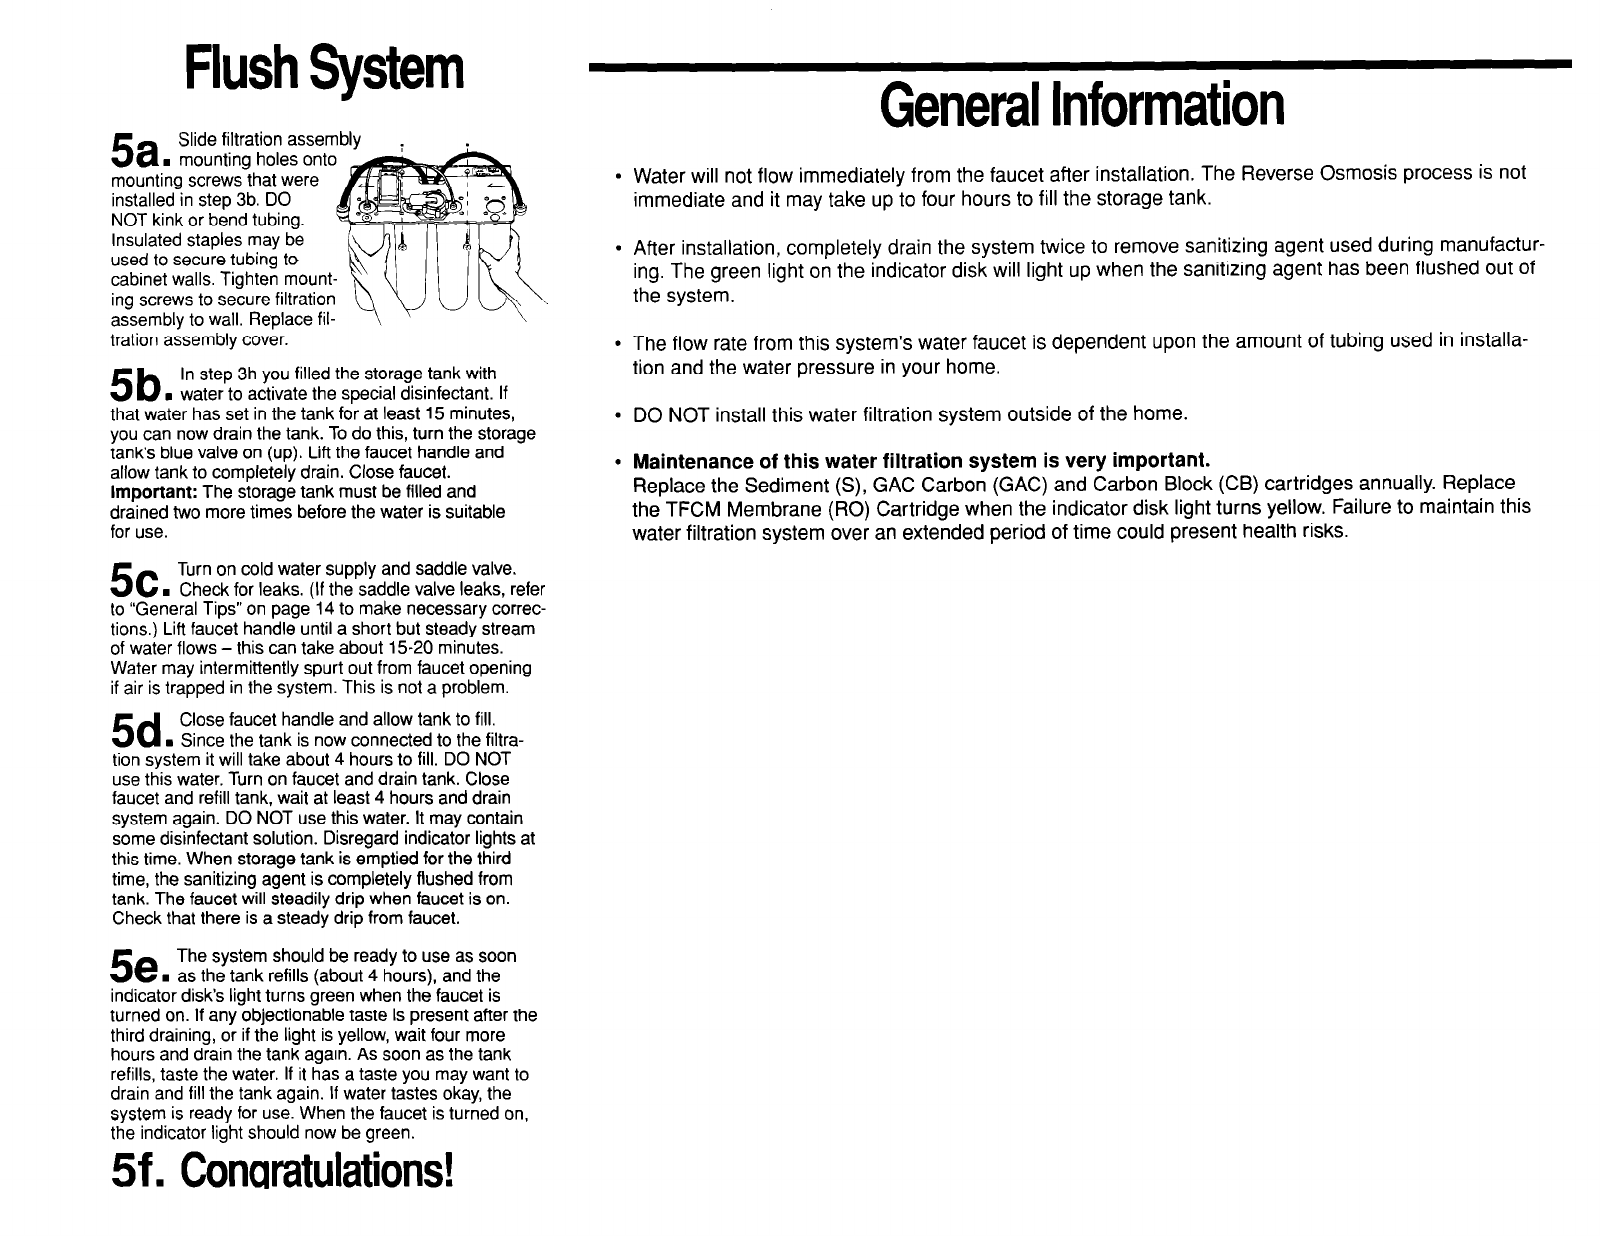
5a
Slide filtration asse
. mounting holes onto
mounting screws that were
installed in step 3b. DO
NOT kink or bend tubing.
Insulated staples may be
used to secure tubing to
cabinet walls. Tighten mount-
ing screws to secure filtration
assembly to wall. Replace fil-
tration assembly cover.
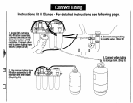
5b
In step 3h you filled the storage tank with
, water to activate the special disinfectant. If
that water has set in the tank for
at least
15
minutes,
you can now drain the tank. To do this, turn the
storage
tank’s blue valve on (up). Lift the faucet handle and
allow tank to completely drain. Close faucet.
Important: The storage tank must be filled and
drained two more times before the water is suitable
for use.
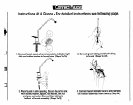
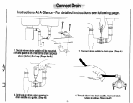
5C
Turn on cold water supply and saddle valve.
. Check for leaks. (If the saddle valve leaks, refer
to “General Tips” on page 14 to make necessary correc-
tions.) Lift faucet handle until a short but steady stream
of water flows - this can take about 15-20 minutes.
Water may intermittently spurt out from faucet opening
if air is trapped in the system. This is not a problem.
5d
Close faucet handle and allow tank to fill.
. Since the tank is now connected to the filtra-
tion system it will take about 4 hours to fill. DO NOT
use this water. Turn on faucet and drain tank. Close
faucet and refill tank, wait at least 4 hours and drain
system
again. DO NOT use this water. It may contain
some disinfectant solution. Disregard indicator lights at
this time. When storage tank is emptied for the third
time, the sanitizing agent is completely flushed from
tank. The faucet will steadily drip when faucet is on.
Check
that there is a steady drip from faucet.
5e
The system should be ready to use as soon
. as the tank refills (about
4
hours),
and the
indicator disk’s light turns green when the faucet is
turned on. If any objectionable taste is present after the
third draining, or if the light is yellow, wait four more
hours and drain the tank again. As soon as the tank
refills, taste the water. If it has a taste you may want to
drain and fill the tank again. If water tastes okay, the
system is ready for use. When the faucet is turned on,
the indicator light should now be green.
5f.
Conuratulations!
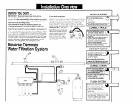
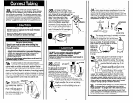
General Information
l
Water will not flow immediately from the faucet after installation. The Reverse Osmosis process is not
immediate and it may take up to four hours to fill the storage tank.
l
After installation, completely drain the system twice to remove sanitizing agent used during manufactur-
ing. The green
light on the indicator disk will light up when the sanitizing agent has been flushed out of
the system.
l
The flow rate from this system’s water faucet is dependent upon the amount of tubing used in installa-
tion and the water pressure in your home.
l
DO NOT install this water filtration system outside of the home.
l
Maintenance of this water filtration system is very important.
Replace the Sediment (S), GAC Carbon (GAC) and Carbon Block (CB) cartridges annually. Replace
the TFCM Membrane (RO) Cartridge when the indicator disk light turns yellow. Failure to maintain this
water filtration system over an extended period of time could present health risks.