


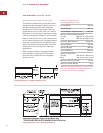
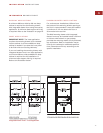

INSTALL WARMING DRAWER TRIM
Remove all packaging materials from the trim.
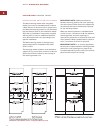
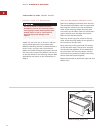
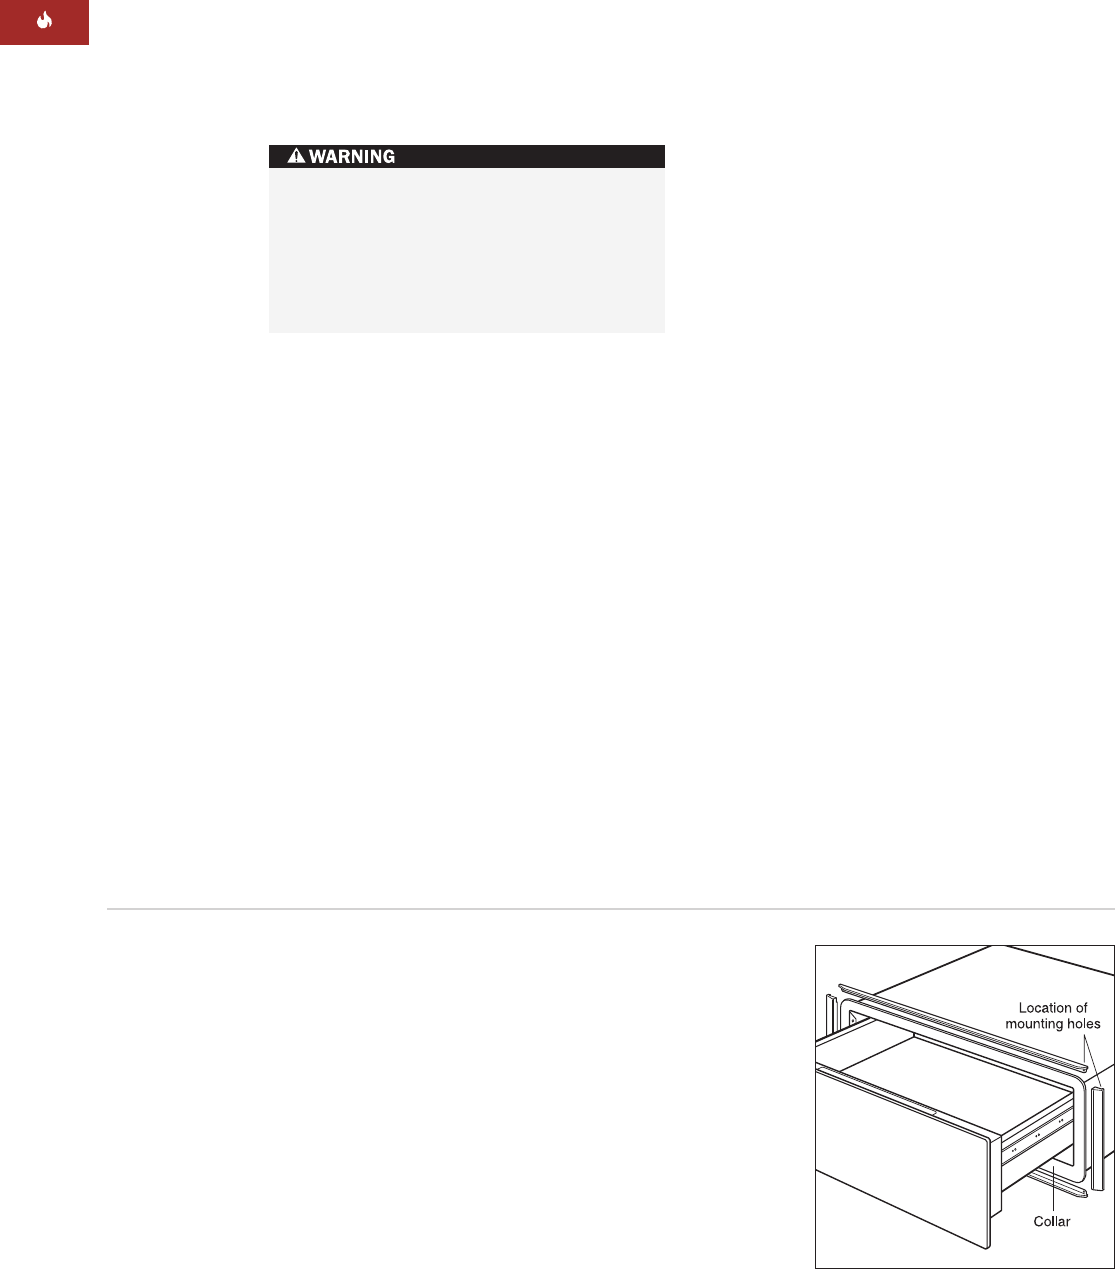
The stainless steel drawer front kit comes with
two long trim pieces for the top and bottom
collar of the warming drawer and two short
trim pieces for the sides. Each trim piece has a
groove that fits over the edge of the collar.
Refer to the illustration below.
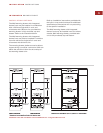
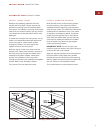
Place one of the long trim pieces on the top
collar of the warming drawer so the groove in
the trim fits on the top collar.
Next, place one of the small side trim pieces
on the left collar edge. The top trim and side
trim should nest together. On the backside of
the trim pieces are mounting holes. Use the
small 8 mm long screws provided in the kit to
secure these two pieces together.
Repeat this process to attach the right side and
bottom trim.
16
WOLF WARMING DRAWER
STAINLESS STEEL FRONT PANEL
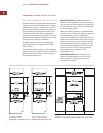
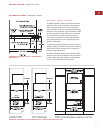
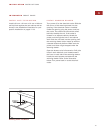
INSTALL ANTI-TIP BLOCKING
Install a 51 mm x 51 mm or 51 mm x 102 mm
anti-tip block against the rear cabinet wall.
When the warming drawer is installed below a
built-in oven, you may use a 22 mm thick
platform to allow the warming drawer trim and
the oven trim to meet. The platform will act as
an anti-tip device for the warming drawer. Both
applications are shown in the illustrations on
page 8.
An anti-tip block or platform must be
installed to prevent the warming drawer
from tipping forward while opened when
loaded. Failure to do so could result in
personal injury and damage to the
cabinet.
Install warming drawer trim