15
Dimensions in parentheses are in
millimeters unless otherwise specified.
INSTALLATION INSTRUCTIONS
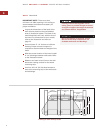
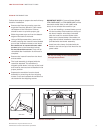
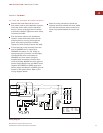
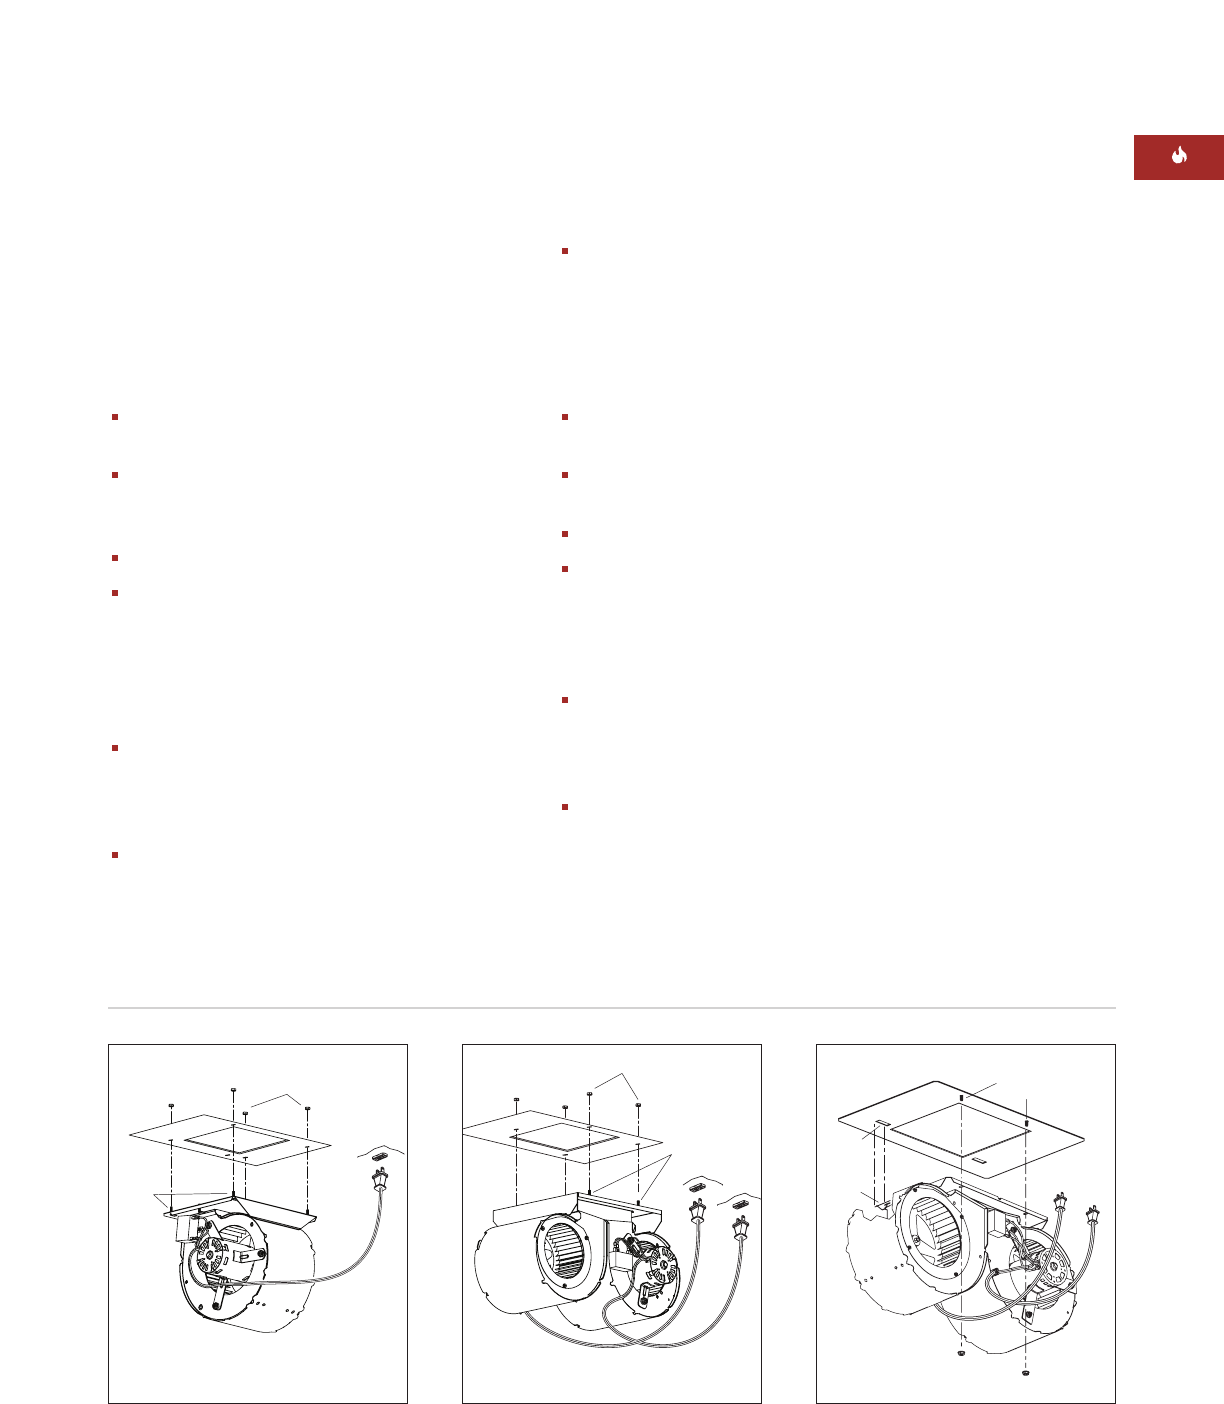
Threaded
Studs
Top of Hood
Internal Blower
Hex Head Nuts
Power
Cord
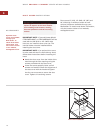
Threaded
Studs
Top of Hood
Internal Blower
Hex Head Nuts
Power
Cords
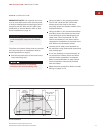
CTBLOWER-60INT
Threaded
Studs
Top of Hood
Internal Blower
Hex Head Nuts
Power
Cords
Slot
Ta b
IBLOWER-120INTCTBLOWER-90INT
ACCESSORIES
Optional acces-
sories are available
through your
Wolf dealer. To
obtain local dealer
information, visit
the Locator section
of our website,
wolfappliance.com.
INTERNAL BLOWERS
IMPORTANT NOTE:
Refer to the specific
installation instructions provided with each
internal blower for additional mounting and
wiring instructions.
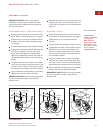
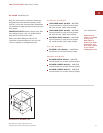
CTBLOWER-60INT / CTBLOWER-90INT
Remove filters and internal frame from the
hood. Refer to Hood Preparation on page 9.
Fasten the four hex nuts (included with the
blower) to the four blower studs leaving a
1
/4" (6) gap.
Lift the blower into position inside the hood.
Engage all the blower studs in the keyholes
on top of the hood. From the top of the
hood, secure the blower to the hood by
tightening completely the four hex nuts on
the threaded studs. Refer to the illustration
below.
Plug the blower power cord(s) into recepta-
cle(s) near the center of the hood shell. Use
the clips on the interior of the hood to keep
excess power cord away from moving parts.
Once installation of the blower is complete,
replace the internal frame and filters.
IMPORTANT NOTE:
Before turning the power
on to the ventilation hood, make sure the
blower is off.
Reattach the transition to the hood with the
shipping screws. If you are installing a duct
cover with the hood, refer to instructions on
page 10.
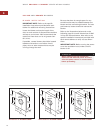
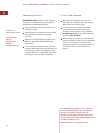
IBLOWER-120INT
Remove filters and internal frame from the
hood. Refer to Hood Preparation on page 9.
Discard the hex nut (included with the
blower).
Lift the blower into position inside the hood.
Engage the two tabs on the blower into the
two slots on top of the hood. Secure the
blower to the threaded studs with the two
hex nuts (included with the hood). Refer to
the illustration below.
Plug the blower power cords into recepta-
cles near the center of the hood shell. Use
the clips on the interior of the hood to keep
excess power cord away from moving parts.
Once installation of the blower is complete,
replace the internal frame and filters.
IMPORTANT NOTE:
Before turning the power
on to the ventilation hood, make sure the
blower is off.


