


8 / 11 EN
Hood / User Manual
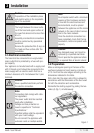
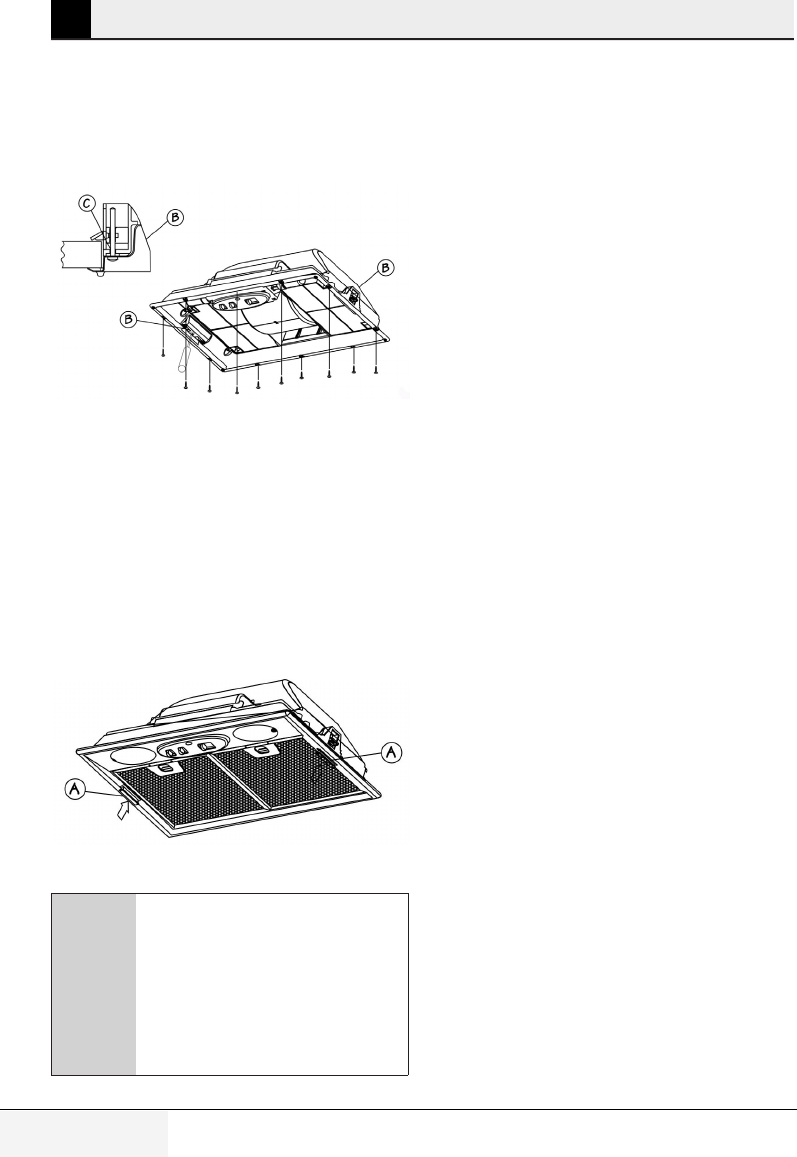
Fixing the frame with screws:
Fix the hood to the cupboard, using the self-
threading screws (No. 8) provided with the acces-
sories (fig. 2).
Figure 2
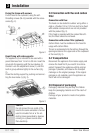
Rapid fixing with side supports:
The appliance (B) is intended to be used with a
panel thickness from 15 mm to 30 mm. Insert the
group into the opening until the two devices (B)
connect. Lock the adjustment screw (C) until the
built-in group adheres tightly to the surface (fig.
2).
Close the ducting support by pushing and connec-
ting the two knobs (A) (fig. 3).
Figure 3
A
Caution:
Do not connect the air outlet of the
hood to the same extraction channel
used to circulate hot air or for ext-
racting fumes generated by devices
running on a power source other
than electricity.
3.3 Connection with flue and carbon
filter
Connection with flue:
The hood can be ducted to outdoor using either a
rigid or a flexible 100 or 120 mm duct to be fixed
with suitable clamps which are not not provided
with the product (fig. 2).
If the hood is provided with the carbon filters fit-
ted, the filters should be removed.
Connection with carbon filter (optional):
Carbon filters must be installed on the hood for
usage with carbon filters.
The air is recirculated into the kitchen through the
opening located on the upper side of the cupboard
or the hood (fig. 3).
3.4 Transportation
Disconnect the appliance from mains supply and
remove the hood first if you need it to be trans-
ported. Transport the appliance with its original
package if possible, and observe the transport
markings on the original package. If the original
package is not available, pack the appliance so
that it will not be damaged.
3.5 Disposal of packaging
Packaging materials may be risky for children.
Keep the packaging material out of the reach of
children.
Package of your product is made of recyclable
materials.
3 Installation