


20 21
CHANGING THE ‘READY’ SIGNAL VOLUMEPROGRAMMING THE CLOCK / AUTO-START (OPTIONAL)
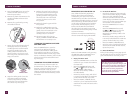
PROGRAMMING THE CLOCK
(OPTIONAL)
You must set the clock to use the Auto-Start
feature. Always remember to reset the clock
for time changes, power outages and when
you unplug the machine.
1. Press the PROGRAM button until the
LCD screen displays ‘TIME NOW’.
Once this appears, press and hold the
PROGRAM button until the PROGRAM
button illuminates red and the LCD
screen displays a fl ashing ‘AM’.
2. Use the and buttons to select
either AM or PM.
3. Press the PROGRAM button. The
LCD screen will display a fl ashing
hour.
4. Use the and buttons to select
the desired hour.
5. Press the PROGRAM button. The
LCD screen will display a fl ashing
minute.
6. Use the and buttons to select
the desired minute.
TIP
For faster scrolling, press and hold the
and buttons.
7.
Press the PROGRAM button to
fi nish. The LCD screen will display
‘TIME NOW’ and the programmed time.
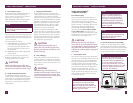
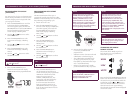
PROGRAM
SET CLOCK
PROGRAMMING AUTO-START
(OPTIONAL)
The Auto-Start feature allows you to
program the specifi c time when the coffee
machine will automatically turn on and start
the preheating and grinding cycle.
1. Ensure the clock is set.
2. Press the PROGRAM button until
the LCD screen displays ‘START AT’.
Once this appears, press and hold
the PROGRAM button until the
LCD screen displays a fl ashing
‘AM’ or 'PM'.
3. Use the and buttons to select
either AM or PM.
4. Press the PROGRAM button.
The LCD screen will display a
fl ashing hour.
5. Use the and buttons to select
the desired hour.
6. Press the PROGRAM button.
The LCD screen will display a
fl ashing minute.
7. Use the and buttons to select
the desired minute.
TIP
For faster scrolling, press and hold the
and buttons.
8.
Press the PROGRAM button. It
will illuminate red and the LCD
screen will display the programmed
‘START AT’ time for 5 seconds.
During this time, press the
START | CANCEL button. The
LCD screen will dim and display
‘PROGRAM ON’ to indicate
that the Auto-Start feature has
been successfully turned on. If
‘PROGRAM ON’ does not appear,
then the Auto-Start feature has not
been activated.
NOTE
During Step 8, the programmed
'START AT' time will appear on the
LCD screen for 5 seconds. If the
START | CANCEL button is not
pressed within 5 seconds, 'TIME
NOW' will appear on the LCD screen
and pressing the START | CANCEL
button will cause the coffee machine
to start grinding and brewing.
START
CANCEL
9. Ensure that the coffee machine
is correctly assembled and
prepared with:
• Suffi cient water in the water tank and
coffee beans in the bean hopper.
• The coffee basket assembled with
an empty gold tone fi lter or paper
fi lter (8-12 cup, fl at base basket style
with ~ 3¼"/8.25cm base).
• Either a cup, travel mug or carafe
positioned under the drip stop outlet.
NOTE
To cancel a programmed Auto-Start,
press the START | CANCEL button
until the LCD screen no longer
displays ‘PROGRAM ON’.
NOTE
The Auto-Start feature must be
selected each time you want to
pre-schedule a brew. Press the
PROGRAM button until the LCD
screen displays ‘START AT’. The
coffee machine will remember the
last programmed Auto-Start time, so
simply press the START | CANCEL
button to re-select. Ensure
‘PROGRAM ON’ is displayed on the
LCD screen.
NOTE
Always remember to reset the clock
and Auto-Start time when there is a
time change, power outage or after
you unplug the machine.
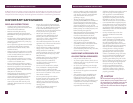
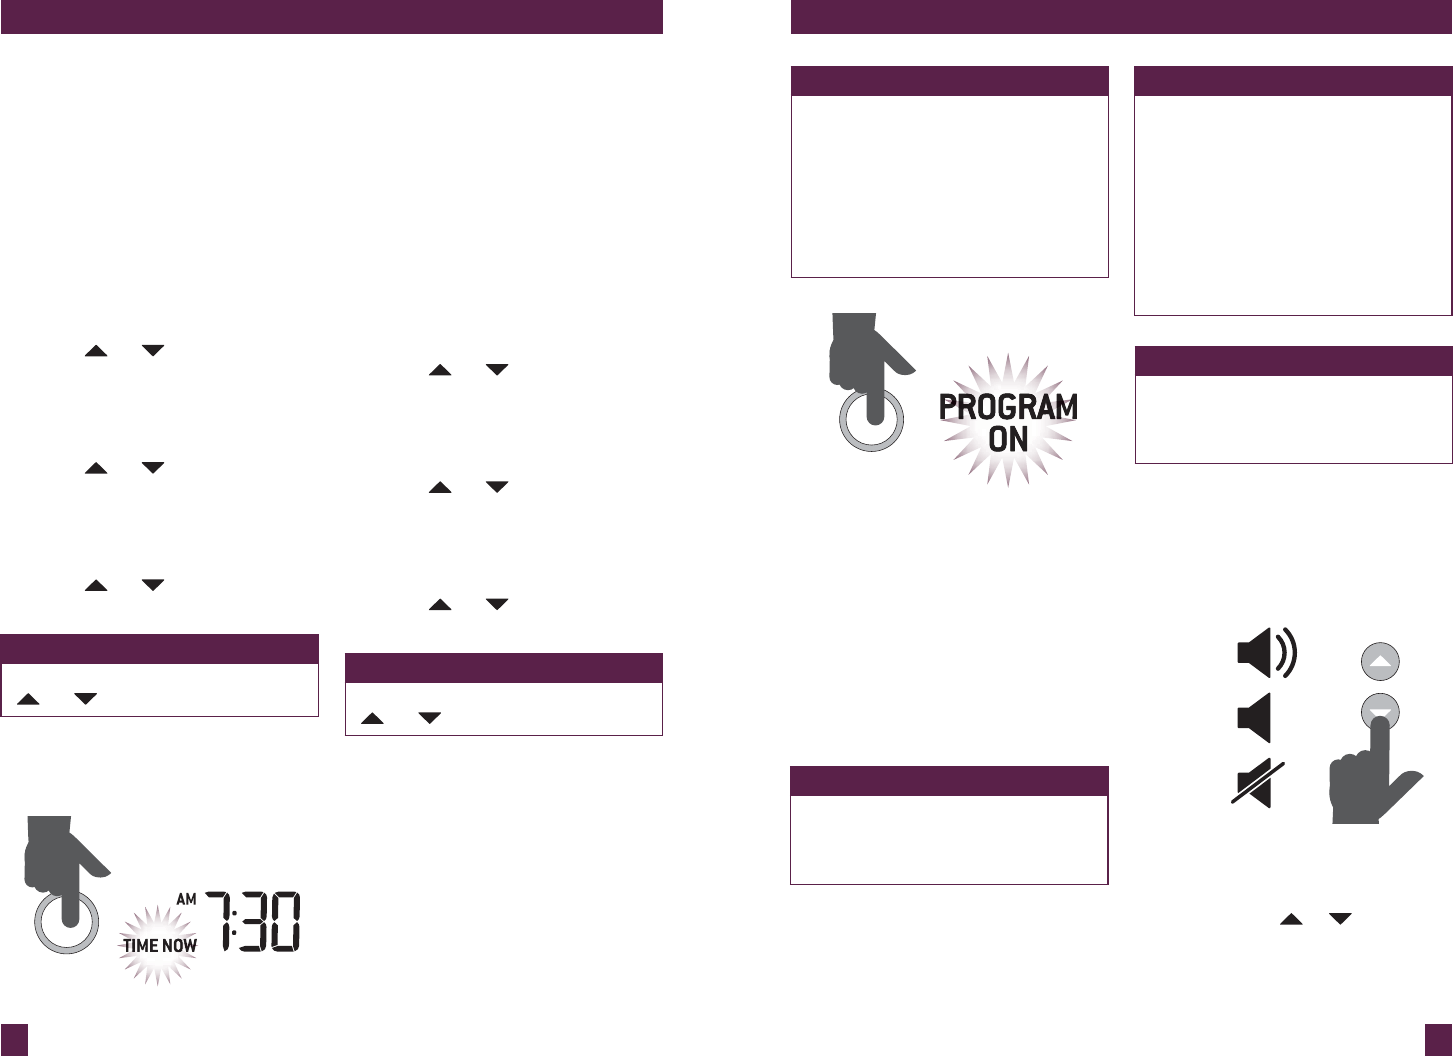
CHANGING THE ‘READY’
SIGNAL VOLUME
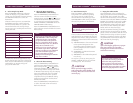
The volume of the ‘Ready’ signal can
be changed to suit your preference.
There are 3 options:
HIGH
LOW
MUTE
Press and hold the STRENGTH | FLAVOR
button until the LCD screen fl ashes one of
the sound icons pictured above. While the
icon fl ashes, use the
or button to
select the desired volume. The volume is
selected once the icon stops fl ashing.
The selected volume will remain displayed
on the LCD screen.