13
ASSEMBLY & OPERATION
WHISK
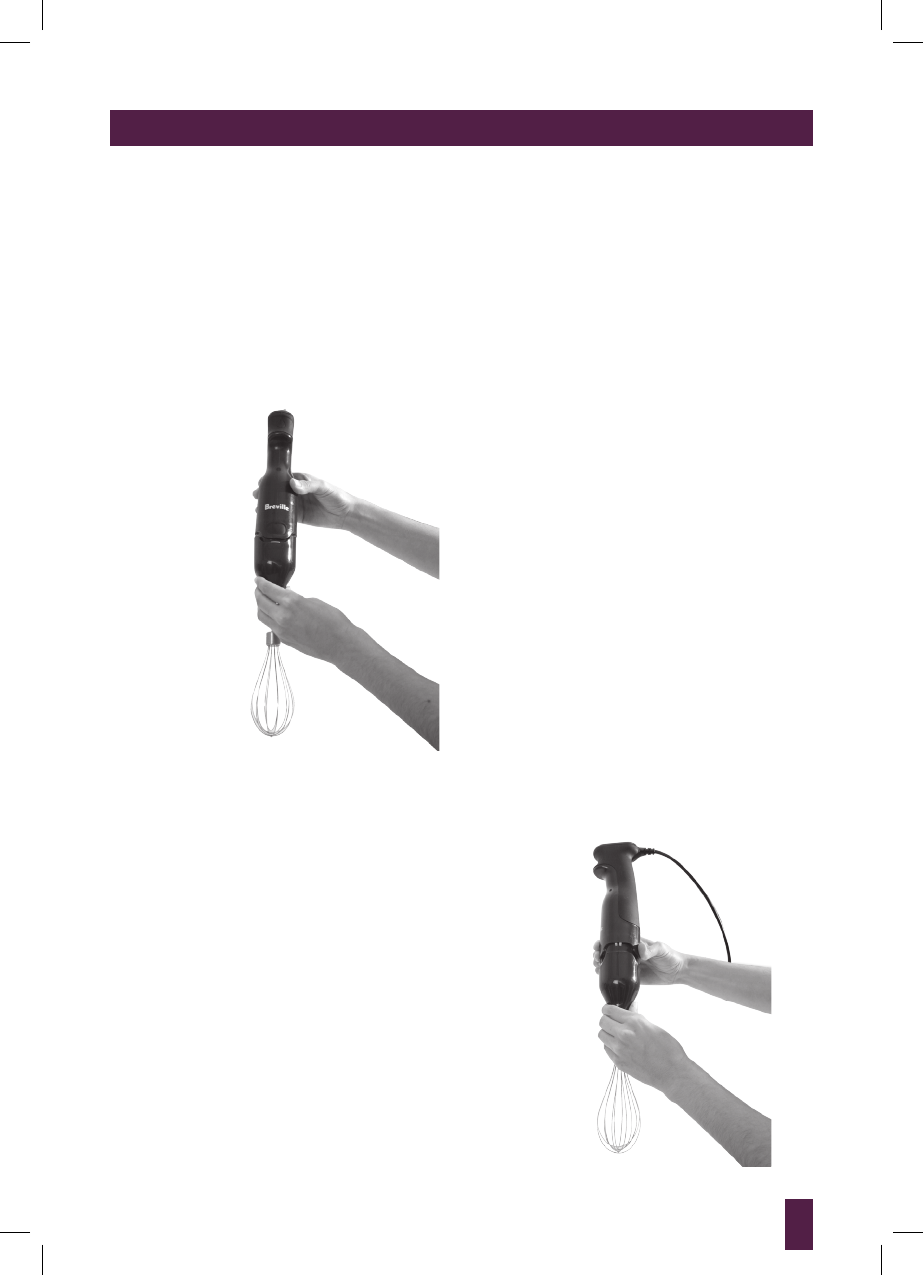
TO ATTACH THE WHISK
Remove blending shaft from motor body
(follow the instructions on page 10 “To
detach the blending shaft”).
Align the top end of the whisk gearbox with
the corresponding end of the motor body and
push until the whisk ‘clicks’ and locks onto
the motor body.
Ensure the whisk gearbox is dry with no
water left inside before re-attaching.
TO USE THE WHISK
For food preparation tips and recipes refer to
page 19 and the recipes section.
Ensure the whisk is completely and properly
assembled.
1. Place food to be whisked into the
blending jug or a sufficiently large
mixing bowl or container.
2. Insert the plug into a 110/120V
power outlet.
3. By turning the speed control dial at
the top of motor body, select a speed
between 1 and 15.
Low Speed : 1
High Speed : 15
4. Place the whisk into the blending jug
and press the trigger switch to turn the
whisk on. The button must be held for
the required duration of operation.
5. Move the whisk through the ingredients
in the blending jug with a gentle raising
and lowering motion until desired
texture is achieved.
6. When whisking has finished, switch off
the motor by releasing the trigger switch
and remove the power plug from the
power outlet.
7. Ensure the whisk has completely
stopped rotating before lifting the whisk
out of the blending jug.
TO DETACH THE WHISK
Ensure the trigger switch is released and
unplug the power plug from the power outlet.
Hold the motor body with one hand and
using thumb and finger of the other hand,
press on the two EJECT buttons on either
side of the motor body. Pull the motor body
away from the whisk to detach.
BSB510XL_IB_A11_FA.indd 13 12/04/11 11:01 AM


