


12 13
PAge heAder..... PAge heAder.....
OPERATING YOUR BREVILLE PRODUCT
BEFORE FIRST USE
Machine Preparation
Remove and discard all labels and
packaging materials attached to your
espresso machine. Ensure you have
removed all parts and accessories before
discarding the packaging.
Remove the water tank located at the
back of the machine by pulling down the
water tank handle. Remove the plastic bag
containing the water filter and water filter
holder. Clean parts and accessories (water
tank, portafilter, filter baskets, jug) using
warm water and a gentle dish washing
liquid. Rinse well then dry thoroughly.
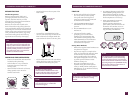
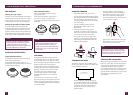
TIP
To easily maneuver your machine, use the
drop down swivel foot located under the
drip tray. When turned to UNLOCK, the
swivel foot drops down & lifts the machine
upwards, making it easier to access the
removable water tank or reposition the
machine to another location.
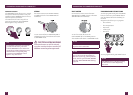
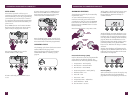
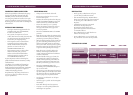
INSTALLING THE WATER FILTER
• Remove the water filter and water filter
holder from the plastic bag.
• Soak the filter in a cup of water for
5 minutes then rinse under cold
running water.
• Wash the filter holder with cold water,
taking specific care to rinse the
stainless steel mesh.
Soak filter for 5 minutes Rinse filter & mesh
• Insert the filter into the two parts of the
filter holder.
Place filter into
filter holder
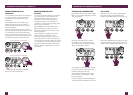
• To install the assembled filter holder
into the water tank, align the base of the
filter holder with the adapter inside the
water tank. Push down to lock into place.
• Fill the water tank with cold water before
sliding back into position at the back of
the machine and locking into place.
NOTE
DO NOT use highly filtered,
demineralized or distilled water in this
machine. This may affect the taste of the
coffee and how the machine operates.
NOTE
To purchase water filters, visit
www.breville.com or call Breville
Consumer Support.
OPERATING YOUR BREVILLE PRODUCT
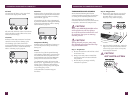
FIRST USE
1. Ensure tank is filled with cold water.
You can do this by either opening
the top-fill water tank lid (push to
open), or by removing the water tank
at the back of the machine.
2. Check STEAM LEVER and HOT
WATER dial are in the CLOSED
position.
3. Press POWER button to turn
machine on.
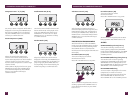
4. The LCD will display ‘Hrd3’,
prompting you to set the water
hardness level. Programming this
will determine the regularity of the
‘NEW FILTER’ alert which indicates
when the water filter in the water
tank needs to be replaced.
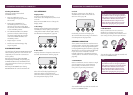
Setting Water Hardness
• Remove the supplied water hardness test
strip from the wrapper.
• Dip the test strip into a sample of the
water you have filled the tank with. Wait
for one minute. The water hardness
setting is indicated by the number of
red squares displayed on the test strip
eg. 3 red squares indicates a water
hardness setting of 3.
• Press UP or DOWN arrow to the
required setting from ‘Hrd1’ (softest
water) to ‘Hrd5’ (hardest water). Press
MENU button to set. Machine will beep
to confirm selection.
NOTE
If there is no selection within 5 minutes,
the machine will default to setting
‘Hrd3’.
5. A pumping/vibrating sound will be
heard indicating empty boilers are
being filled with water for the first
time. The LCD will display the current
boiler temperature as it heats up.
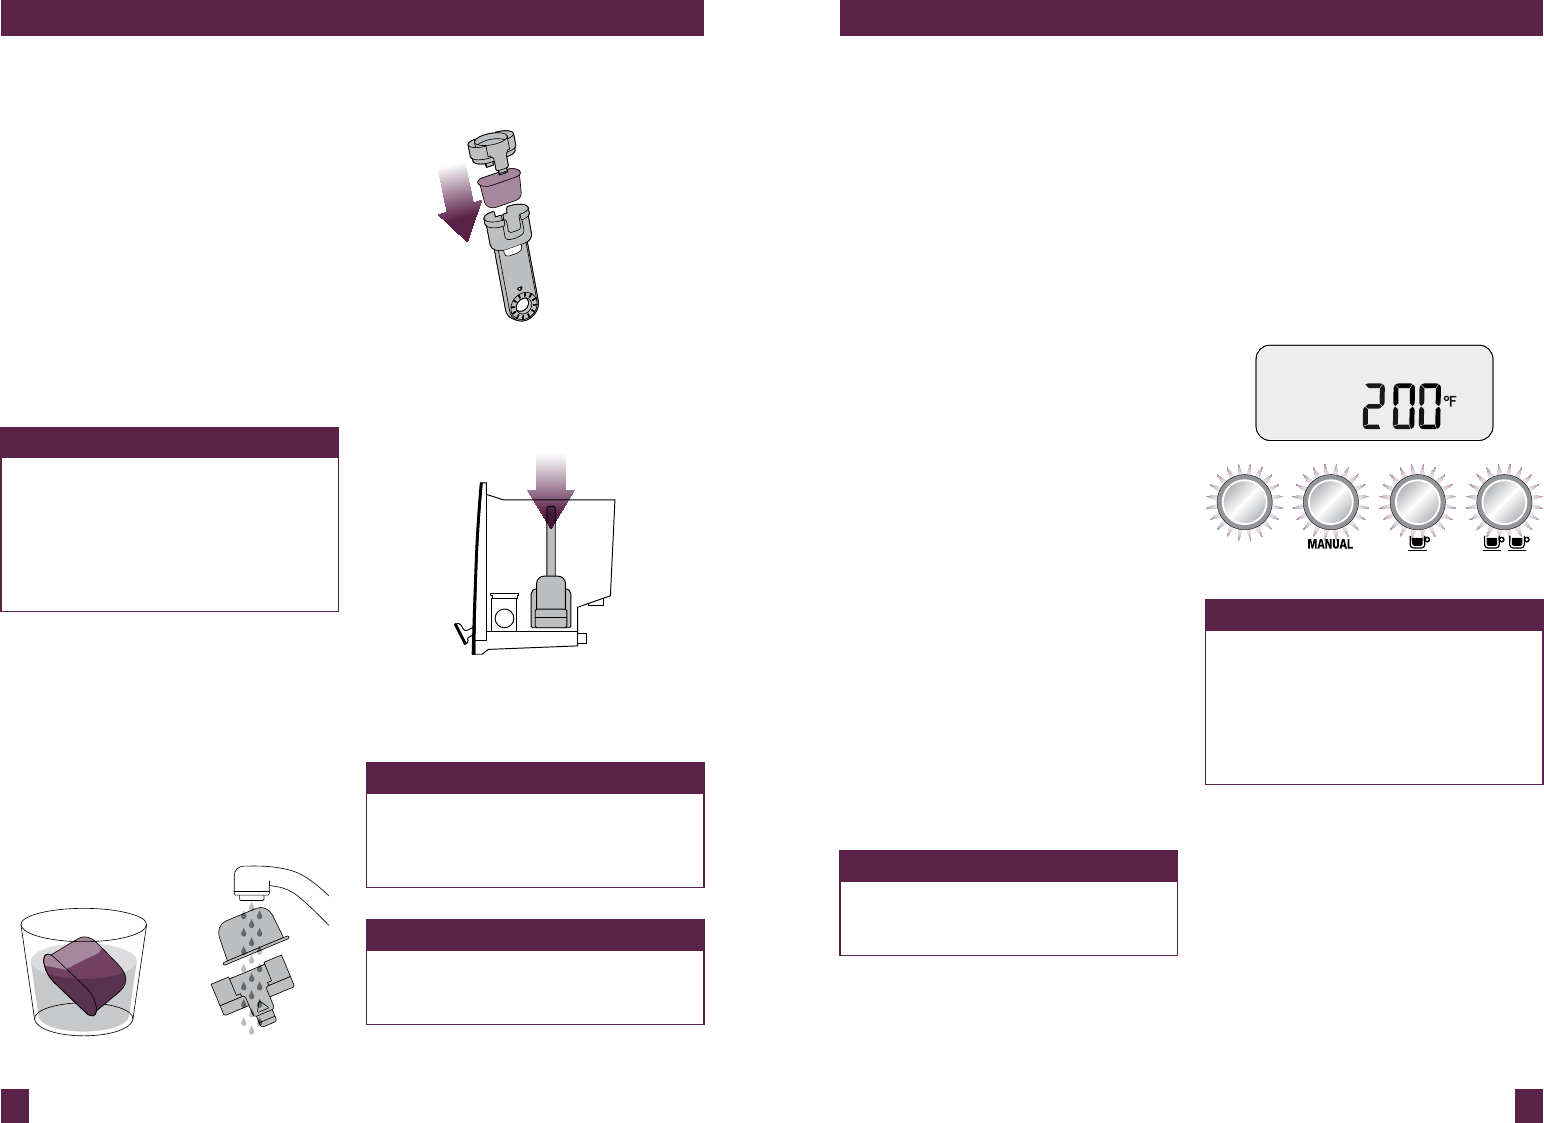
6. After approximately 10 minutes,
the machine will reach the
default operating temperature
(200˚F/93˚C) and all 4 buttons will
illuminate. The machine is now in
STANDBY mode, ready for the next
step, ‘Flushing The Machine’.
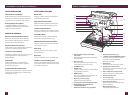
POWER
NOTE
You will not be able to select the 1 CUP
or 2 CUP functions; access the cleaning
cycle in the menu options; or activate the
steam wand until the machine has reached
operating temperature (STANDBY mode).
The machine will beep 3 times if one of
these functions is selected.