117
8
8
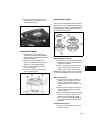
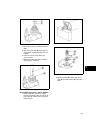
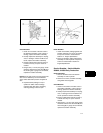
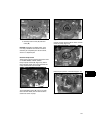
Figure 2
Check Breather
1. Check for movement of the disc valve in
the breather assembly. If disc is stuck or
binding, replace the breather assembly.
2. Visually inspect the assembly for warping,
wear, or damage. If these conditions are
found, replace the breather assembly.
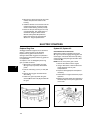
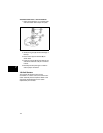
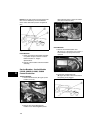
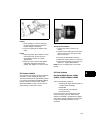
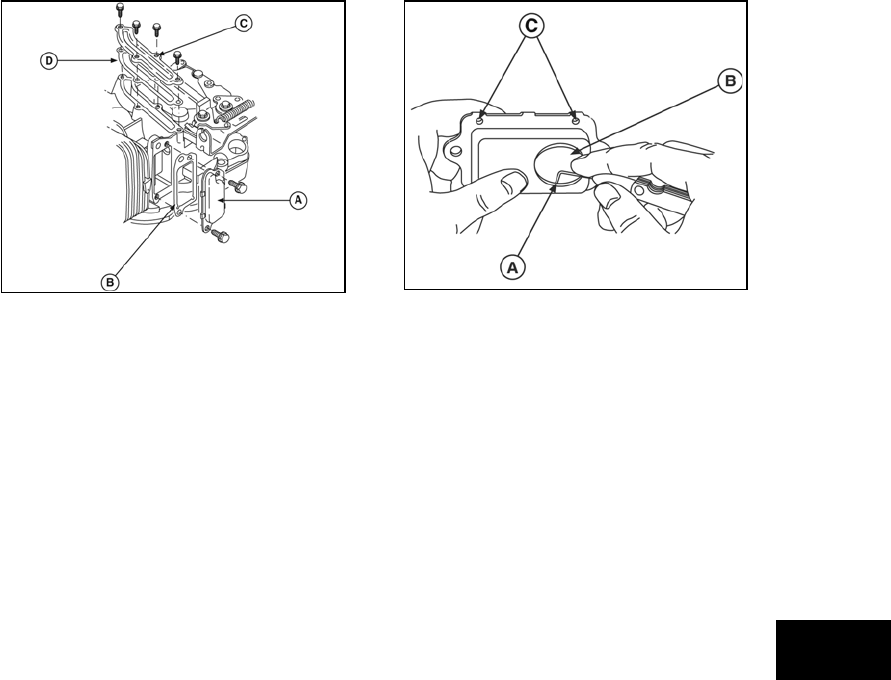
3. Inspect oil drain-back holes (C, Figure 3)
to make sure they are open. Clean as
needed.
4. Using 0.045” (1.14 mm) wire gauge, check
clearance between the disc valve (B) and
the housing (A). If gauge can be inserted,
replace the breather assembly.
NOTE: Do not apply force to the wire gauge! The
disc valve is retained by an internal bracket
which will be distorted if pressure is applied to
disc.
5. Inspect breather passage on top of
cylinder for debris and/or blockage.
Carefully clean this area if necessary,
ensuring passage holes are open.
Figure 3
Install Breather
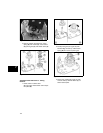
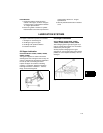
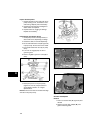
1. Install new breather passage gasket and
breather passage cover on top of cylinder.
Torque four screws to values listed in
Section 12 - Engine Specification.
2. Place new breather gasket and breather
assembly on side of cylinder. Torque two
screws to values listed in Section 12 -
Engine Specification.
Service Breather - Vertical Models
280000, 310000 Early Production
Remove Breather
1. Remove breather tube from breather
assembly on side of cylinder.
2. Remove two screws, breather assembly,
and gasket. Discard gasket.
Check Breather
1. Check for movement of the disc valve in
the breather assembly. If disc is stuck or
binding, replace the breather assembly.
2. Visually inspect the assembly for warping,
wear, or damage. If these conditions are
found, replace the breather assembly.
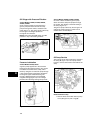
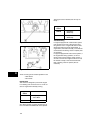
3. Inspect oil drain-back holes (C, Figure 4)
to make sure they are open. Clean as
needed.
4. Using 0.045” (1.14 mm) wire gauge, check
clearance between the disc valve (B) and
the housing (A). If gauge can be inserted,
replace the breather assembly.


