18
1
1
Governor Adjustments
A complete governor system adjustment
includes a static adjustment, engine warm-up,
idle and/or governed idle adjustment, and top no-
load adjustment. Be sure to complete all steps.
Static Adjustment
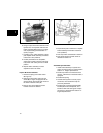
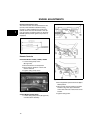
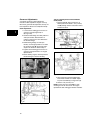
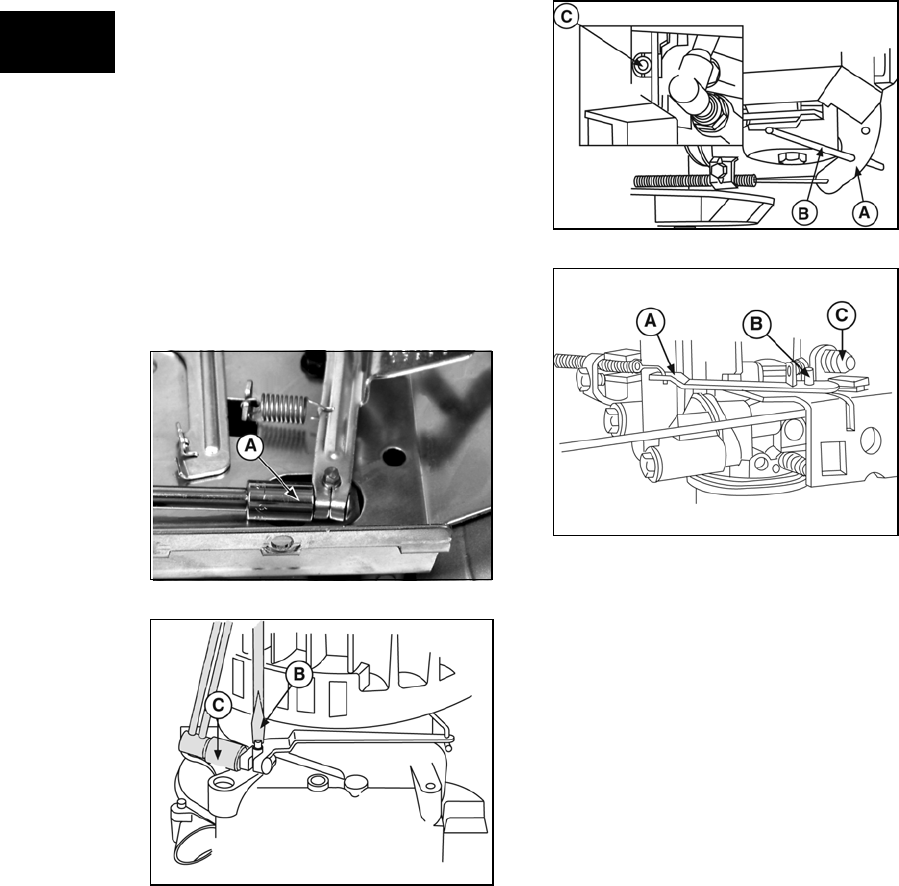
1. Loosen screw holding governor lever to
governor crank (A, Figure 28) or
(C, Figure 29).
2. Rotate throttle linkage from idle position to
wide open throttle. Note direction of
rotation of the governor arm attached to
the throttle linkage.
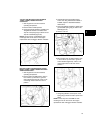
3. While holding linkage at wide open
throttle, use the appropriate tool to rotate
the governor shaft (B, Figure 29) until it
stops in the direction noted in Step 2.
4. Tighten screw holding governor lever to
governor crank per Section 12 - Engine
Specifications.
5. Before starting engine, manually actuate
throttle linkage to check for binding.
Figure 28
Figure 29
Top No Load Adjustment Vertical Models
97700, 99700
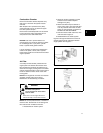
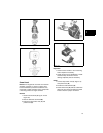
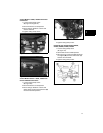
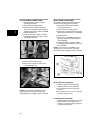
1. Place throttle (A, Figure 30 and 31) in
FAST position and insert a 1/8” (3.2 mm)
rod (B) through holes in carburetor control
bracket and lever.
Figure 30
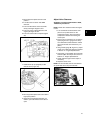
Figure 31
2. Start engine and measure RPM using
Tachometer #19200 or #19389. Adjust
Top No Load RPM by turning screw (C).
3. Remove 1/8” (3.2 mm) rod.
NOTE: Correct Top No Load RPM for each
model-type-trim can be found in the engine
replacement data on Briggs & Stratton websites.


