


17
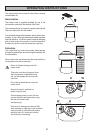
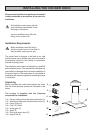
4. Using a 8mm masonry bit, drill the holes for the
canopy and fan assembly and insert the rawl
plugs ready for the fixing screws.
5. The hood is supplied with the air outlet facing
the rear. To rotate the extractor to face left or right
proceed as follows:
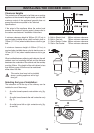
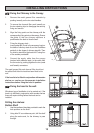
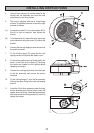
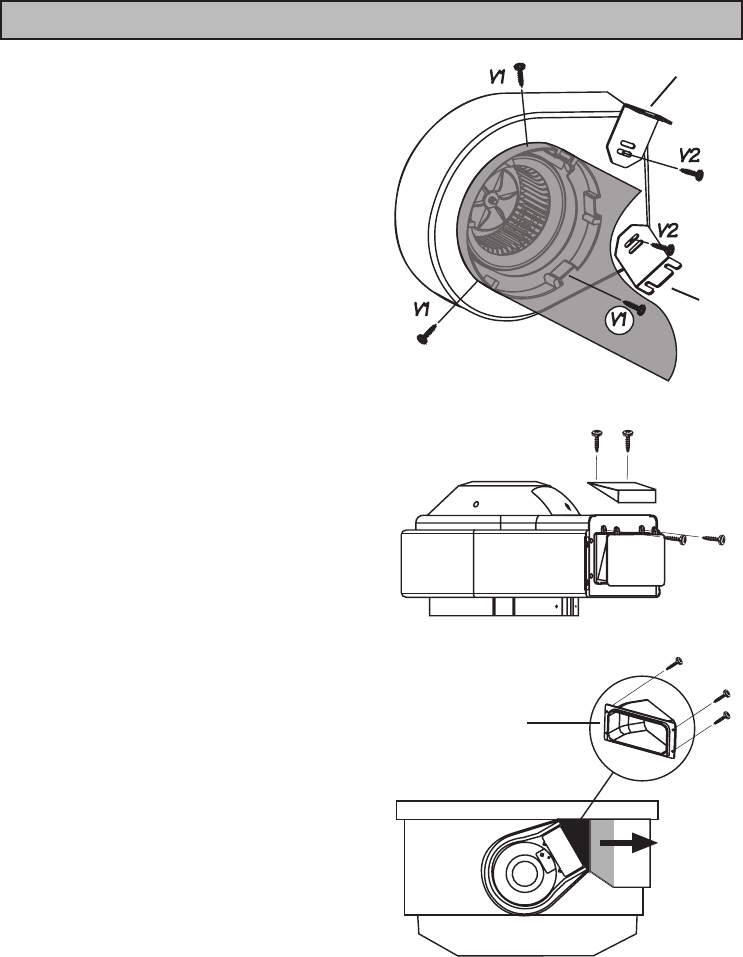
(A) Loosen the screws (V1), turn the extractor 60° to
the left or right as required, then tighten the
screws.
(B) To fix the bracket (S), select the left or right hand
screw holes and using the screw (V2) secure the
bracket.
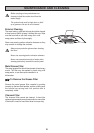
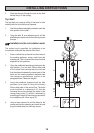
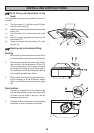
6. Unscrew the four self tapping screws and remove
the plastic surround.
7. Fit the ducting spigot (R) using the four self
tapping screws and replace the plastic cover.
8. Fix the round eyelet screws provided tightly into
holes (1) and hook on the canopy (C) ensuring
the hooks are located into the eyelets before
releasing the canopy.
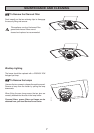
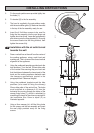
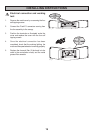
9. Unscrew the self tapping screws from the back
of the fan assembly and remove the plastic
surround.
10. Fit the ducting flange (F) onto the fan assembly
utilising the same fixing holes and self tapping
screws.
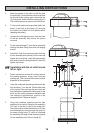
11. Insert the 4.2x44.4mm screws provided for fixing
the fan assembly and chimney into the wall and
tighten about two thirds. Lower the fan assembly
and chimney onto the fixing bracket (S), then fully
tighten the screws.
INSTALLING INSTRUCTIONS
S07_18
S07_22
R
S07_19
S
S