9
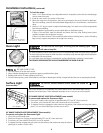
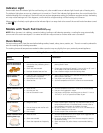
Indicator Light
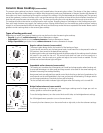
Some models have an indicator light for each heating unit, other models have an indicator light for each pair of heating units.
The indicator light glows as soon as a heating unit is turned on. Check if the indicator light glows when the control knob of the
individual heating unit is turned on. If the knob is set to a very low temperature setting, the indicator may glow and yet, the heating
unit may not be heating at all. If this happens, turn the knob to a higher setting until the heating unit comes on.
When cooking is finished, a quick glance at the indicator lights is an easy check to be sure all the control knobs have been turned
to OFF “
”.
Models with Touch Pad Control (only)
NOTE: When the oven is in a baking, convection baking, broiling or self-cleaning operation, a cooling fan may automatically
turn on and off to cool internal parts. It is normal and the fan may continue to run even after oven is turned off.
Oven Baking
For best cooking results, heat the oven before baking cookies, breads, cakes, pies or pastries, etc... There is no need to preheat the
oven for roasting meat or baking casseroles.
The cooking times and temperatures needed to bake a product may vary slightly from your previously owned appliance.
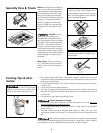
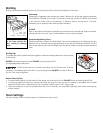
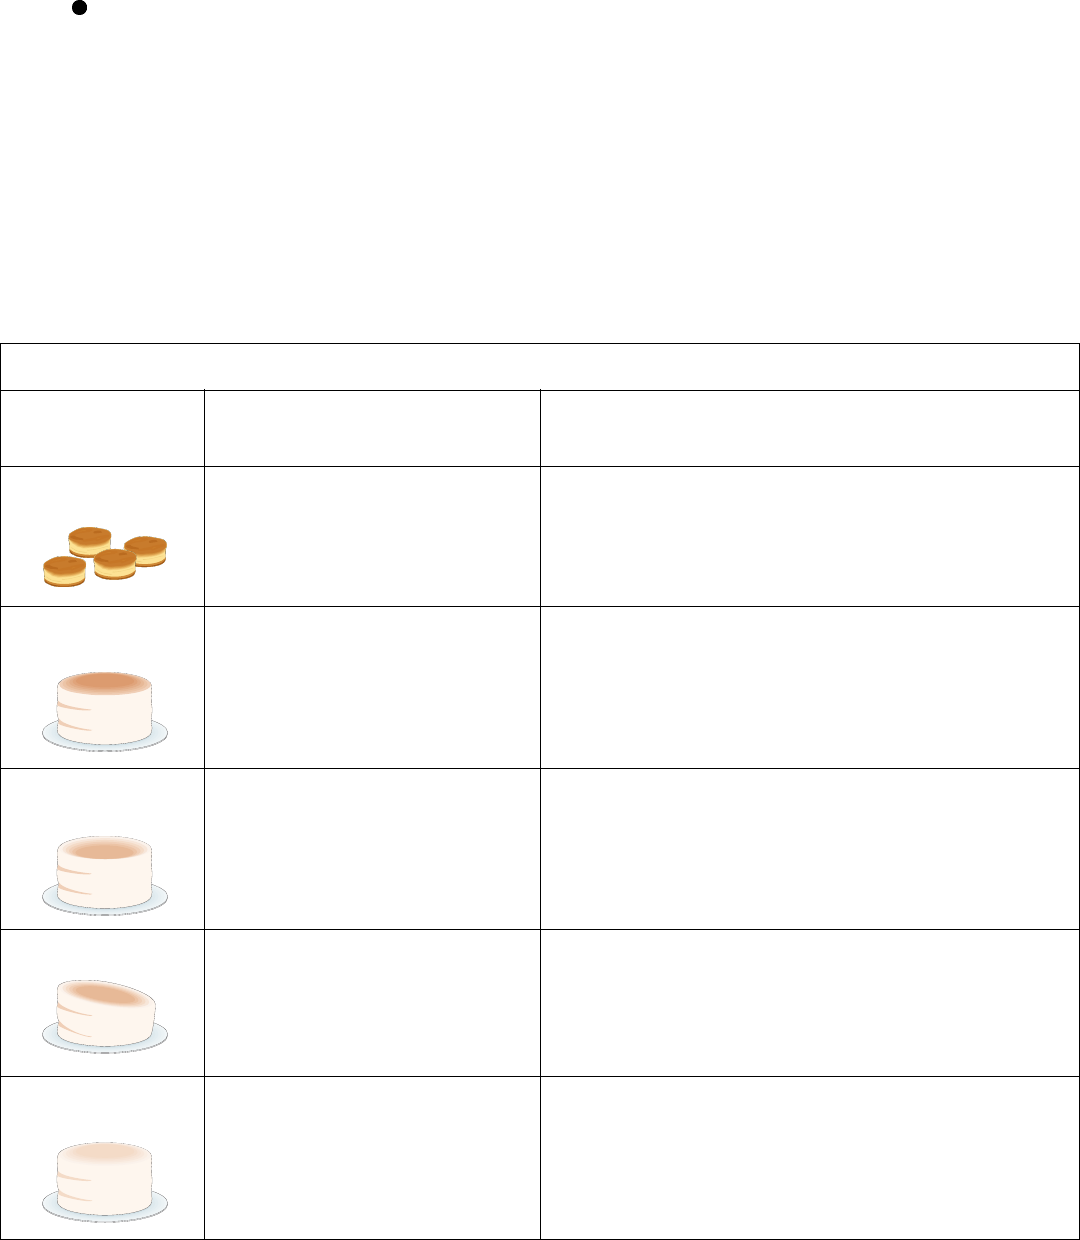
Baking
Problems
Cookies and biscuits
burn on the bottom.
Cakes too dark on
top or bottom.
Cakes not done in the
center.
Cakes not level.
Foods not done when
cooking time is up.
Causes
• Cookies and biscuits put into the
oven before the preheating time is
completed.
• Oven rack overcrowded.
• Dark pan absorbs heat too fast.
• Cakes put into the oven before pre-
heating time is completed.
• Rack position too high or low.
• Oven too hot.
• Oven too hot.
• Incorrect pan size.
• Pan not centered in oven.
• Range not level.
• Pan too close to oven wall or rack
overcrowded.
• Pan warped.
• Oven too cool.
• Oven overcrowded.
• Oven door opened too frequently.
Corrections
• Allow oven to preheat to the selected temperature before
placing food in oven.
• Choose pan sizes that will permit 5.1 cm to 10.2 cm (2” to 4”)
of air space on all sides when placed in the oven.
• Use a medium-weight aluminum baking sheet.
• Allow oven to preheat to the selected temperature before
placing food in the oven.
• Use proper rack position for baking needs.
• Set oven temperature 25°F/12°C lower than recommended.
• Set oven temperature 25°F/12°C lower than recommended.
• Use pan size suggested in recipe.
• Use proper rack position and place pan so there is 5.1 cm to
10.2 cm (2” to 4”) of space on all sides of pan.
• Place a marked glass measuring cup filled with water on the
center of the oven rack. If the water level is uneven, refer to
the installation instructions for leveling the range.
• Be sure to allow 5.1 cm to 10.2 cm (2” to 4”) of clearance on
all sides of each pan in the oven.
• Do not use pans that are dented or warped.
• Set oven temperature 25°F/12°C higher than suggested and
bake for the recommended time.
• Be sure to remove all pans from the oven except the ones to
be used for baking.
• Open oven door only after shortest recommended baking
time.
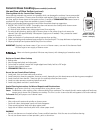
Baking Problems and Solutions Chart


