3-6
3.7 SYSTEM INSTALLATION INSTRUCTIONS (CONT.)
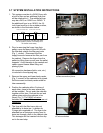
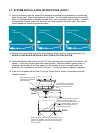
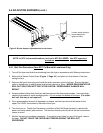
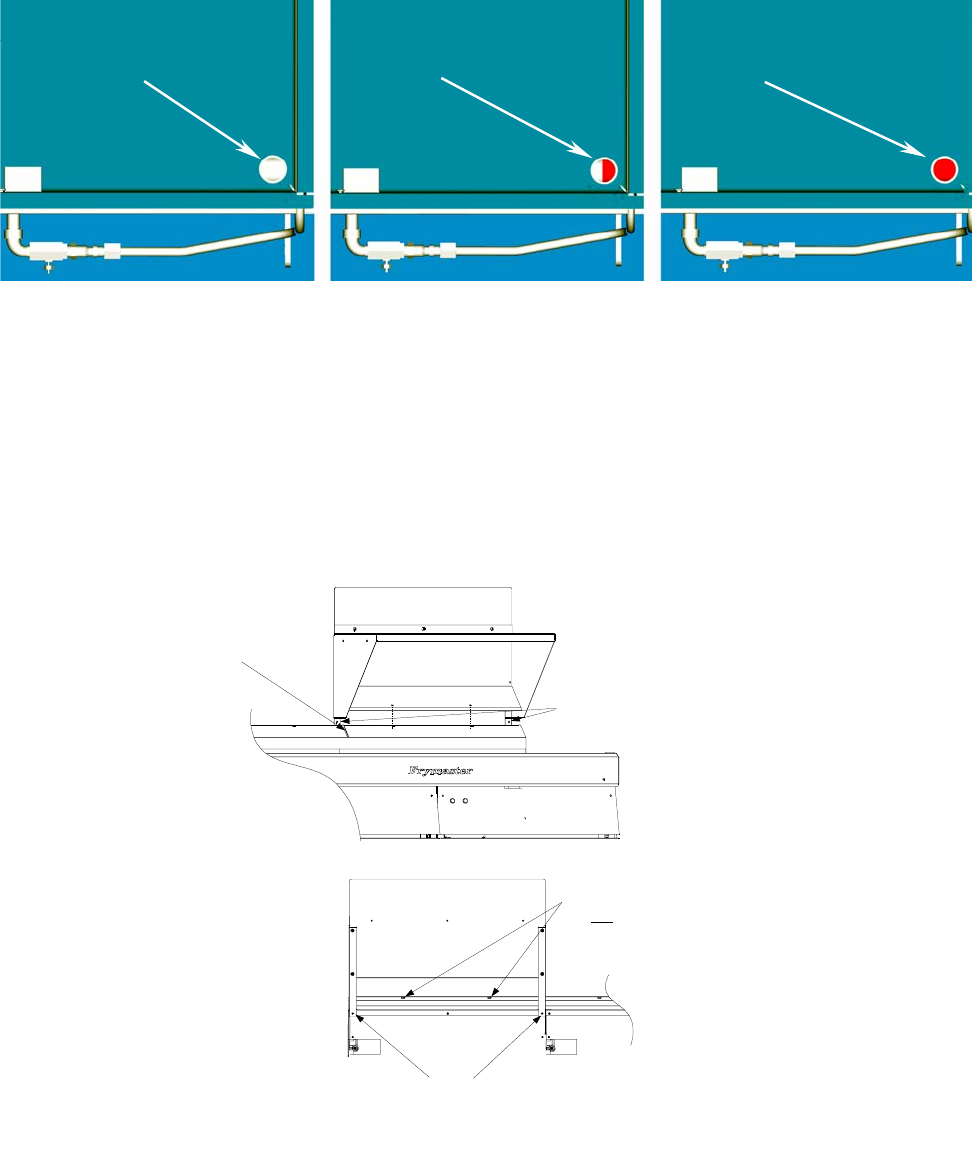
11. Prior to performing start-up, ensure the drainpipe connected during assembly is not blocking
either frypot drain. Shine a flashlight into the drains. The illustration below shows from left to
right, an unblocked drain, a partially blocked drain, and a completely blocked drain. If partially
or completely blocked, loosen the drain slip-nuts and reposition the drain tube. Both drains
should appear as the left-most picture below.
12.
Reinstall filter system after fryer start-up has been performed (boil-out, burner adjustment, etc.)
NEVER ALLOW WATER OR BOILOUT SOLUTION INTO FILTER SYSTEM.
13. Follow the filtration instructions for the UFF filter and return the oil to each of the fryers in the
system. Check the oil return and drain lines for leaks. After the filtration system check is
complete, discard the oil and filter paper (if a filter screen is used, thoroughly wash the
assembly, dry completely and return to the pan). The frying system is ready for operation.
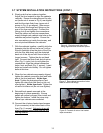
14. If the unit is supplied with an Over-The-Fryer Crumb Dump, install in accordance with the
illustration below.
On fryer back, remove the back
panel screws (2) corresponding
to the tab holes on the crumb
dump.
Set the crumb dump frame over the flue
deflector and align the screw holes.
Ensure the crumb dump deflector sits over
the top of the flue deflector. Secure the
crumb dump to the deflector with the
screws and nuts provided.
Align the crumb dump side
with the slot in the deflector
during installation.
Replace the screws removed from the back panel prior to
crumb dump installation. Ensure all screws are properly
tightened. Install the crumb dump insert and return the
fryer to operation.
FRONT
BACK
Drain
unblocked.
Drain partially
blocked.
Drain completely
blocked.


