


7-3
7.3 INDICATOR LIGHTS (cont.)
When turning the power switch "ON" and resetting the safety (reset) switch, check for the following:
LIGHT INDICATION PROBABLE CAUSE CORRECTIVE ACTION
GREEN LIGHT/POWER SWITCH IS
"ON"
GREEN LIGHT/SAFETY (RESET)
SWITCH IS "OFF"
GREEN LIGHT/CONTROL PANEL IS
"OFF"
RED LIGHT/CONTROL PANEL IS
"OFF"
1. The drain valve is open.
2. The drain switch is defective.
1. Ensure the drain valve is
completely closed, and then
turn the reset switch to "ON".
2. If the light on the reset switch
does not turn on, contact a
Factory Authorized Service
Center for assistance.
GREEN LIGHT/POWER SWITCH IS
"OFF"
GREEN LIGHT/SAFETY (RESET)
SWITCH IS "OFF"
GREEN LIGHT/ CONTROL PANEL IS
"OFF"
RED LIGHT/CONTROL PANEL IS
"OFF"
1. No power to fryer.
2. Fuse is blown.
1. Check power source, power
cords and breaker. Ensure that
electricity is available to the
fryer.
2. Replace fuse. If fuse continues
to blow, contact a Factory
Authorized Service Center.
3. If fryer does not function after
resetting the reset switch,
contact a Factory Authorized
Service Center for assistance.
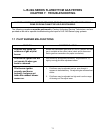
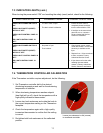
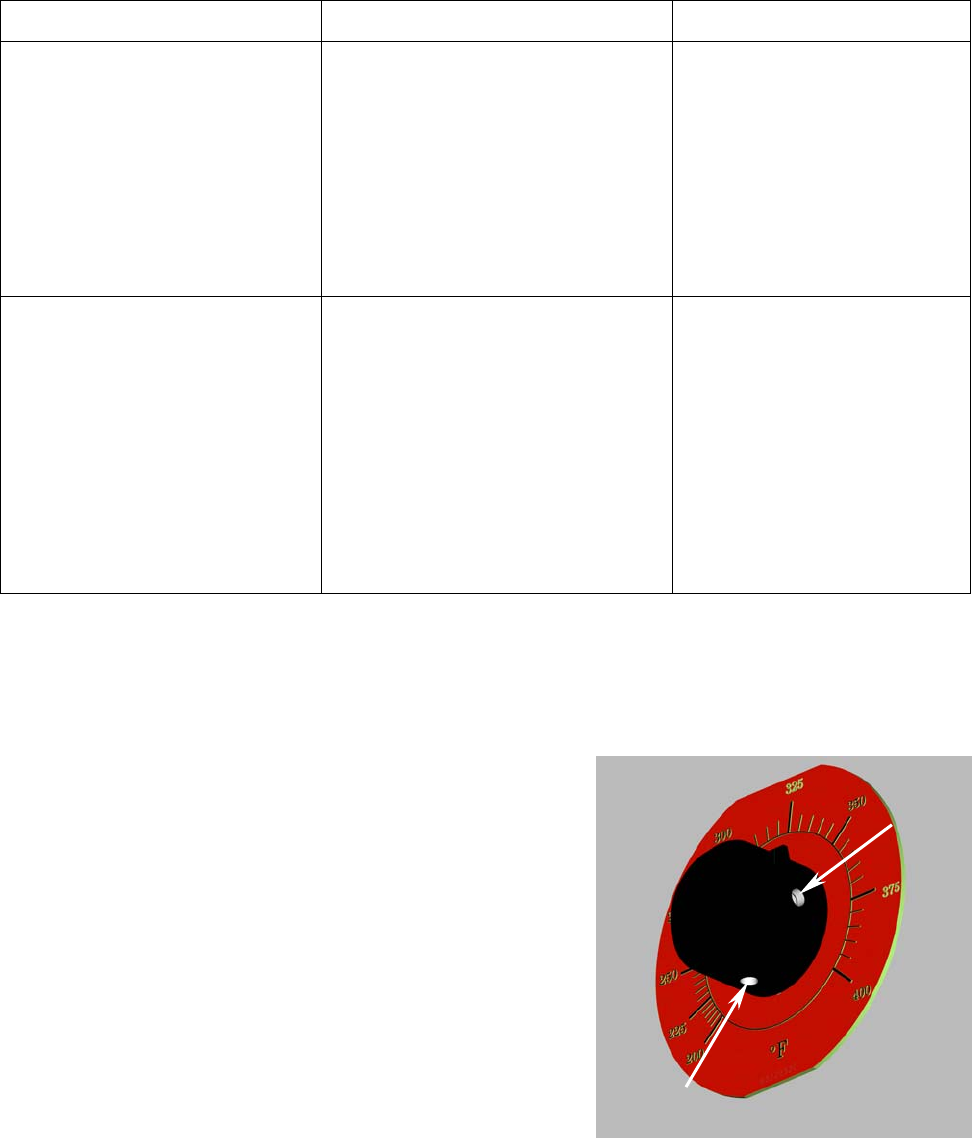
7.4 THERMATRON CONTROLLER CALIBRATION
If the Thermatron controller requires adjustment, do the following:
1. Set Thermatron controller dial to the desired
shortening temperature and wait for the shortening
temperature to stabilize.
2. When shortening temperature reaches setpoint
(heat light will go off), check the temperature with a
high-quality immersion thermometer.
3. Loosen two knob setscrews and rotate the knob to
the correct temperature setting on the Thermatron
faceplate.
4. Check the temperature again with a high-quality
immersion thermometer to confirm that the setting
is correct.
5. Re-tighten both knob setscrews at the calibrated
position.
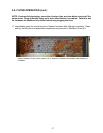
Loosen two setscrews in dial (arrows)
to recalibrate controller.