


YSCFHC18G HIGH EFFICIENCY COOL ZONE SERIES GAS FRYERS
CHAPTER 3: INSTALLATION INSTRUCTIONS
3-13
3.10 Final Preparation (cont.)
NOTE: If the float switch is blocked in "down position" with solid shortening, the fryer will not heat.
Always ensure that the float switch is in the "up" position when packing solid shortening into frypot.
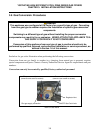
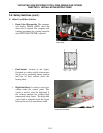
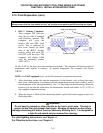
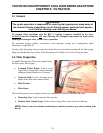
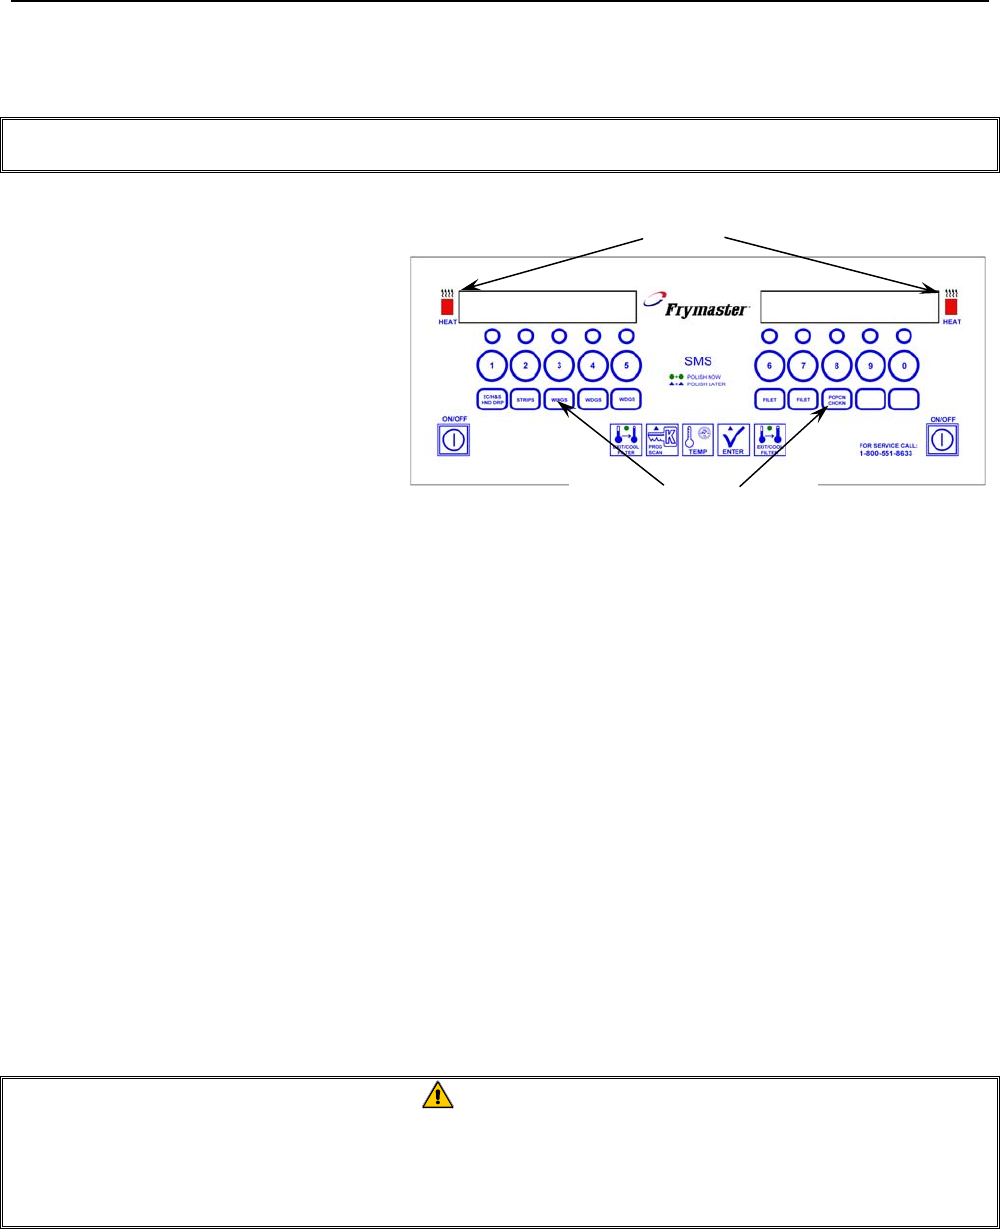
6. KFC-1 Cooking Computer:
Turn computer ON (this also
turns the fryer ON if equipped
with electronic ignition). The
computer will cycle the
burners ON and OFF (melt
cycle). This is indicated by
heat icons located on either
side of the KFC-1 product
buttons, which will cycle ON
and OFF with the fryer. The
computer will display LOw
until the shortening reaches
180°F (82°C).
At 180° F (82°C), the fryer goes into continuous heat mode. The computer will display actual oil
temperature until setpoint is reached. At setpoint temperature, the computer will display
drop.
NOTE: For FAST-equipped fryers, see the Fast manual for operation instructions.
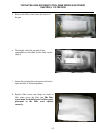
7. After shortening reaches the setpoint temperature, let the burners cycle at least four times,
then insert a thermometer or pyrometer near the temperature sensing probe within 1 inch of
the temperature probe and approximately 3-in. (7.5-mm) deep into the shortening. When the
burners cycle on after the fourth time, the thermometer should read within ±5°F (±2°C) of
the computer temperature setting.
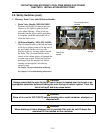
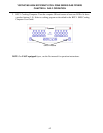
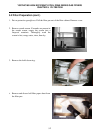
8. When the frypot is filled and the shortening melted, replace the basket-support screen over
the heating tubes.
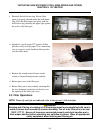
WARNING
Do not bang fry baskets or other utensils on the fryer’s joiner strip. The strip is
present to seal the joint between the frypots. Banging fry baskets on the strip to
dislodge shortening will distort the strip, adversely affecting its fit. It is designed for
a tight fit and should only be removed for cleaning.
For pilot lighting instructions, see Chapter 4.
For filtration instructions, see Chapter 5.
Heat Icon Indicators
Product Buttons