6-5
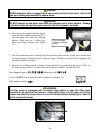
or close the air intake opening until a bright orange-red glow is obtained. Carefully hold the plate in
position and tighten the locking nut(s).
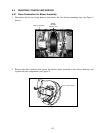
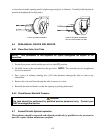
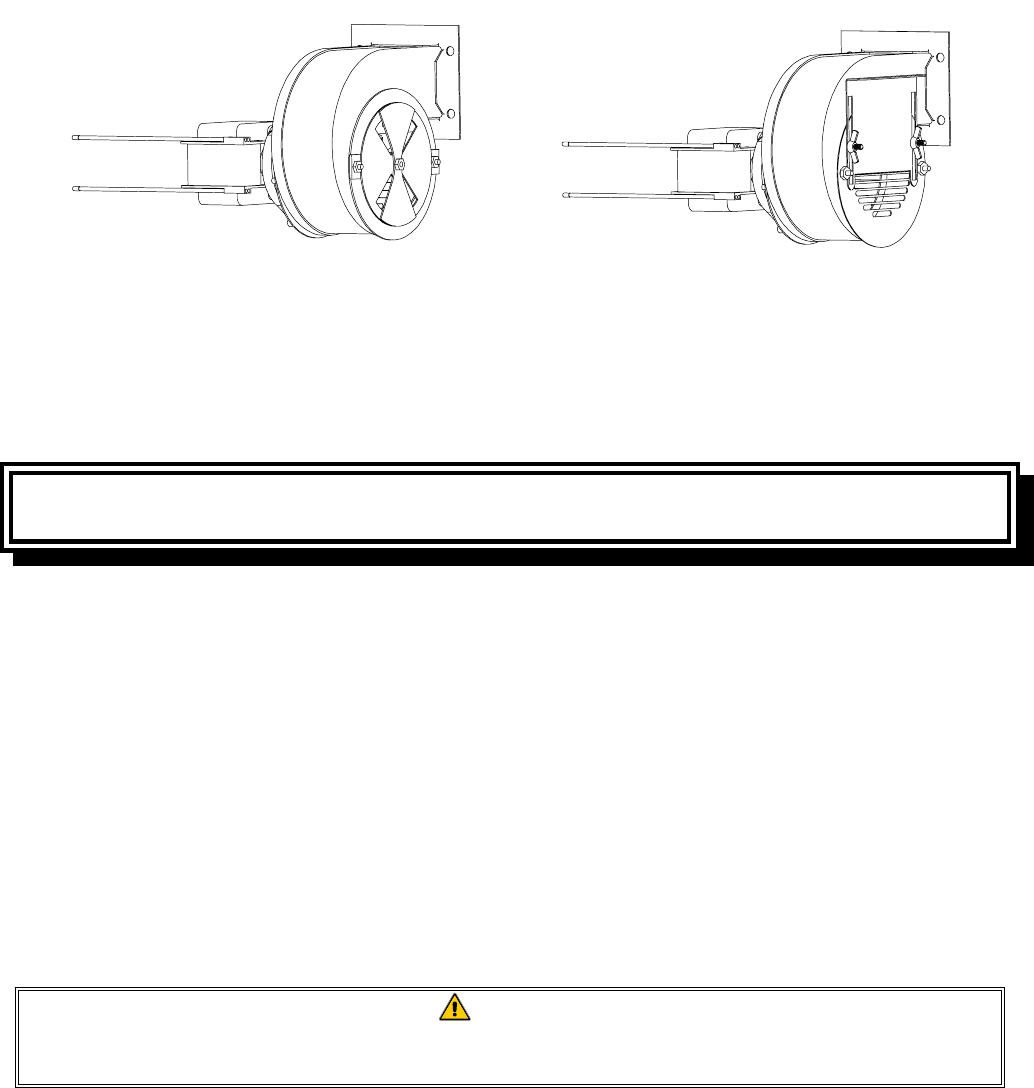
TYPICAL BLOWER ASSEMBLY
SOME CE BLOWER ASSEMBLIES
MAY BE CONFIGURED THIS WAY
6.6 SEMI-ANNUAL CHECKS AND SERVICE
6.6.1 Clean Gas Valve Vent Tube
NOTE: This procedure is not required for fryers configured for export to CE
countries.
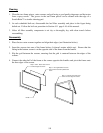
1. Set the fryer power switch and the gas valve to the OFF position.
2. Carefully unscrew the vent tube from the gas valve. NOTE: The vent tube may be straightened
for ease in removal.
3. Pass a piece of ordinary binding wire (.052 inch diameter) through the tube to remove any
obstruction.
4. Remove the wire and blow through the tube to ensure it is clear.
5. Reinstall the tube and bend it so that the opening is pointing downward.
6.6.2 Check Burner Manifold Pressure
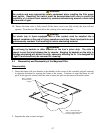
DANGER
This task should be performed by qualified service personnel only. Contact your
FASC to arrange this service.
6.7 Annual/Periodic System Inspection
This appliance should be inspected and adjusted periodically by qualified service personnel as
part of a regular kitchen maintenance program.


