


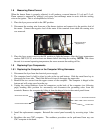
1-11
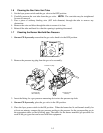
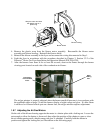
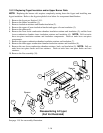
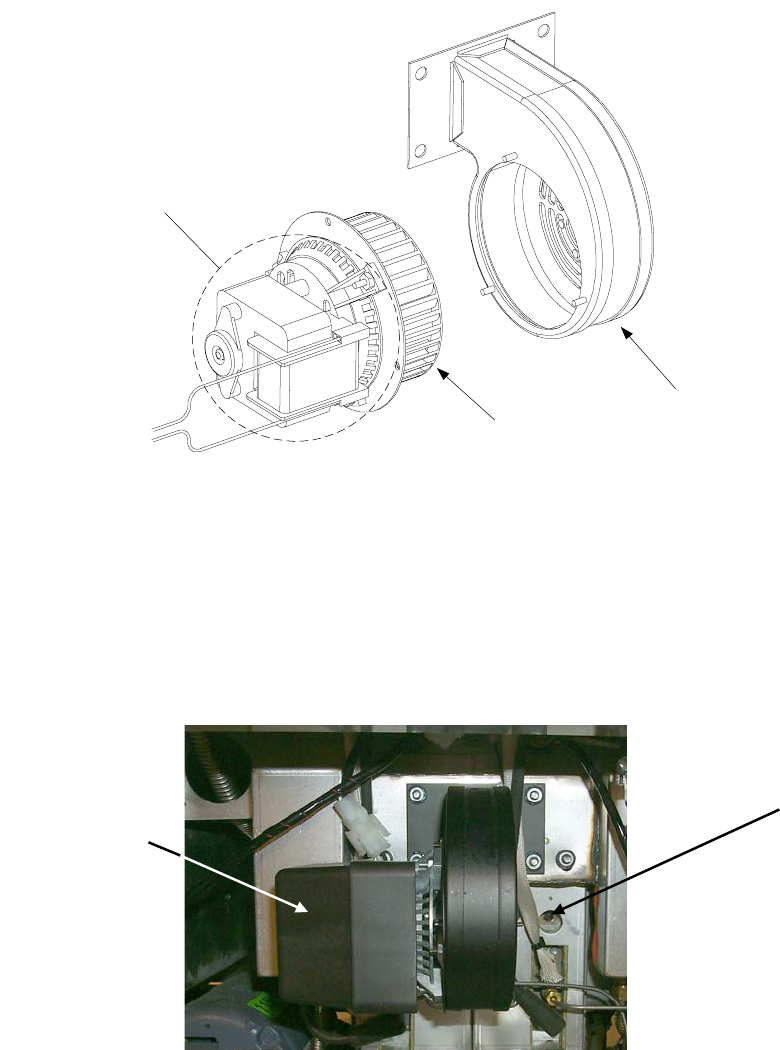
Blower Housing
Blower Wheel
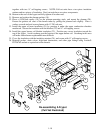
Wrap the motor and wires
with plastic wrap or a
plastic bag.
4. Remove the plastic wrap from the blower motor assembly. Reassemble the blower motor
assembly and blower housing. Reinstall the blower shield.
5. Reinstall the blower assembly in the fryer and reconnect the wiring disconnected in Step 1.
6. Light the fryer in accordance with the procedure described in Chapter 3, Section 3.2.2 of the
Protector
®
Series Gas Fryer Installation and Operation Manual (P/N 819-6339).
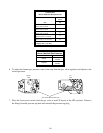
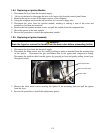
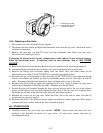
7. After the burners have been lit for at least 90 seconds, observe the flames through the burner
viewing ports located on each side of the combustion air blower.
The air/gas mixture is properly adjusted when the burner manifold pressure is in accordance with
the applicable table on page 1-6 and the burners display a bright orange-red glow. If a blue flame
is observed or if there are dark spots on a burner face, the air/gas mixture requires adjustment.
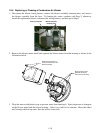
1.9.7 Adjusting the Air/Gas Mixture
On the side of the blower housing opposite the motor is a shutter plate with a locking nut. Loosen the
nut enough to allow the shutter to be moved, then adjust the position of the shutter to open or close
the air intake opening until a bright orange-red glow is obtained. Carefully hold the shutter in
position and tighten the locking nut (see illustration on the following page).
Right
Viewing
Port.
Left Viewing
Port is behind
motor.