


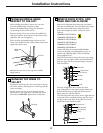
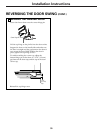
Tighten any connections that leak.
TURN THE WATER ON AT THE
SHUTOFF VALVE
10
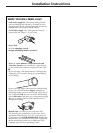
Arrange the coil of tubing so that it does not vibrate
against the back of the refrigerator or against the
wall. Push the refrigerator back to the wall.
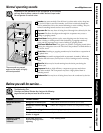
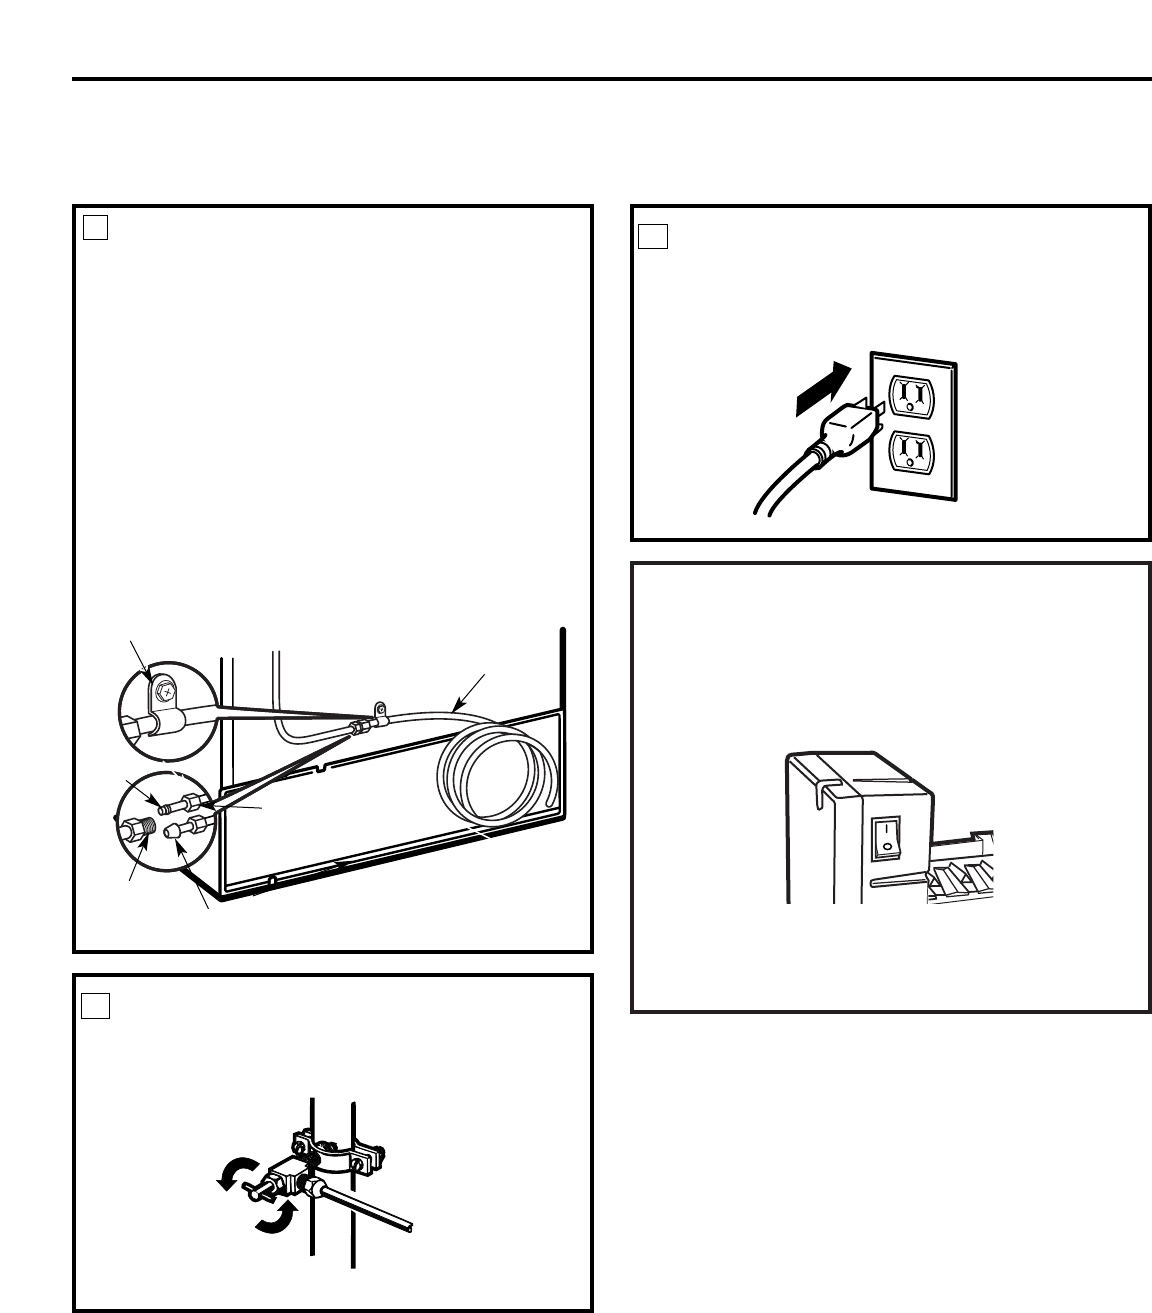
PLUG IN THE REFRIGERATOR
11
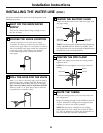
START THE ICEMAKER
Set the icemaker power switch to the
I (on)
position.
The icemaker will not begin to operate until it
reaches its operating temperature of 15°F (-9°C)
or below. It will then begin operation automatically
if the icemaker power switch is in the
I (on)
position.
NOTE: In lower water pressure conditions, the
water valve may turn on up to 3 times to deliver
enough water to the icemaker.
Installation Instructions
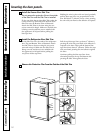
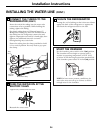
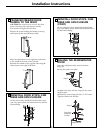
CONNECT THE TUBING TO THE
REFRIGERATOR
(CONT.)
9
Reattach the access cover.
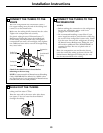
Insert the end of the tubing into the water valve
connection as far as possible. While holding the
tubing, tighten the fitting.
For plastic tubing from a GE SmartConnect™
Refrigerator Tubing kit, insert the molded end of
the tubing into the refrigerator connection and
tighten compression nut until it is hand tight, then
tighten one additional turn with a wrench.
Overtightening may cause leaks.
Fasten the tubing into the clamp provided to hold
it in a vertical position. You may need to pry open
the clamp.
Tubing
Clamp
1/4″ Compression
Nut
Ferrule
(sleeve)
SmartConnect™ Tubing
Refrigerator
Connection
1/4″ Tubing
24
INSTALLING THE WATER LINE (CONT.)