Customer Service Troubleshooting Tips Installation Instructions Care and Cleaning Operating Instructions Safety Instructions
30
Installation of the range.
Read these instructions completely and carefully.
To Make Electrical Connection (if range has electric ignition)
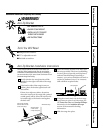
CAUTION—FOR PERSONAL SAFETY: DO NOT
USE AN EXTENSION CORD WITH THIS
APPLIANCE.
■This appliance must be supplied with the
proper voltage and frequency, and connected
to an individual, properly grounded and
polarized branch circuit, protected by a circuit
breaker or time-delay fuse, as noted on the
rating plate.
■Wiring must conform to National Electric
Codes or the prevailing local code for a range of
this kilowatt rating. (See the rating plate under
the cooktop for this information.)
■If the electric supply provided does not meet
the above specifications, call a licensed
electrician.
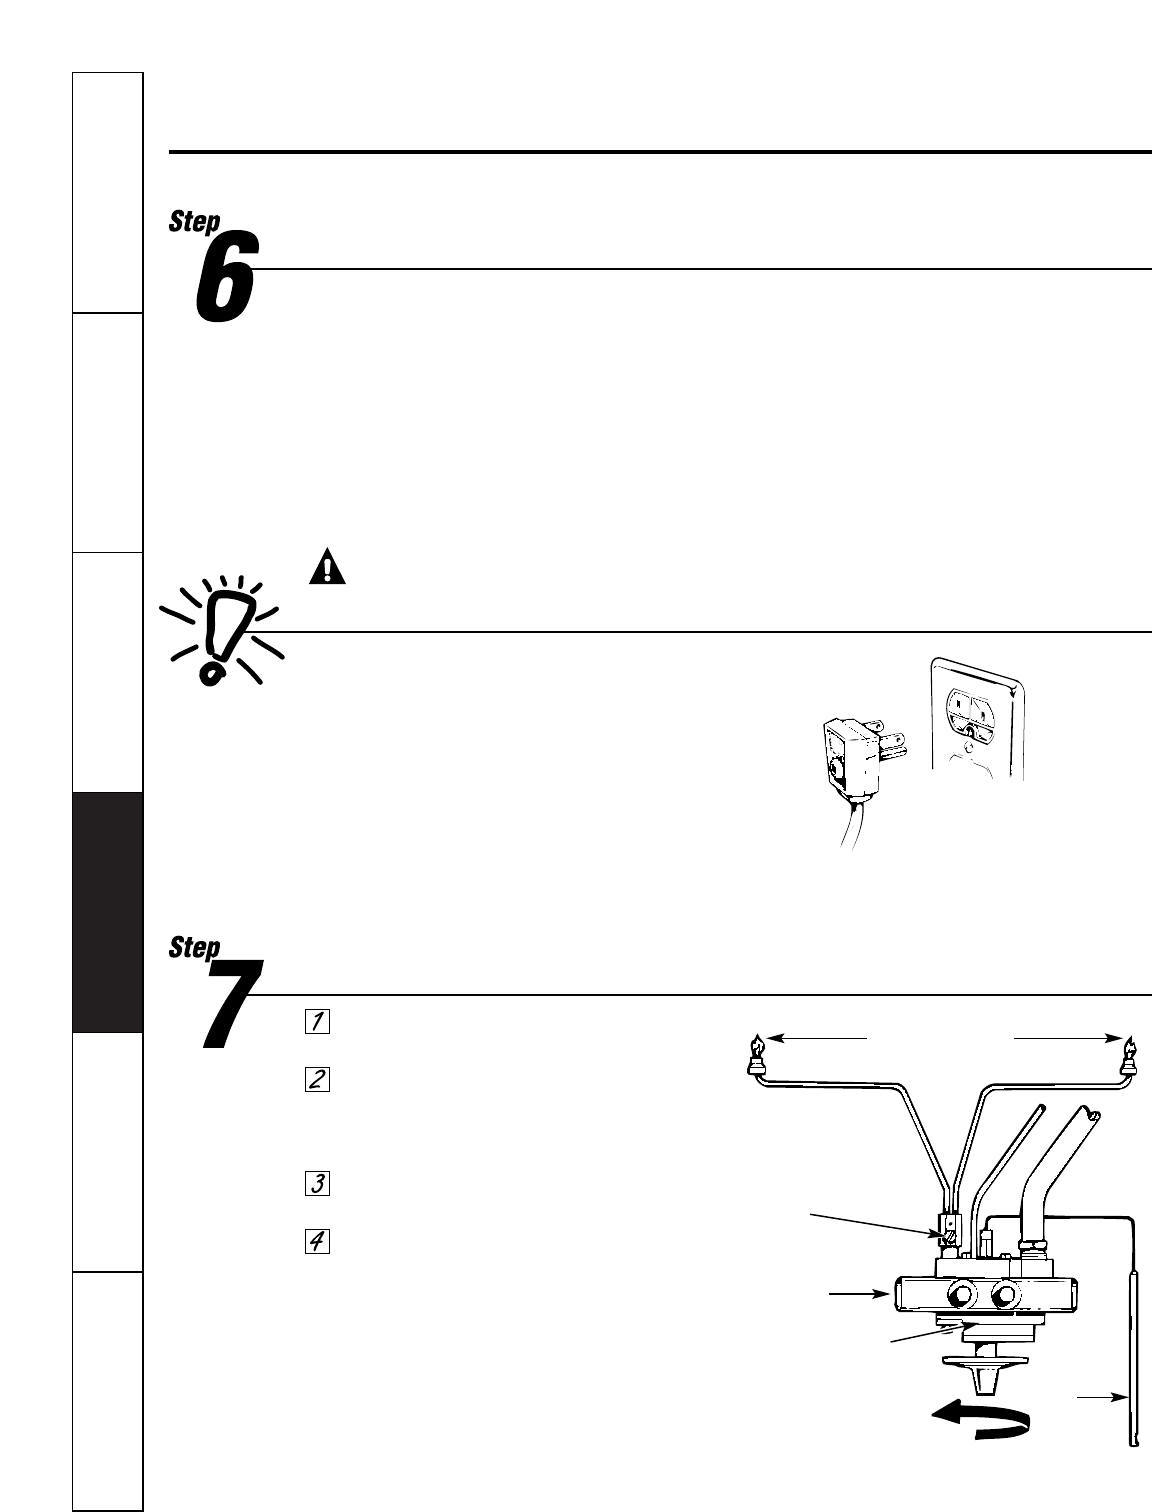
Light and Adjust Surface Burner Pilots (if range has standing pilots)
Purge all air from supply system by turning
one top burner valve fully
ON
for 15 seconds.
Turn valve
OFF
and light pilot burners.
Adjust pilot flames using the adjusting screw
on the back of the thermostat, so that each
flame is approximately 1/4-inch in height.
To light any top burner, push and turn
burner knob to the
LITE
position.
When burner has ignited, rotate knob to
desired flame setting.
WARNING!
Electrical Grounding Instructions
This appliance is equipped with a three prong
grounding plug for your protection against shock
hazard and should be plugged directly into a
properly grounded receptacle. Do not cut or
remove the grounding prong from this plug.
INSURE PROPER GROUND EXISTS BEFORE USE.
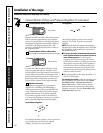
Top burner pilots
Top pilots adjustment
screw controls the
rate of gas to the top
burner pilots.
Manifold pipe
Thermostat
To Safety Valve
To Oven Pilots
Thermostat
Sensor
ON


