


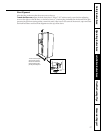


Consumer SupportTroubleshooting Tips
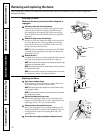
Operating InstructionsSafety Instructions
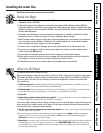
Installation Instructions
21
Before making the connection to the
refrigerator, be sure the refrigerator power
cord is not plugged into the wall outlet.
If your refrigerator does not have a water filter, we
recommend installing one if your water supply has
sand or particles that could clog the screen of the
refrigerator’s water valve. Install it in the water line
near the refrigerator.
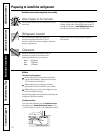
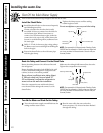
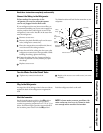
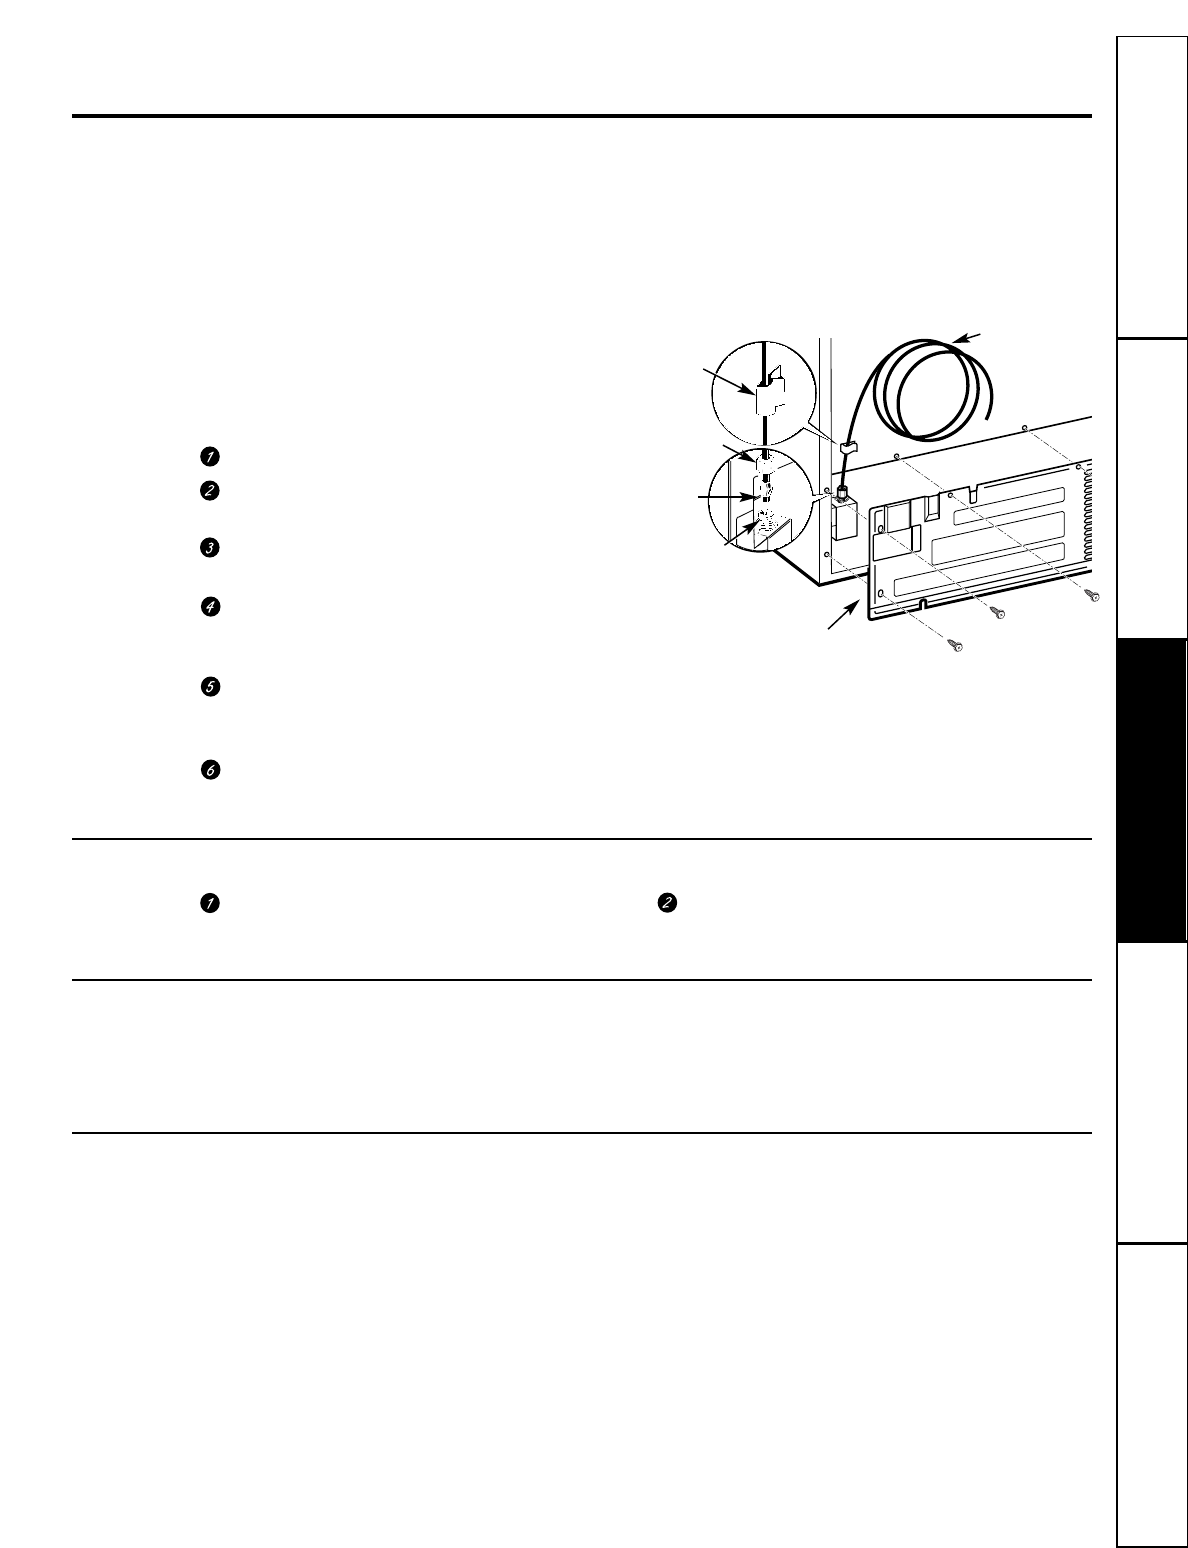
Remove access cover.
Remove the plastic flexible cap from the water
valve (refrigerator connection).
Place the compression nut and ferrule (sleeve)
onto the end of the tubing as shown.
Insert the end of the tubing into the water valve
refrigerator connection as far as possible. While
holding the tubing, tighten the fitting.
Fasten the tubing into the clamp provided to
hold it in position. You may need to pry open
the clamp.
Replace access cover.
The illustration below will look like the connection on your
refrigerator.
Connect the Tubing to the Refrigerator
Turn the Water On at the Shutoff Valve
Tighten any connections that leak. Replace the access cover and screws (on some
models).
Plug In the Refrigerator
Arrange the coil of tubing so that it does not vibrate
against the back of the refrigerator or against the
wall.
Push the refrigerator back to the wall.
Start the Icemaker
Set the icemaker power switch to the
ON
position.
The icemaker will not begin to operate until it
reaches its operating temperature of 15°F (-9°C) or
below. It will then begin operation automatically if
the icemaker power switch is in the
ON
position.
NOTE: In lower water pressure conditions, the
water valve may turn on up to 3 times to make
sure enough water reaches the icemaker.
1/4″
Compression
Nut
Tubing
Clamp
1/4″ Tubing
Refrigerator
Connection
Remove Cover
Read these instructions completely and carefully.
Ferrule
(sleeve)