25
Installation Instructions
INSTALLING THE COOKTOP
INSTALLING THE COOKTOP
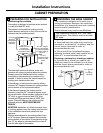
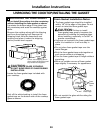
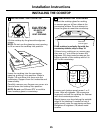
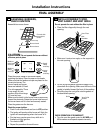
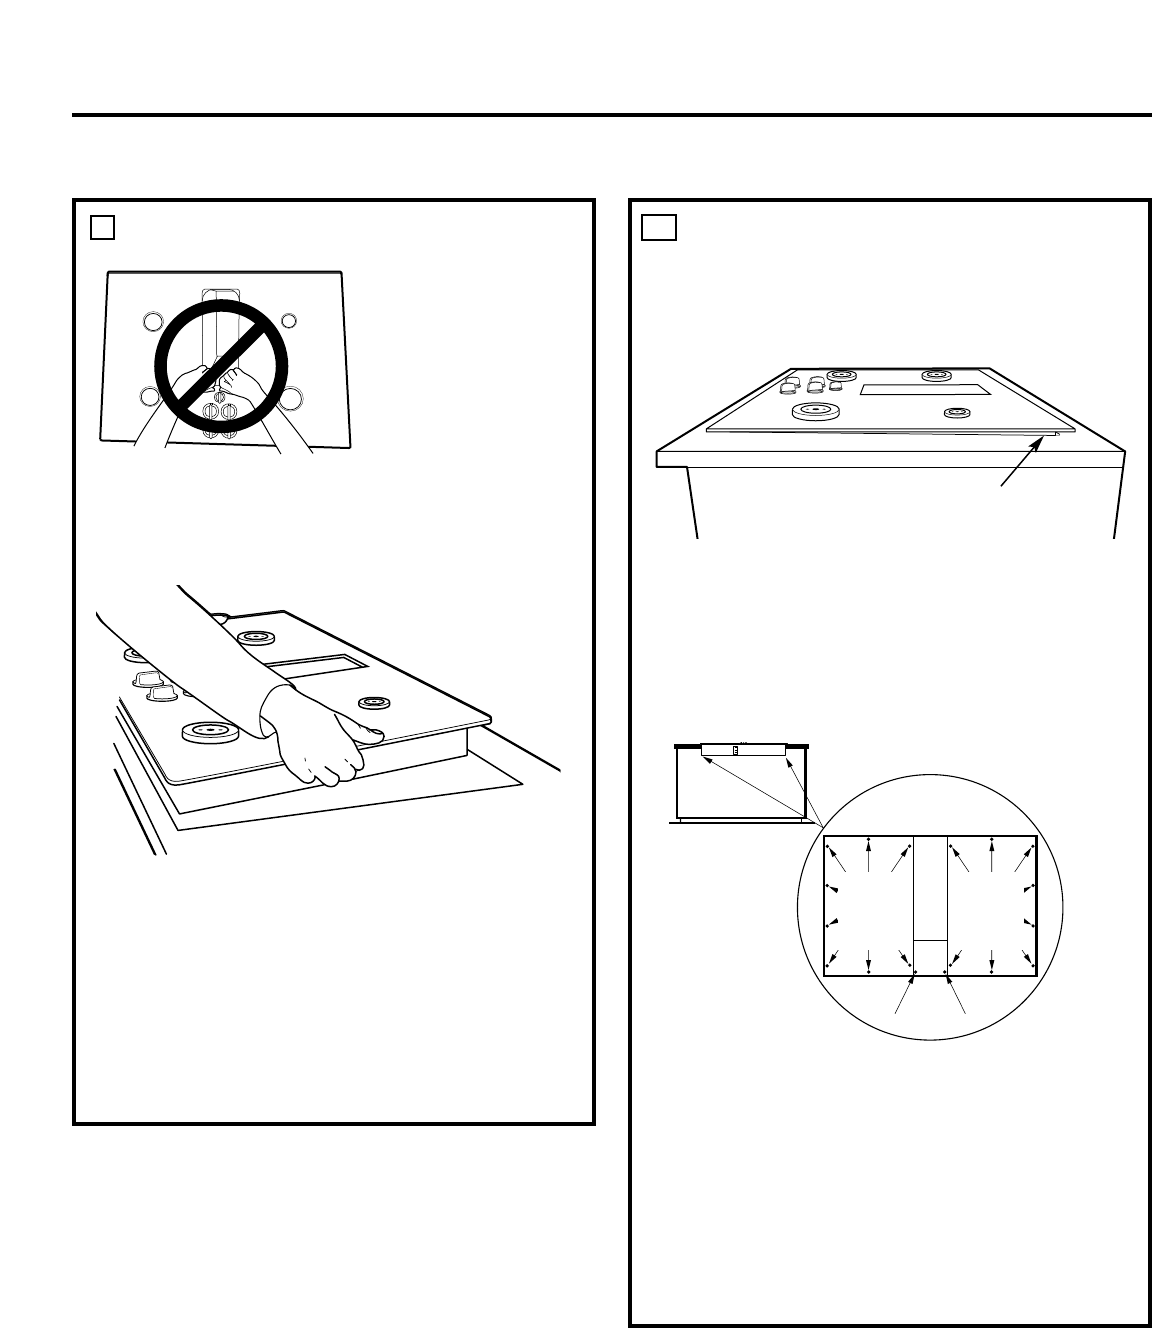
Lift the cooktop by the glass side edges as
shown.
NOTE: Do not use the glass top vent opening
to lift or move the cooktop into position.
Lower the cooktop into the countertop
opening, guiding it into position. Glass is
fragile—do not allow it to drop onto the
countertop. Support from the underside and
lower slowly.
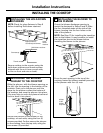
Carefully remove your fingers one corner at a
time to lower the cooktop into position.
NOTE: Do not use Silicone RTV or caulk to
bond cooktop glass to countertop.
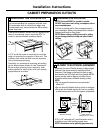
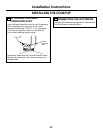
CHECKING FOR FLATNESS
Inspect the cooktop glass for rocking
or uneven gap on all four sides at the
countertop surface. Do not attempt to
force the glass to meet the countertop.
If the cooktop is perfectly flat with the
countertop surface, skip to Step 10.
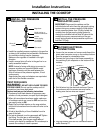
If there is any rocking or an uneven gap,
then use a
1
⁄4″ nut driver to loosen the
eighteen (18) sheet metal screws on the
bottom panels of the cooktop while it is
still in the countertop.
Loosen each bottom panel screw 1 or 2
turns. After all eighteen (18) screws are
loosened, recheck the cooktop for flatness
with the countertop surface.
Gently bump your hand along the outside
edge of the cooktop if needed to help it
settle evenly onto the countertop surface.
Retighten all eighteen (18) sheet metal
screws.
Check for
uneven gaps
Loosen
screws
1-2
turns
CAUTION:
DO NOT LIFT
FROM
VENT OPENING.
8
9
Loosen
screws
1-2
turns


