


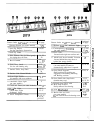
OVEN CONTROL, CLOCK AND TIMER
(continued)
Power Outage
On some models, after a power outage the oven will
If your model has a COOK TIME
automatically resume its setting once power is
ON/OFF pad and your oven was set for
restored.
timed baking or roasting when the power
For models with a CLOCK pad, when
the power is restored the display will flash
“PF” for Power Failure until a pad is
pressed or the knob is turned. Reset the
o
outage occurred, the clock and all
o
1
?!:!
ONIOFF
programmed functions must be reset. To reset them,
CLOCK
first turn the Oven Temperature knob back to OFF,
reset the clock, functions and knob back to the way
clock to the correct time of day.
they were before the power outage.
If the oven was in operation when the power outage
occurred, the Oven Temperature knob must be turned
back to OFF. Then reset the knob to the way it was
before the power outage.
End of Cycle Tone
n
End of cycle tone can be cleared by
~
VAMOFF
ER pressing the TIMER ON/OFF pad,
o
or, on other models, by pressing the
,
~~~~
COOK TIME ON/OFF pad.
ONIOFF
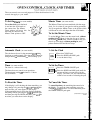
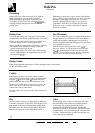
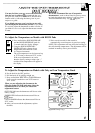
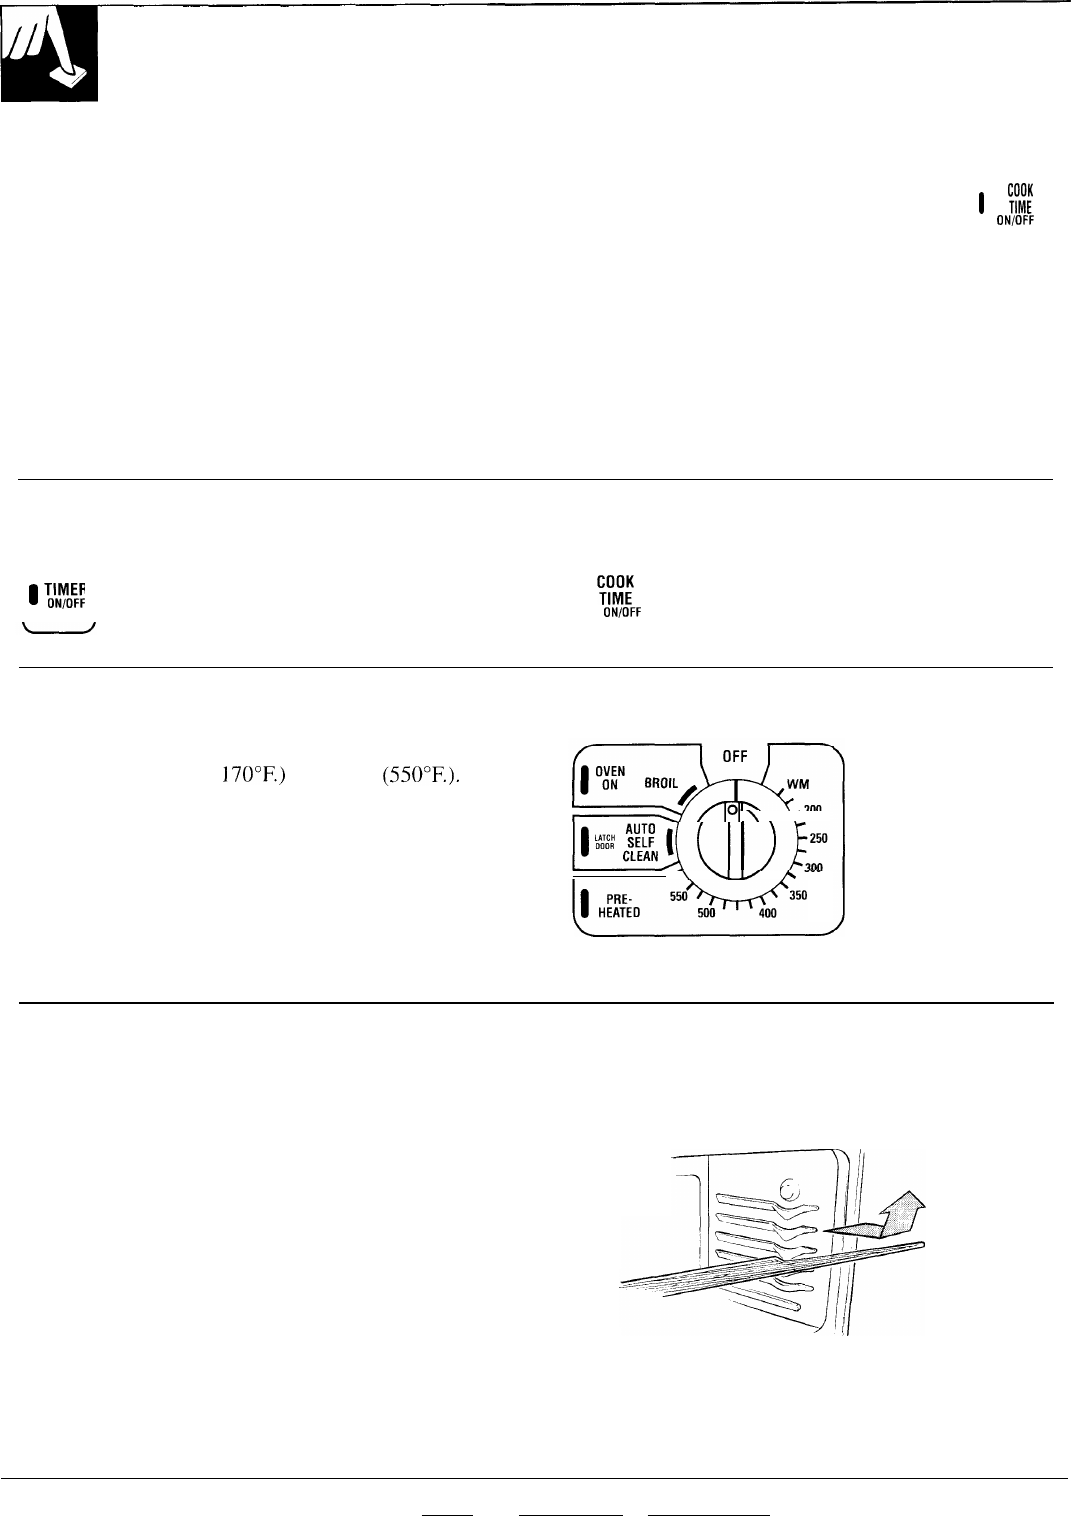
Oven Temperature Knob
The oven temperature knob maintains the temperature
you set from WARM (
170°F.)
to BROIL
(550”F.).
It also has an OFF and an AUTO CLEAN setting.
The PREHEATED light glows when the oven
reaches your selected temperature.
The OVEN ON light will glow any time the Oven
Temperature knob is not in the OFF position and is
set on a temperature or a function.
-2
/1”1
\
Y’””
\
~
A-”-
(appearance may vary)
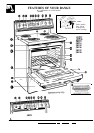
USING YOUR OVEN
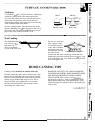
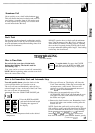
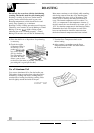
Oven Shelves
When placing cookware on a shelf. pull the shelf out
to the bump on the shelf support. Place the cookware
on the shelf, then slide the shelf back into the oven.
This will eliminate reaching into the hot oven.
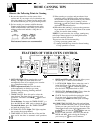
To remove the shelves from the oven, pull toward
pl
J%!%
~:<~
!
-.
you, tilt the front end upward and pull them out.
:=<——–.
-
-———
_—
To replace, place the shelf on the shelf support with
~“=-~”-k~
//
the stop-locks (curved extension under the shelf)
~~
I
facing up toward the rear of the oven. Tilt up the front
The shelves are designed with stop-locks so that
and push the shelf toward the back of the oven until it
when placed correctly on the shelf supports, they
goes past the bump on the shelf support. Then lower
the front of the shelf and push it all the way back.
will stop before coming out completely from the
oven, and will not tilt when removing food from or
12
placing food on them.