


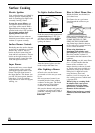


Top-of-Range Cookware
Aluminum:
Medium-weight
cookwme
is nxommended because it
heats quickly and evenly. Most
fxxls
brown evenly in an aluminum skillet.
Minerals in
fd
and water will stain
but will not harm aluminum. A
quick scour with a soap-filled steel
wool pad after each use keeps
aluminum cookware looking shiny
and new. Use saucepans with
tight-
fitting lids for cooking with
minimum amounts of water.
Cast Iron:
If heated slowly, most
skillets will give satisfactory results.
Enamelware: Under some
conditions, the enamel of some
cookware may melt. Follow cookware
manufacturer’s recommendations
for cooking methods.
Glass:
There are two types of glass
cookware-those for oven use only
and those for top-of-range cooking
(saucepans, coffee and teapots).
Glass conducts heat very slowly.
Heatproof Glass Ceramic: Can
be used for either surface or oven
cooking.
It
conducts heat very
slowly and cools very slowly.
Check cookware manufacturer’s
directions to be sure it can be used
on gas ranges.
Stainless Steel: This metal alone
has poor heating properties, and is
usually combined with copper,
aluminum or other metals for
improved heat distribution.
Combination metal skillets usually
work satisfactorily if they are
used with medium heat as the
manufacturer recommends.
—
Using Your Oven
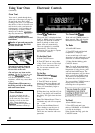
Electric Ignition
The oven burner and broil
burner on your range are lighted
by electric ignition.
To light either burner,
push the
button for the desired function and
turn the SET knob until the desired
temperature is displayed. The burner
should ignite within 60 seconds.
Power Outage
CAUTION: DO
N~
MAKE
ANY ATTEMPT
TKl
OPERATE THE ELECTRIC
IGNITION OVEN DURING
AN ELECTRICAL POWER
OUTAGE. Neither the oven
nor the broiler can be lit during
an electrical power outage. Gas
will not flow unless the glow
bar is hot.
If the oven is in use when a
power outage occurs, the oven
burner shuts off and cannot be
re-lit until power is restored.
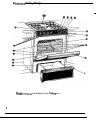
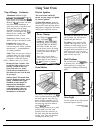
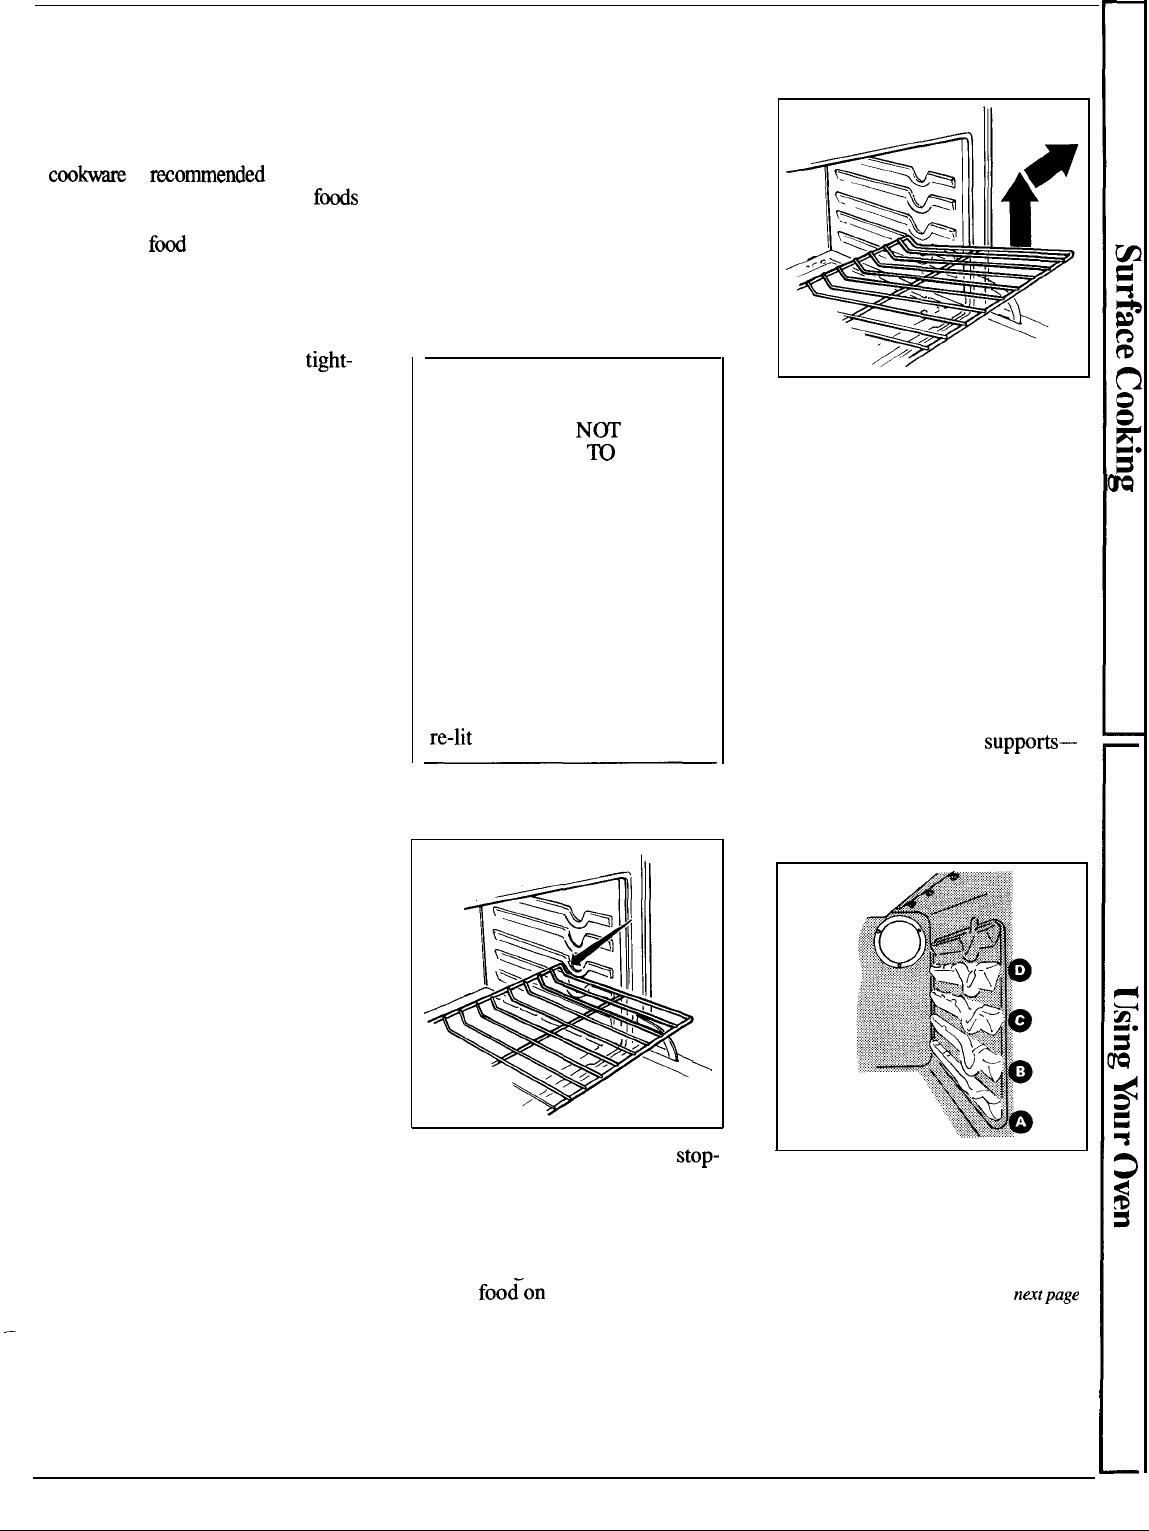
Oven Shelves
To remove a shelf from the oven,
pull it toward you, tilt front end
upward and pull shelf out.
To replace,
place shelf on shelf
support with stop-locks (curved
extension of shelf) facing up and
toward rear of oven. Tilt up front
and push shelf toward back of oven
until it goes past “stop” on oven
wall. Then lower front of shelf and
push it all the way back.
Shelf Positions
The oven has four shelf
supports—
A (bottom), B, C and D (top).
Shelf positions for cooking are
suggested on Baking and Roasting
pages.
\
The shelves are designed with
stop-
locks so when placed correctly on
the shelf supports, they will stop
Oven Light
before coming completely out of
the oven and will not tilt when you
Use the switch on the control panel
are removing food from them or
to turn the light on and off.
placing
foo{on
them.
(continued nextpage
When placing cookware on a shelf,
pull the shelf out to the “stop”
position. Place the cookware on
the shelf, then slide the shelf back
into the oven. This will eliminate
reaching into the hot oven.
9