Installation Instructions
7
NOTE: To prevent damage, leave inside
packaging, door spacer and outside
protective wrap in place until the unit
is moved to the installation location.
STEP 3 INSTALL THE REFRIGERATOR
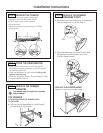
BEFORE MOVING REFRIGERATOR
INDOORS
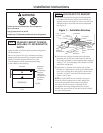
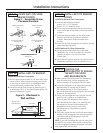
IMPORTANT: Doors and passageways
into the installation location require a 31" min. opening.
If the opening is less than 31", the top cap, doors
and drawers must be removed. (See steps 4–6.)
NOTE: Skip steps 4–6 if door removal is not required.
Go to page 9, Move The Refrigerator.
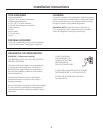
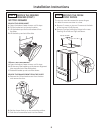
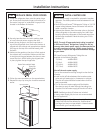
TOP DRAWER
D
C
A
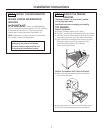
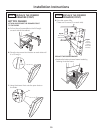
STEP 4 REMOVE THE FREEZER
DRAWERS
The freezer drawers can be removed, if needed,
to fit through tight areas.
Read these instructions completely and carefully.
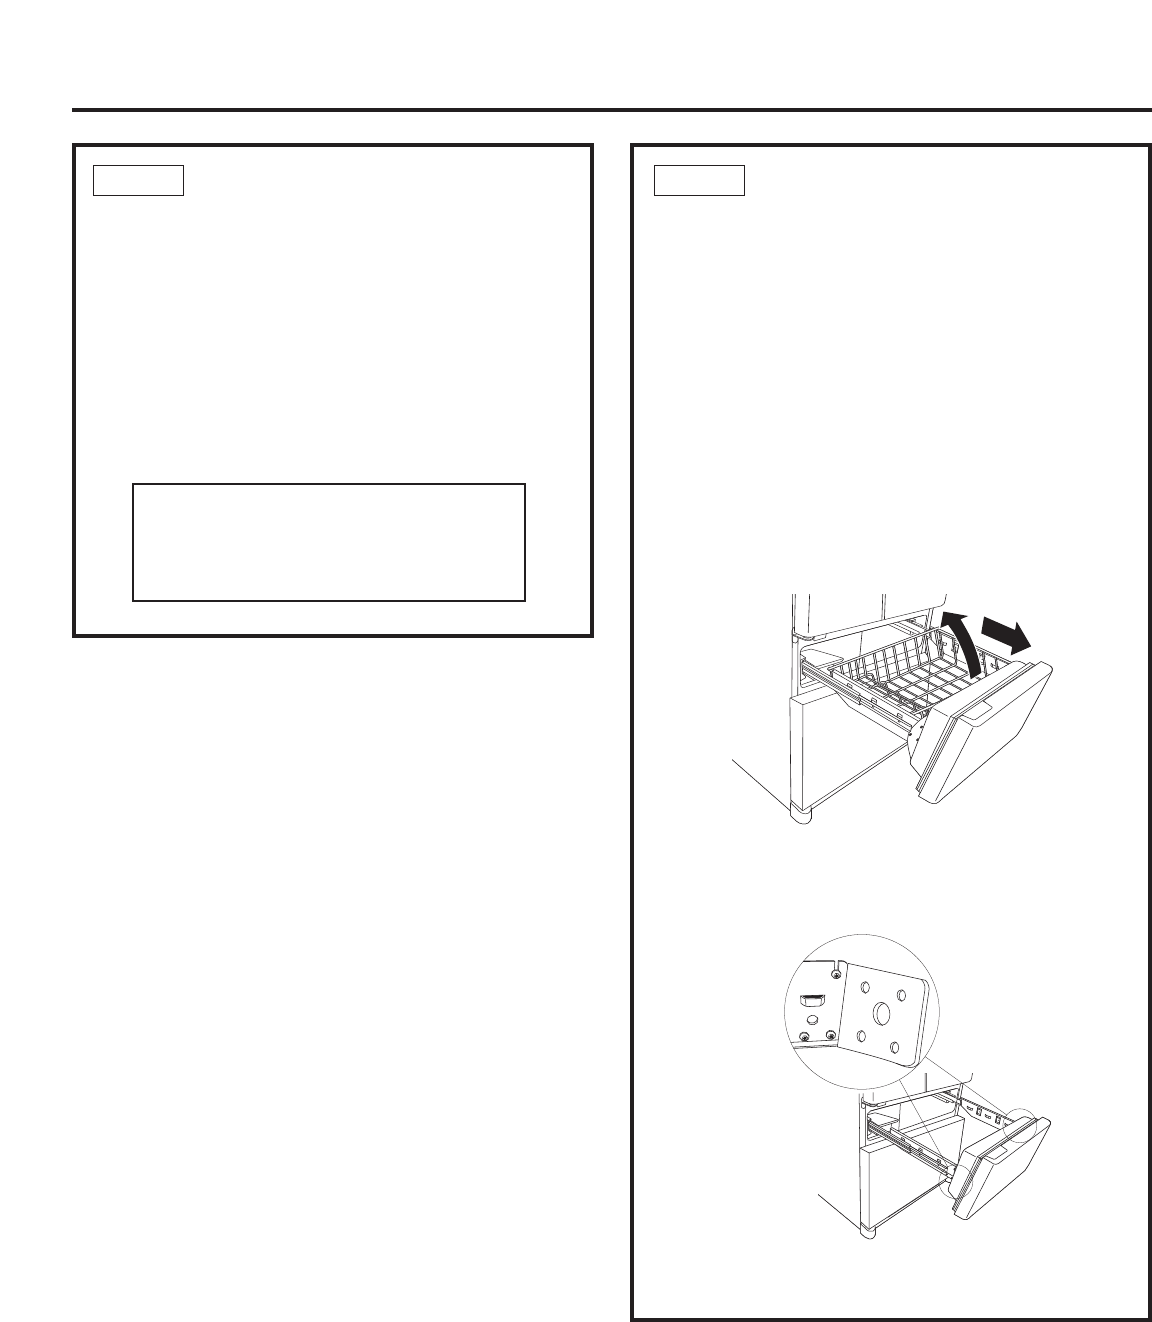
REMOVE THE BASKET
A.
Open the freezer drawer until it stops.
B. Cut the 2 wire ties off of the basket with wire cutters.
C. Lift the front end of the basket so that the front two
alignment tabs come out of the slide bracket first.
D. Then rotate the front edge of the drawer up while
lifting the remaining two rear alignment tabs
out of the slide bracket. Pull the basket
up and out of the drawer.
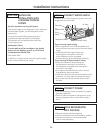
REMOVE THE DRAWER FROT FROM THE SLIDES
A.
Remove the 8 hex head screws from the door
and remove the door.
B. Set the drawer front on a non-scratching surface.
C. Push the rail assemblies back into the cabinet.


