


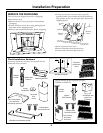


Duct
Length
Measure
Length
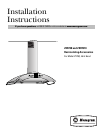
Installation Instructions
7
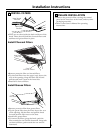
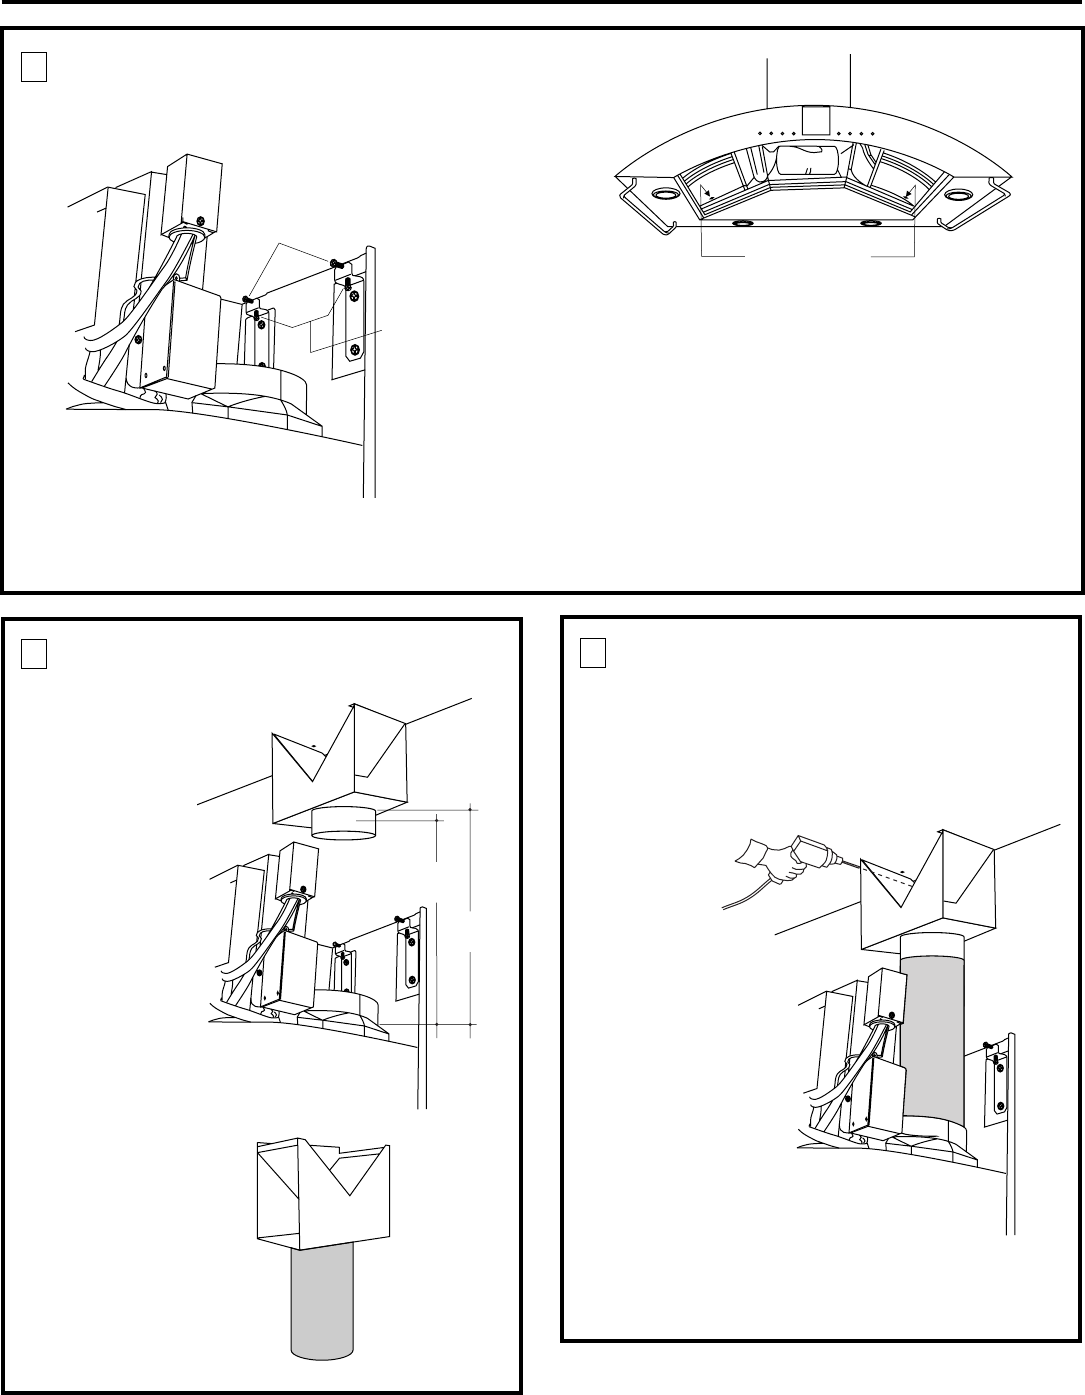
5 INSTALL AIR DEFLECTOR
ASSEMBLY
• Place the assembly over the hood outlet.
• Hold the assembly against the ceiling. The penciled
centerline should show through the slot on the
deflector. Mark the two screw holes on the back of
the assembly.
• Remove the
assembly and
drill 1/8" pilot
holes into
the wall studs.
• Enlarge holes
that did not enter
studs to 3/8" and
tap plastic or metal
anchors into the
holes, flush with
the wall.
• Mount the assembly
onto the hood outlet,
push up against the ceiling
and install the screws provided.
• Use duct tape to seal the connection.
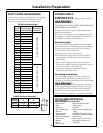
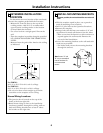
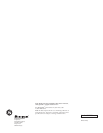
3 INSTALL THE HOOD
Place the hood on the brackets and slide left to right
to align with rectangular slots at the top.
• Align the hood lower mounting holes with pilot
holes in the wall.
• Using two large flat washers (supplied), install wood
screws or wall fastener screws, loosely, into lower
mounting holes. Do not tighten.
• Level the hood by tightening or loosening the
screws “A” located on the bottom mounting
brackets.
• Tighten lower mounting screws.
• Tighten screws “B” located at the top of the
mounting bracket against the hood to clamp
the position. Do not overtighten screws.
Screws “B”
To Secure Hood
To Wall
Level and
Height
Adjustment
Screws “A”
• Adjust the installation height by tightening or
loosening the screws “A” at the bottom of the
brackets.
Lower
Mounting Screws
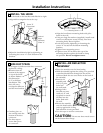
• Cut duct piece to
size and slip onto the
bottom of the duct
connector.
• Use duct tape to
secure duct piece
to connector.
CAUTION: Do not use sheet metal screws
on the bottom duct flange.
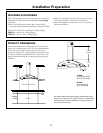
4 SIZE DUCT PIECE
• Hold upper air deflector with duct connector
against the ceiling.
• Measure from the
bottom of the support
to top of the hood
as shown. Reduce
this dimension
by 1" to facilitate
installation. The
duct will cover/
overlap the deflector
and the hood outlets.