H8067 Flat Iron Style Mandolin Kit
-9-
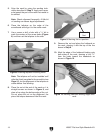
11. Remove the fretboard, turn the mandolin
over, and draw a line on the end of the neck
where the body intersects it as shown in
Figure 11. Extend this line around the neck
using a straightedge.
Figure 11. Marking bottom of neck.
12. Remove the neck from the body.
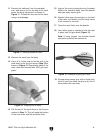
13. Use a 4-in-1 shoe rasp to file the end of the
neck down to the line you drew in Step 10 as
shown in Figure 12. Shape both sides of the
neck, then sand smooth with #220 grit sand
-
paper.
Figure 12. Shaping end of neck.
14. File the end of the neck down to the line you
marked in Step 11.
This will make the bottom
of the neck even with the mandolin body.
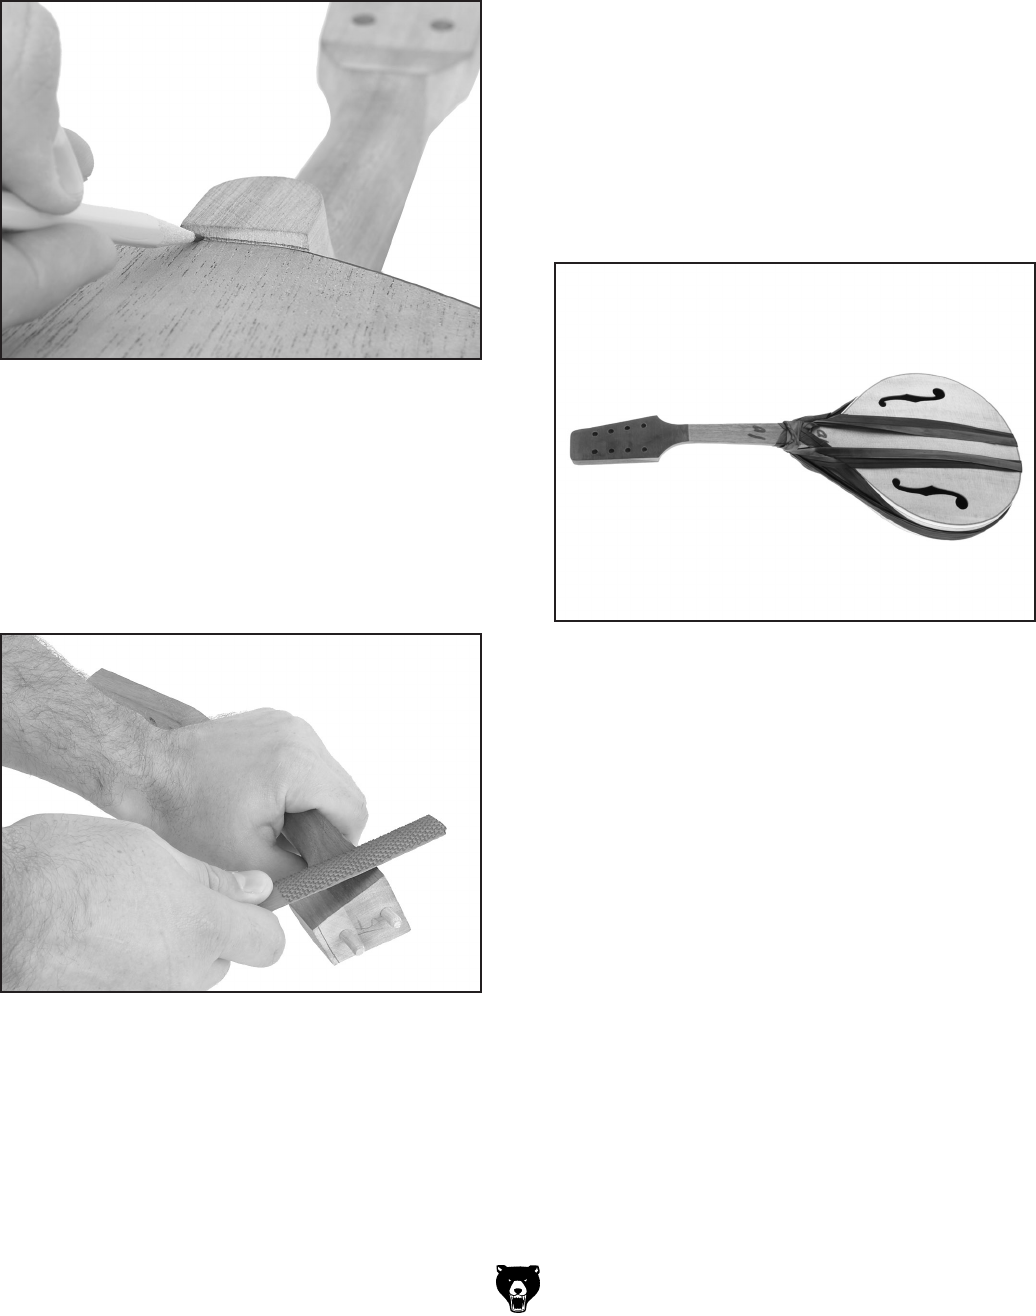
Figure 13. Example of gluing the neck.
19. Scrape away excess glue with a sharp knife
when it sets, then allow the glue to dry for 24
hours before the next step.
15
. Apply a thin coat of wood glue into the dowel
holes in the mandolin body, insert the dowels
and
wipe away excess glue.
16
. Spread a thin layer of wood glue on the heel
of the neck, the dowels, and the body where
it will connect to the neck.
17
. Press the neck firmly onto the dowels.
18
. Use rubber strips or clamps to hold the neck
in place until the glue dries (Figure
13).
Note: If using clamps, use wooden blocks
and pads to protect the instrument
.


