


ace
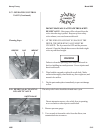
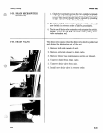
t: Right Burner
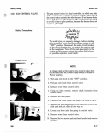
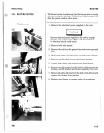
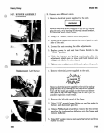
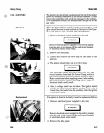
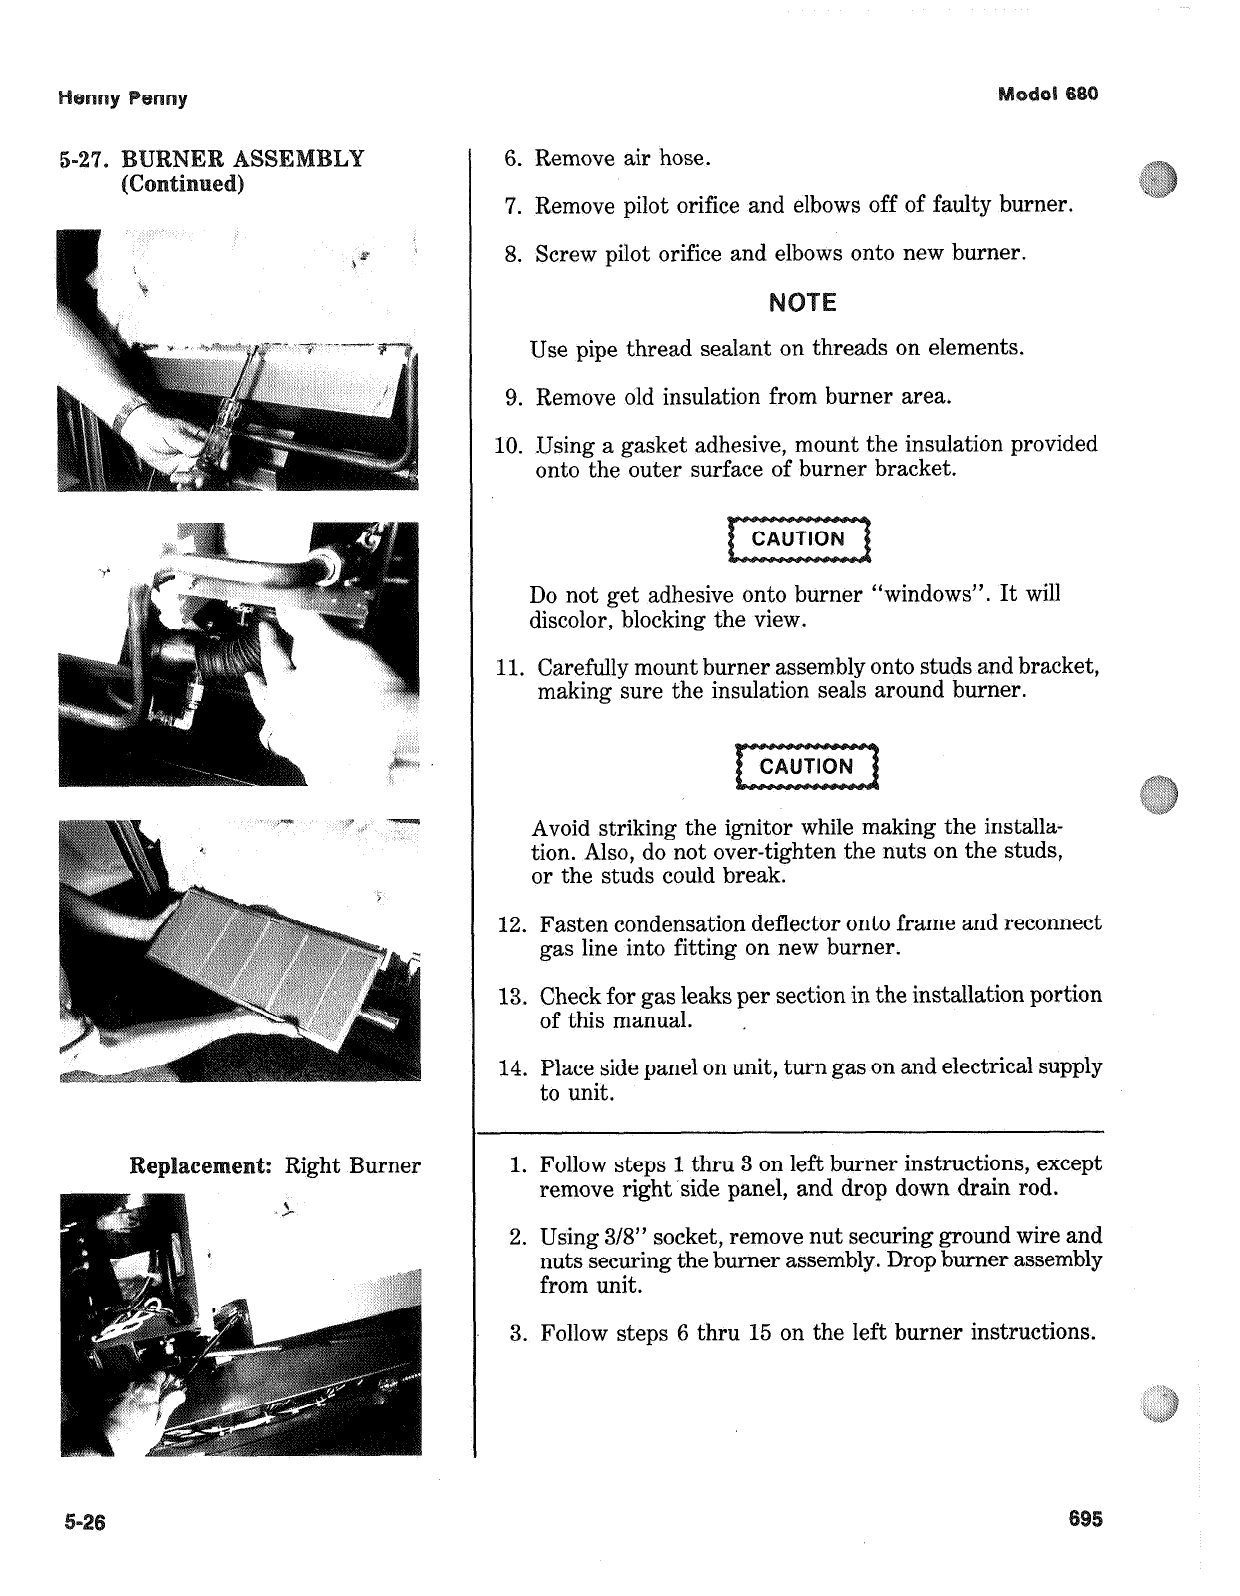
6. Remove air hose.
7. Remove pilot orifice and elbows off of faulty burner.
8. Screw pilot orifice and elbows onto new burner.
Use pipe thread sealant on threads on elements.
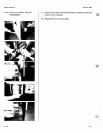
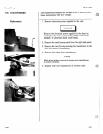
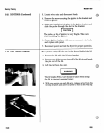
9. Remove old insulation from burner area.
10. .Using a gasket adhesive, mount the insulation provided
onto the outer surface of burner bracket.
Do not get adhesive onto burner “windows”. It will
discolor, blocking the view.
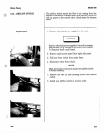
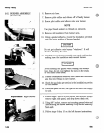
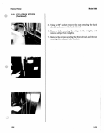
11. Carefully mount burner assembly onto studs and bracket,
making sure the insulation seals around burner.
Avoid striking the ignitor while making the installa-
tion. Also, do not over-tighten the nuts on the studs,
or the studs could break.
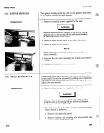
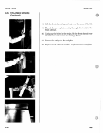
12. Fasten condensation deflector onto frame and reconnect
gas line into fitting on new burner.
13. Check for gas leaks per section in the installation portion
of this manual.
14. Place side panel on unit, turn gas on and electrical supply
to unit.
1. Follow steps 1 thru 3 on left burner instructions, except
remove right side panel, and drop down drain rod.
2. Using 3/8” socket, remove nut securing ground wire and
nuts securing the burner assembly. Drop burner assembly
from unit.
3. Follow steps 6 thru 15 on the left burner instructions.