– 6 –
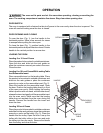
Fig. 1
OPERATION
The oven and its parts are hot. Use care when operating, cleaning or servicing the
oven. The cooking compartment contains live steam. Stay clear when opening door.
DOOR SWITCH
The oven is equipped with a feature that shuts off power to the oven cavity when the door is opened. The
oven will resume cooking once the door is closed.
CLOSED POSITION
OPEN POSITION
DOOR OPENING AND CLOSING
To open the door (Fig. 1), turn the handle to the
horizontal position. Allow a few seconds for steam
to escape before pulling the door open.
To close the door (Fig. 1), position handle in the
horizontal position and push the door closed. Rotate
handle to the vertical position to secure door.
LOADING THE OVEN
Loading 6 or 10 Level Ovens
Place the product to be cooked in suitable containers.
Open the door and slide into the rack guides or
place the containers securely on racks in the oven.
Close the door.
Loading 6 or 10 Level Ovens With Landing Table
And Removable Insert
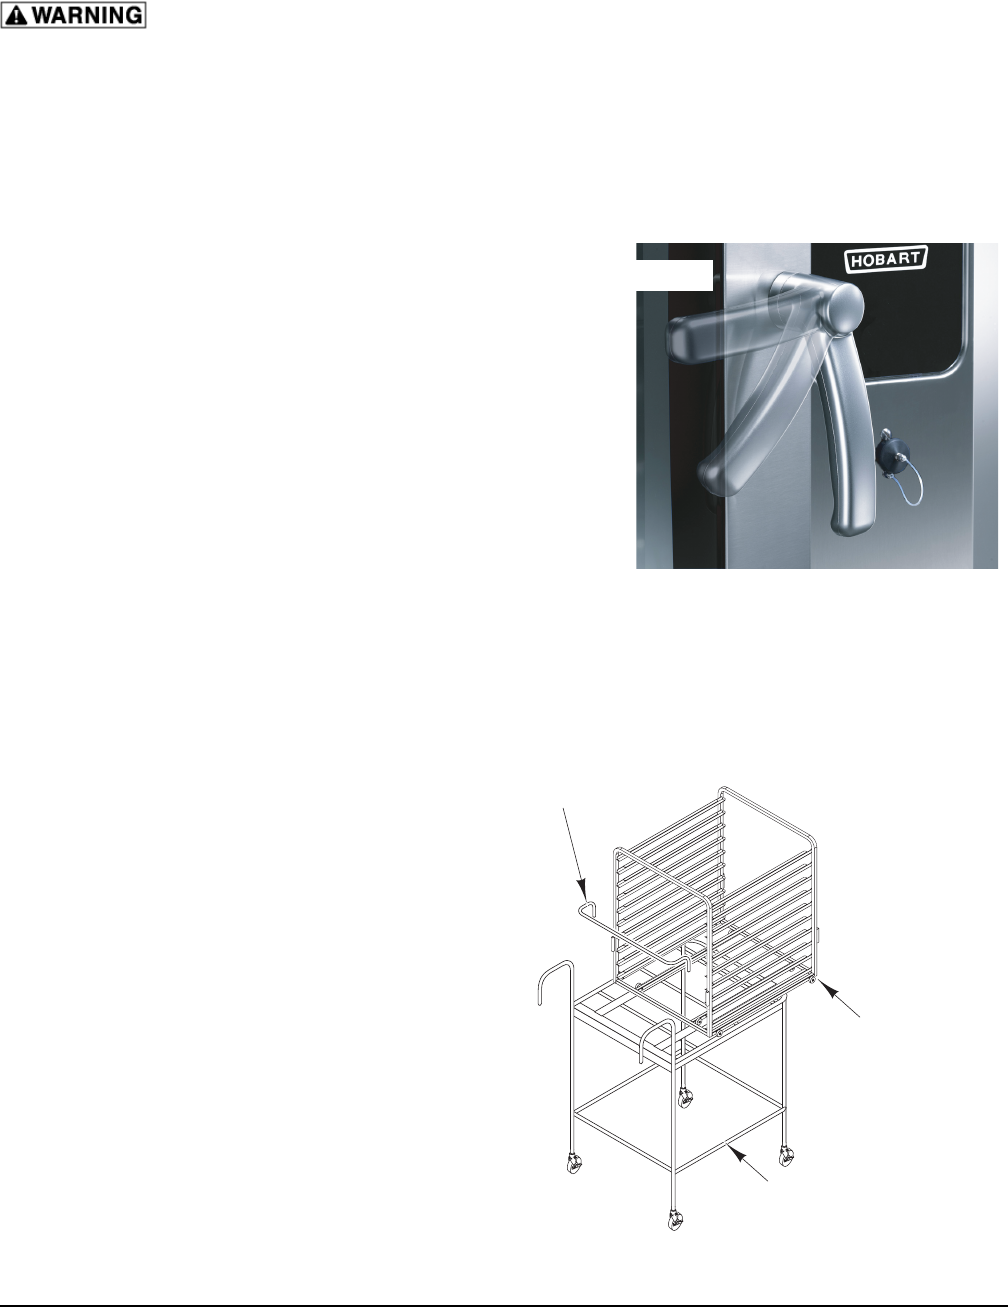
Place removable insert on the landing table. Place
the product to be cooked in suitable containers and
slide into the rack guides or place the containers
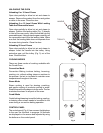
securely on racks on the removable insert (Fig. 2).
Place the handle into the removable insert. Open
the door. Position the landing table directly in front
of the open oven cavity. While holding the landing
table in position with one hand, with the other hand,
release the insert and gently roll the removable insert
into the oven cavity. Make sure that the landing
table does not separate from the oven during the
transfer. Remove the handle from the insert and
close the door.
Loading 20 Level Ovens
Place the product to be cooked in suitable containers
and slide into the rack guides or place the containers
securely on racks on the trolley (Fig. 3). Place the
handle into the trolley. Open the door. Line up the
trolley with the trolley slots on the oven and push
the trolley into the oven cavity. Remove the handle
from the trolley and close the door.
Fig. 2
HANDLE
LANDING
TABLE
REMOVABLE
INSERT


