


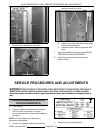

OV500 SERIES RACK OVEN - REMOVAL AND REPLACEMENT OF PARTS
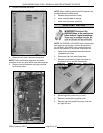
EPROM REPLACEMENT
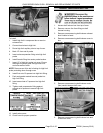
1. Open the control compartment door to gain
access to controller.
2. Remove the controller box cover.
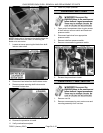
Static electricity will damage the controller
board. Use an anti-static grounding kit when
servicing the controller.
3. Remove the prom from the controller.
4. Install the new prom. Verify orientation notch
and carefully align pins of prom.
5. Re-assembly the oven.
6. Perform CONTROLLER DEFAULT SETTINGS
as outlined under SERVICE PROCEDURES
AND ADJUSTMENTS.
7. Check for proper operation.
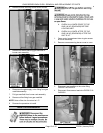
DOOR SWING CHANGE
NOTE: If hood installed door can not be lifted to
proper height to clear the hinge pins. Removal of
door hinges from door jamb will be required.
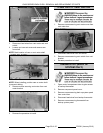
1. Open the door at least 90 degrees.
2. Remove door sweep from door assembly.
3. Use a J bar to support door assembly at center
bottom to assist in door removal.
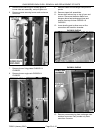
A. Remove both door jamb hinges from door
jamb and set door & door hinges aside.
B. The door jamb hinge set screws will need
to be loosened to remove hinge pins and
insert in opposite direction (upward).
NOTE: Ensure hinge pin set screws engage into
notch in pin and tighten set screws.
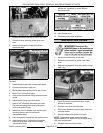
4. Rotate door such that top of door is at the
bottom and install door & door hinges onto door
jamb.
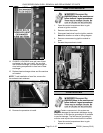
5. Remove pan head screws on opposite side of
door jamb and install both door jamb hinges
with flat head screws while supporting center
bottom of door assembly with a J bar.
NOTE: Leave one door jamb hinge loose to aid
installation of door assembly.
NOTE: Tighten door jamb hinge if left loose to aid
installation of door assembly.
A. Install pan head screws into other side of
door jamb were hinges removed from.
F25361 (January 2010)Page 27 of 60