.....7
.
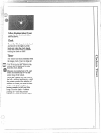
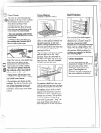
The oven is vented throughduct
,3
- “~~$i==.openingsat therear of the cooktoP.
~ t$&:~&3-
- - =7:==”=(SeeFeatures section.)Do not
-.. ,
,,;
blockthese openingswhen
cookingin the oven—it is
importantthat theflow of hot air
fromthe oven and fresh air to the
ovenburners be unintempted.
E
-;
.
..
-
.
F-
‘ The Vefitopeningsand nearby
surfacesmay become hotsDo not
touch them.
@
Handlesofpotsand pans on
tile eooktop may become hot if
left too close to the vent.
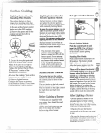
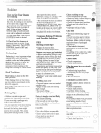
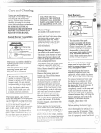
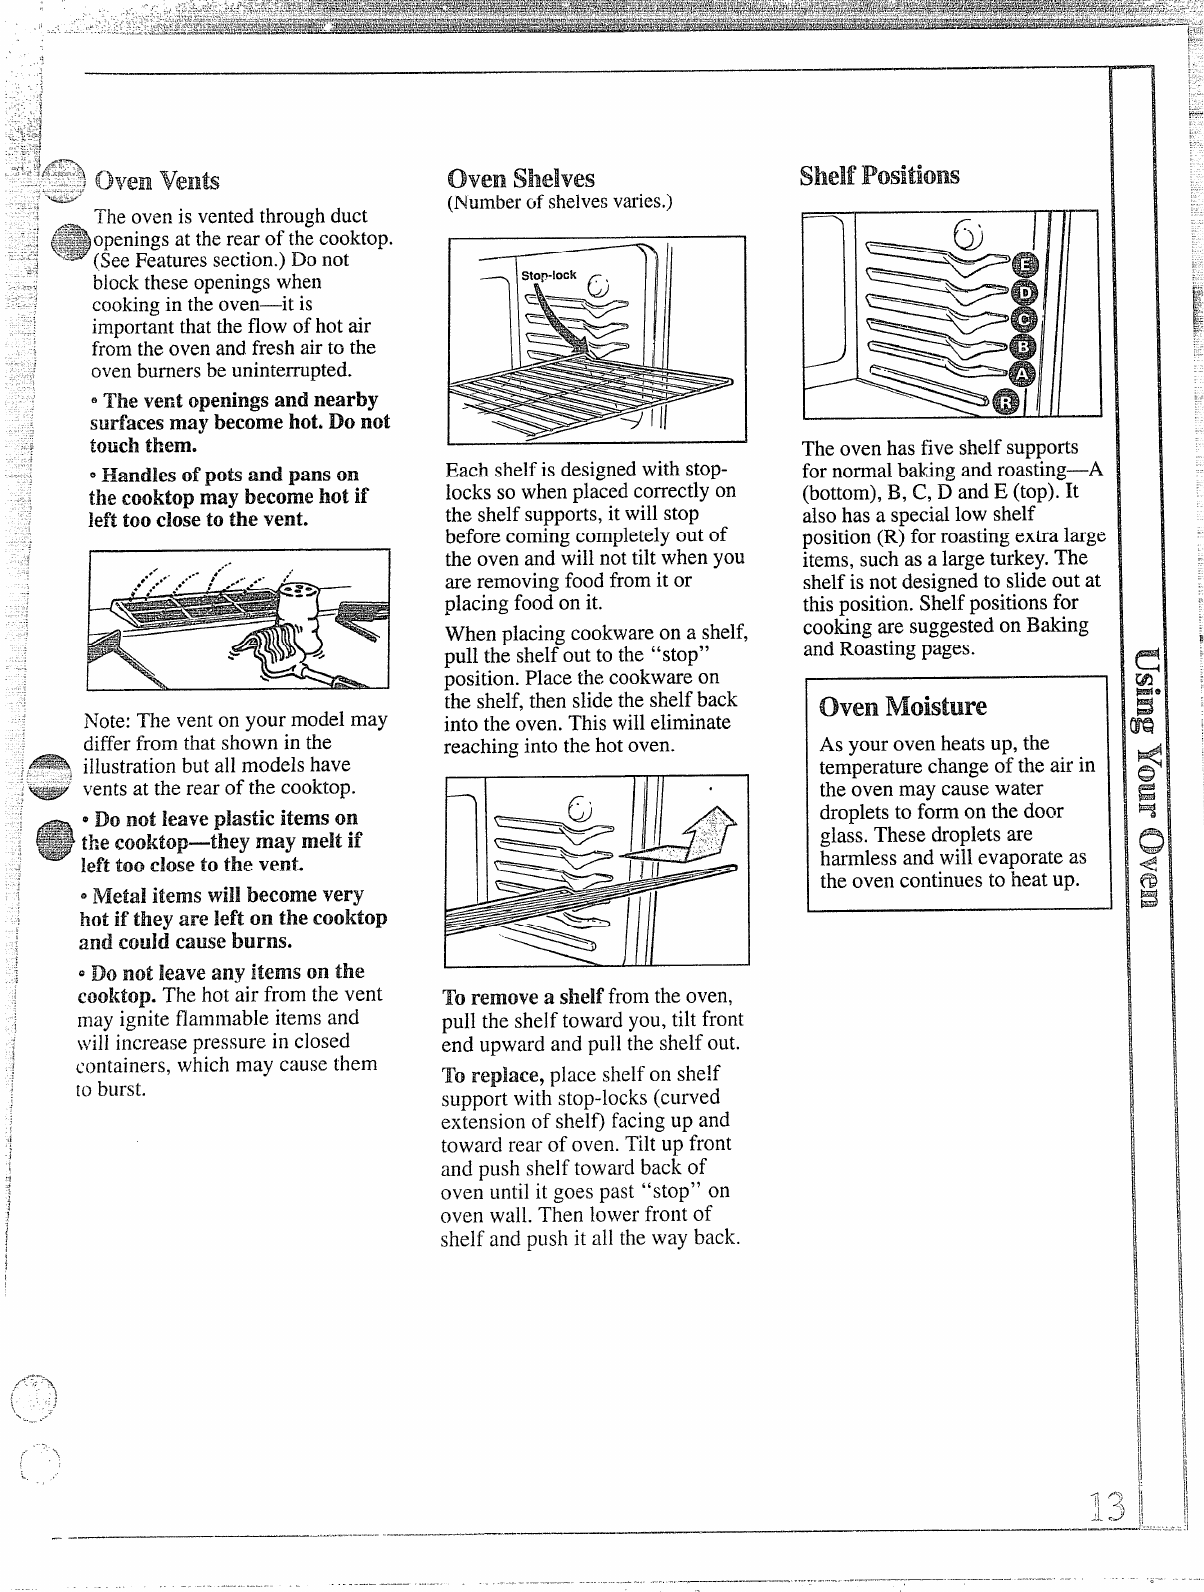
The oven has five shelf supports
for normal baking and roasting—l
(bottom),B, C, D and E (top). It
also has a speciallow shelf
position (R) for roasting extra Iarg
items, such as a large turkey.The
shelfis not designed to slide out a
this position. Shelfpositionsfor
cooking are suggestedon Baking
and Roasting pages.
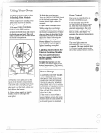
Each shelfis designed with stop-
locks so when placed correctly on
the shelfsupports, it will stop
before coming completelyout of
the oven and will not tilt when you
are removing food from it or
placing food on it.
When placing cookware on a shelf,
pull the shelf out to the “stop”
position. Place the cookware on
the shelf, then slidethe shelf back
into the oven. This will eliminate
ovenMoisture
l~ote:Theventonyourmodelmay
differ from that shown in the
a illustrationbut all models have
~‘-’ ventsat the rear of the cooktop.
As your oven heats up, the
temperature change of the air in
the oven may cause water
droplets to form on the door
glass. These droplets are
harmless and will evaporate as
the oven continues to heat up.
reaching into the hot oven.
“ Metal items will become very
hot if
they are left on the Cooktop
and couldcause burns.
QDo not leave any items on the
eooktop. The hot air from the vent
may ignite flammable items and
~villincrease pressure in closed
containers, which may cause them
to burst.
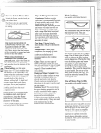
To remove a shelf from the oven,
pull the shelf toward you, tilt front
end upward and pull the shelf out.
To replace, place shelf on she!f
support with stop-locks (curved
,
extension of shelf) facing up and
toward rear of oven. Tilt up front
and push shelf toward back of
oven until it goes past “stop” on
oven wall. Then lower front of
shelf and push it all the way back.
..
.
,-
—


