


5
NOTES:
•
A properly adjusted burner with clean
ports will light within a few seconds.
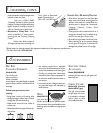
If using natural gas, the flame will be
blue with a deeper blue inner cone.
If the burner flame is yellow or is
noisy, the air/gas mixture may be in-
correct. Contact a service technician
to adjust. (Adjustments are not cov-
ered by the warranty.)
With LP gas, some yellow tips on the
flames are acceptable. This is normal
and adjustment is not necessary.
•
With some types of gas, you may hear
a “popping” sound when the surface
burner is turned off. This is a normal
operating sound of the burner.
•
If the control knob is turned very
quickly from hi to lo, the flame may
go out, particularly if the burner is
cold. If this occurs, turn the knob to
the OFF position, wait several sec-
onds and relight the burner.
•
To improve cooking efficiency and to
prevent possible damage to the
cooktop or pan, the flame must be
adjusted so it does not extend be-
yond the edge of the pan.
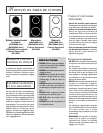
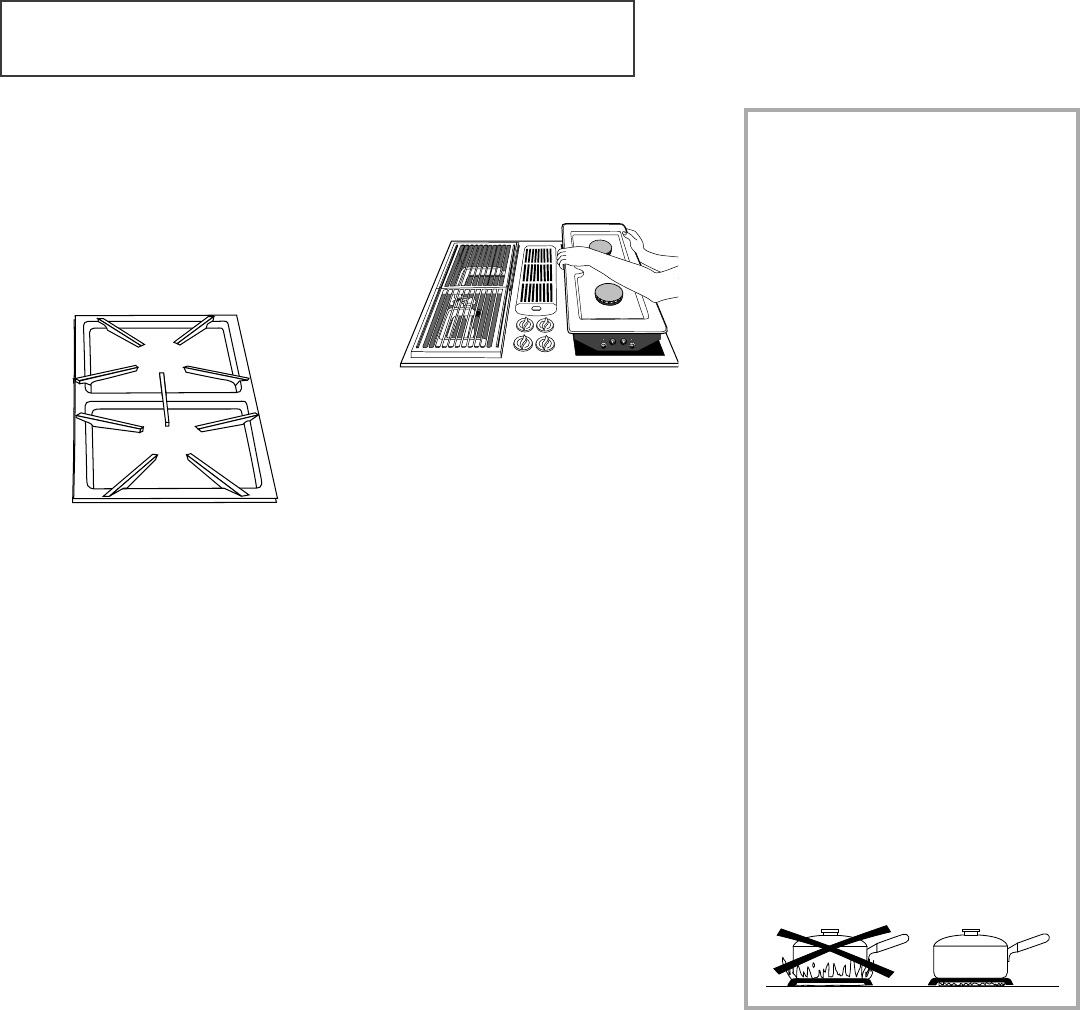
INSTALLATION
TO INSTALL SEALED BURNER
CARTRIDGE:
1. Be sure control knobs are turned OFF.
2. Clean basin of any grease accumulation.
(See appliance User’s Guide for clean-
ing recommendations.)
3. With the back raised, position the
burner cartridge with the mixer tube
openings and ignitor rods toward the
orifices and terminal receptacle. Slide the
cartridge until the tubes and ignitors
start to engage, then lower the cartridge
so that it rests on the cooktop surface.
Gently slide forward to fully engage.
celain finish may chip without a pan
to absorb the heat from the burner
flame.
Although the burner grates are durable,
they will gradually lose their shine and/or
discolor, due to the high temperatures of
the gas flame.
TO REMOVE SEALED BURNER
CARTRIDGE:
1. Control knobs should be in the OFF
position and the cooktop should be
cool.
2. Lift up the edge of the cartridge until
the bottom of the cartridge clears the
basin. (Lifting the cartridge too high
while still engaged could damage the
ignitor rods and mixer tubes.)
3. To disengage the cartridge, hold by the
sides and pull away from the terminal
receptacle and orifices. Lift out when
fully unplugged.
4. Do not stack cartridges where they may
fall or be damaged.
COOKTOP CARTRIDGES, CONT.