


CARE&CLEAFIIHG,(ore.
MAINTENANCE OVENL,GHT OVENWINDOW
TO PROTECT THE OVEN
OVEN DOOR DOORWINDOW:
> Disconnect power to range 1. Do not use abrasive cleaning
beforereplacinglightbulb. agentssuchassteel woolscouring
> Usea dry potholderto prevent pads or powdered cleansers as
> Donotplaceexcessiveweighton possible harmto hands when they mayscratchthe glass.
or standon an open oven door. replacingbulb.
Thiscouldcausethe rangeto tip 2. Donothit theglasswithpots,pans,
over,breakthe door,or injurethe > Be sure bulb is cool before furniture,toys or otherobjects.
user. touchingbulb.
3. Donotclosethedooruntilthe oven
> Do not attemptto open or close > Do not touch hot bulb with a racksarein place.
dooror operateovenuntildooris damp cloth as this maycause
properlyreplaced, the bulbto break. Scratching,hitting,jarringor stressing
the glass may weaken its structure
> Never place fingers between causingan increasedrisk of breakage
hinge and front oven frame, at alaterdate.
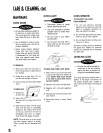
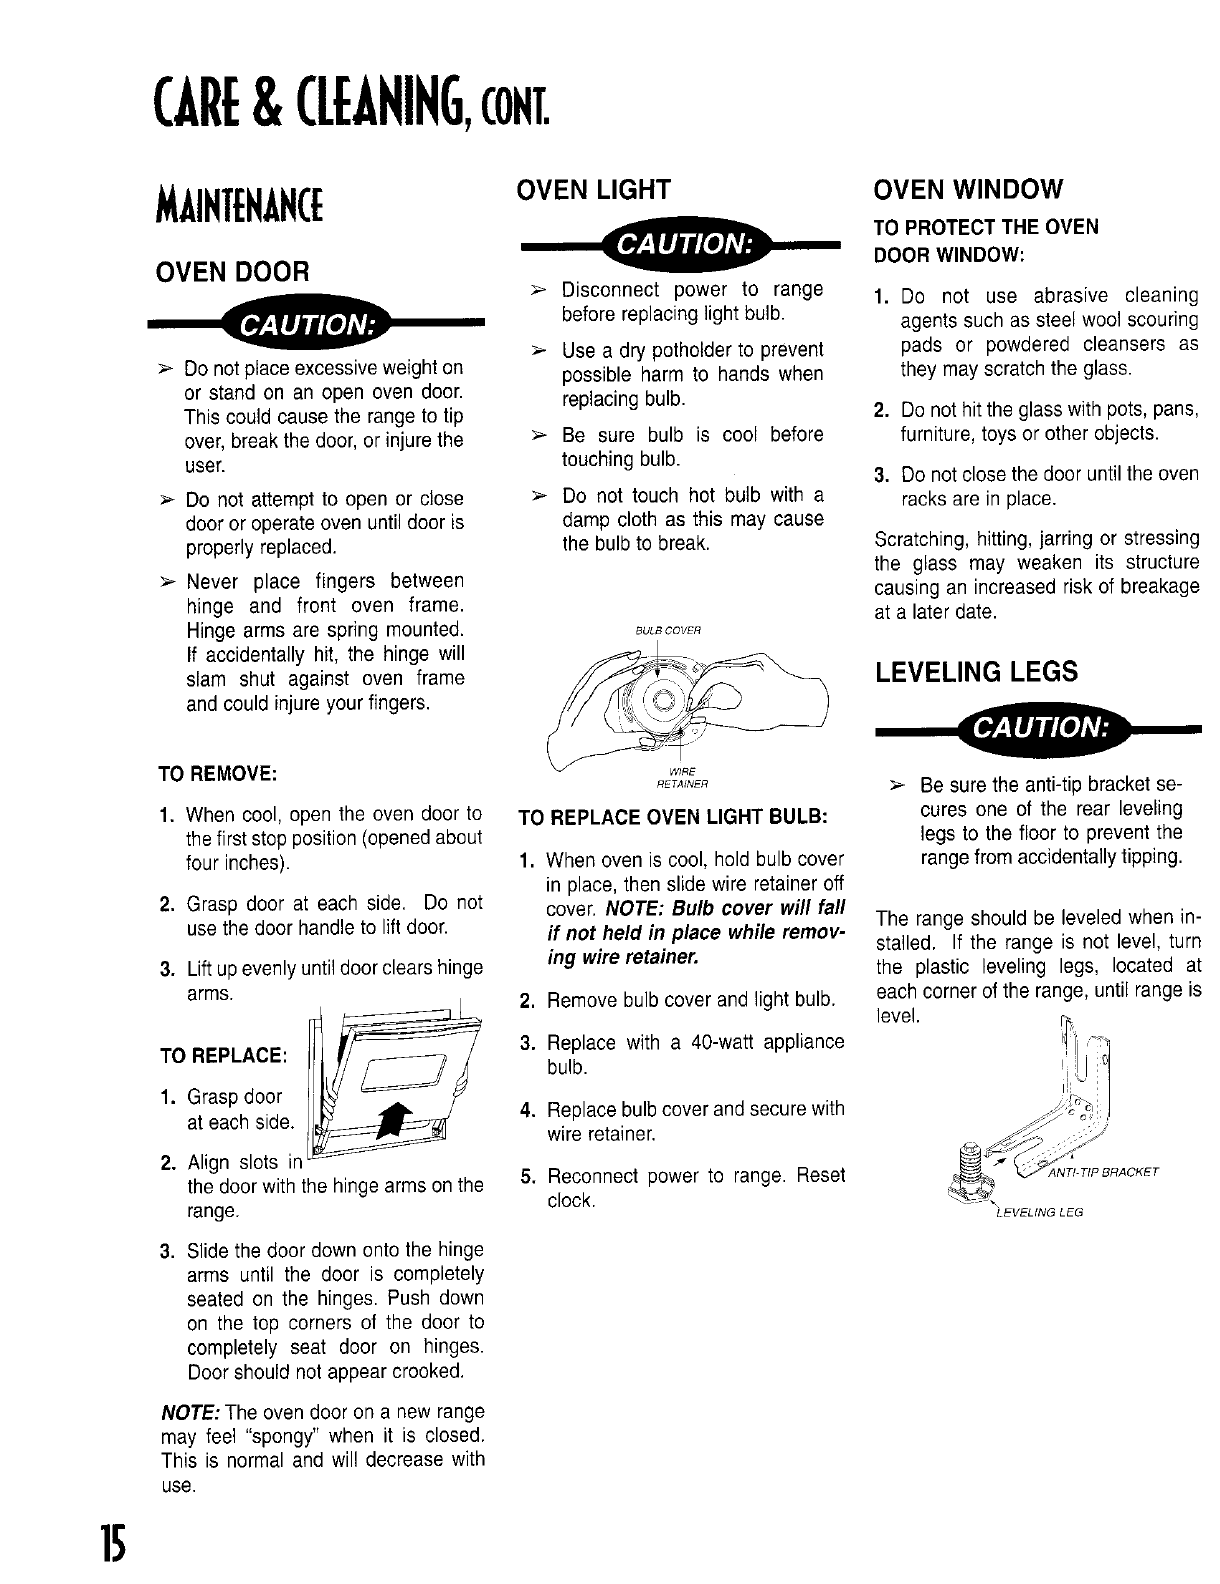
Hingearms are spring mounted. _ULBCovER
If accidentallyhit, the hinge will __
slam shut against oven frame " LEVELINGLEGS
andcouldinjureyourfingers. _' '
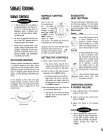
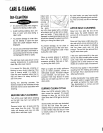
TO REMOVE: RE_,*,NER > Be surethe anti-tipbracketse-
1. When cool,open the oven doorto TO REPLACEOVENLIGHTBULB: cures one of the rear leveling
thefirststopposition(openedabout legs to the floor to preventthe
four inches). 1. Whenovenis cool, holdbulbcover rangefromaccidentallytipping.
in place,thenslidewire retaineroff
2. Graspdoor at eachside. Do not cover.NOTE:Bulb cover will fall
The rangeshouldbe leveledwhenin-
usethedoor handleto liftdoor. if not held in place while remov-
stalled. If the rangeis not level, turn
3. Liftupevenlyuntildoorclearshinge ing wire retainer, the plastic leveling legs, located at
arms. 2. Removebulbcoverandlightbulb. eachcornerof therange,untilrangeis
level.
3. Replacewith a 40-watt appliance
TOREPLACE:
bulb.
1. Graspdoor _:
at eachside. 4. Replacebulbcoverandsecurewith _._ _ :
wire retainer. _
2. Align slots in _,," --
thedoorwiththehingearmsonthe 5. Reconnectpower to range. Reset _ _AANTI-TIPBRACKET
range, clock. _" _'LEVELINGLEG
3. Slidethedoor downontothe hinge
arms until the door is completely
seatedon the hinges.Push down
on the top corners of the door to
completely seat door on hinges.
Doorshouldnotappearcrooked.
NOTE:Theovendooron a newrange
may feel "spongy"when it is closed.
This is normalandwill decreasewith
use.
15