


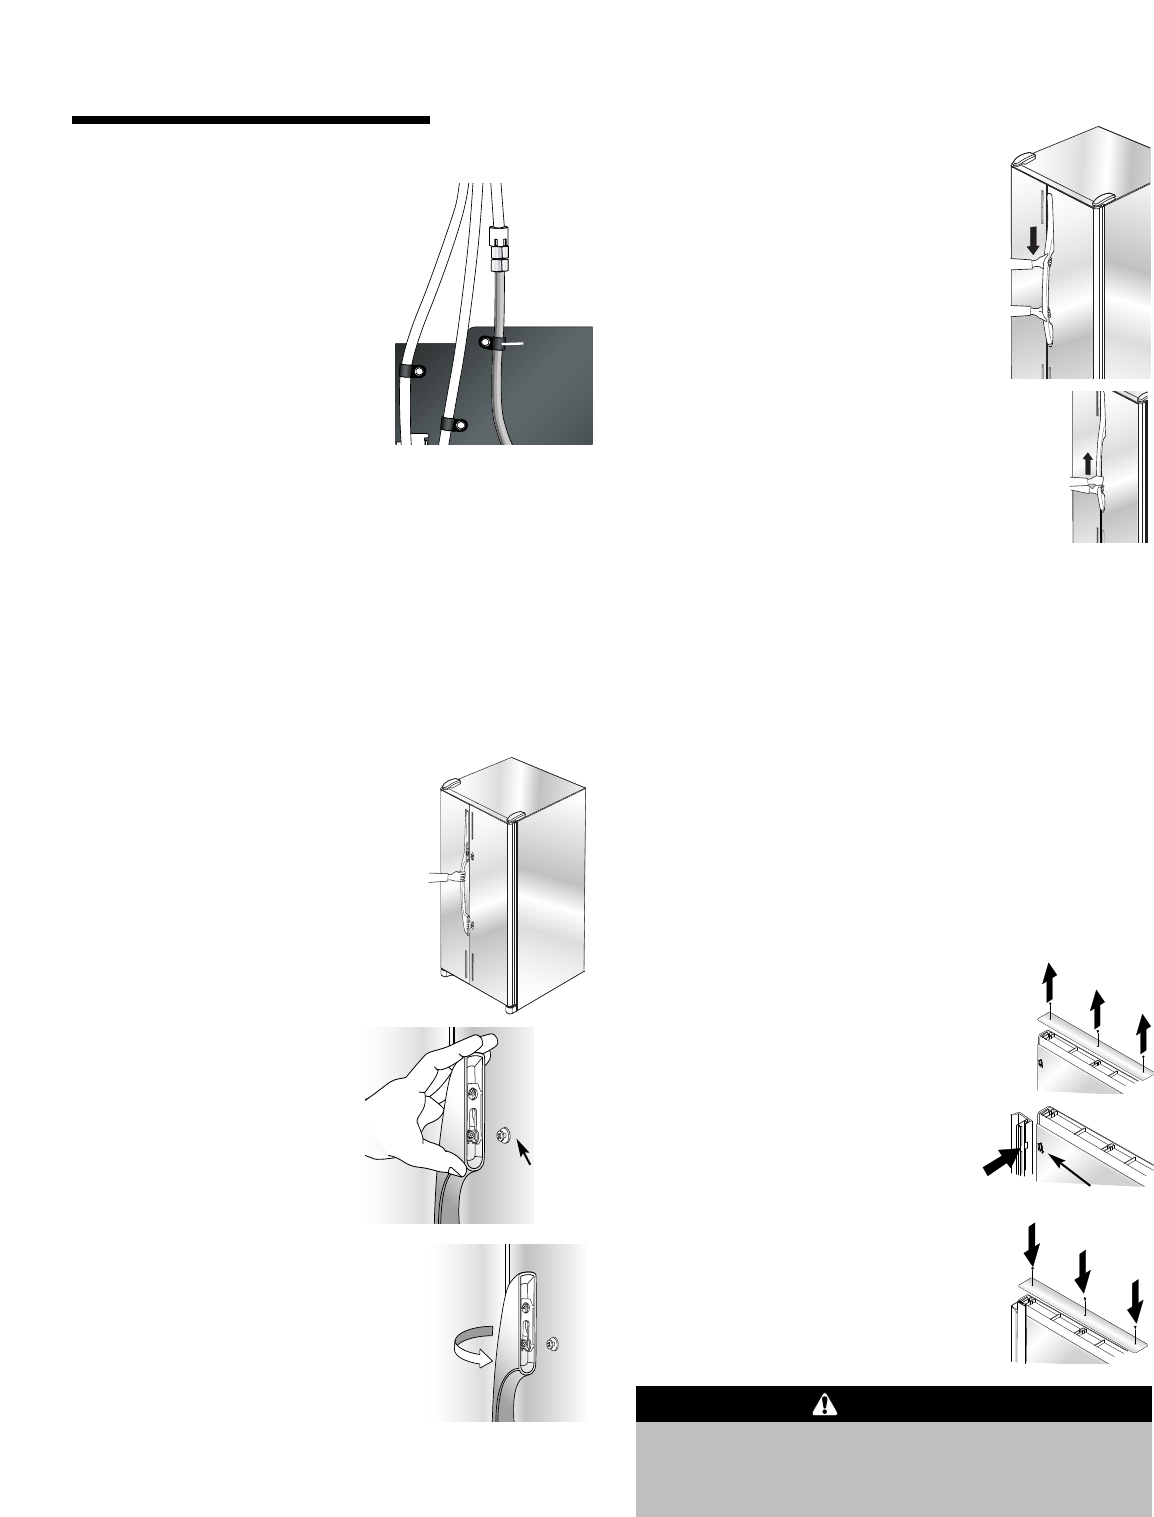
2.
Align notches on back of handle
with retaining clips on doors.
Insert clips into notches and
slide handle
down until it
cont
acts bottom trim.
3.
Replace top door trim and Phillips
screws.
4. Repeat instructions 1-3 to install
other handle.
To avoid possible injury and damage to property,
tape decorative panels (select models) securely into
place before removing door handles.
WARNING
Door Clip
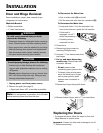
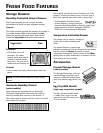
Handle Extensions (select models)
To Install:
• Align and clip handle extension into position on the
handle. Press the extension over the door retainers.
To Remove:
• Slide the extension down and unclip from door
retainer.
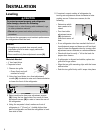
Full-Length Aluminum Handles
Materials Needed:
• Phillips screwdriver
To Install:
1. Release top door trim (select models)
by removing Phillips screws from top
of fresh food door and retain screws
for later use.
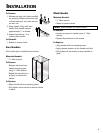
Handle Installation
If not installed, the handle is located in the interior or
attached to the back of your refrigerator. Remove and
discard handle packaging and tape.
Handle design varie
s from refrigerator to refrigerator.
Please reference the appropriate instructions for your
model.
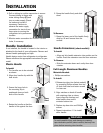
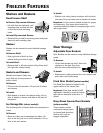
Plastic Handle
To Install:
1. The handles are to be oriented
as shown.
2. Align door handle clip with the
door studs.
3. Ensure the large hole in
the mounting clip is
positioned
down on both
ends of the handle.
4. Rotate the handle so that the
handle is flat against the door.
7
INSTALLATION
5
. Grasp the handle firmly and slide
down.
To Remove:
1. Grasp the lower part of the handle firmly,
slide
up, lift and remove from the
surface.
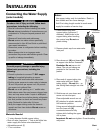
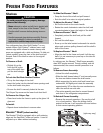
6. Pull on tubing to confirm connection is secure.
Connect tubing to frame with
water tubing clamp
(C) and
turn on water supply. Check
for leaks and correct if
necessary. Continue to
observe the water supply
connection for two to three
hours prior to moving the
refrigerator to its permanent
location.
7. Monitor water connection for 24 hours. Correct
leaks, if necessary.
C
Door
Stud