


Other Hints on Caring for
Your Oven
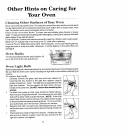
Cleaning Other Surfaces of Your Oven
Door and control panel trim: The metal trim around the door and thecontrol panel
can be cleaned with any nonabrasive cleansers such as Ben Ami or soapy water, rinse
well. Be careful not to use an excessive amount of water.
Glass on the oven door front: To clean, use any suitable glass cleaner or soapy
water. To preventmoisture from getting behindtheglass control panel,spray acloth with
glass cleaner then wipe the panel.
Control Knob: Control knob canbe removedfor cleaning. Wash inwarm soapywater.
Match the "D" shaped hole in the knob to the "D" shaft when replacing.
Control Panel: Wipe with a damp cloth. Drythoroughly. Do not use cleaning sprays,
large amounts of soap and water, abrasives, or sharp objects on the panel-they can
damage it.
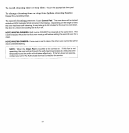
Oven Racks __' _
To removepullforwardtothe"stop" position;lift ___)j_t_/_f
up on the front of the rack and pull out. _ \ _/1_ II\[_1".......
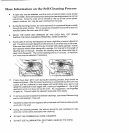
Oven Light Bulb
Before replacingbulb, disconnectpowerto oven atthe mainfuseor circuit breakerpanel.
Be sure that the entire oven cavity including the light bulb is cool before attempting to
remove.
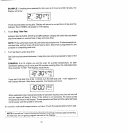
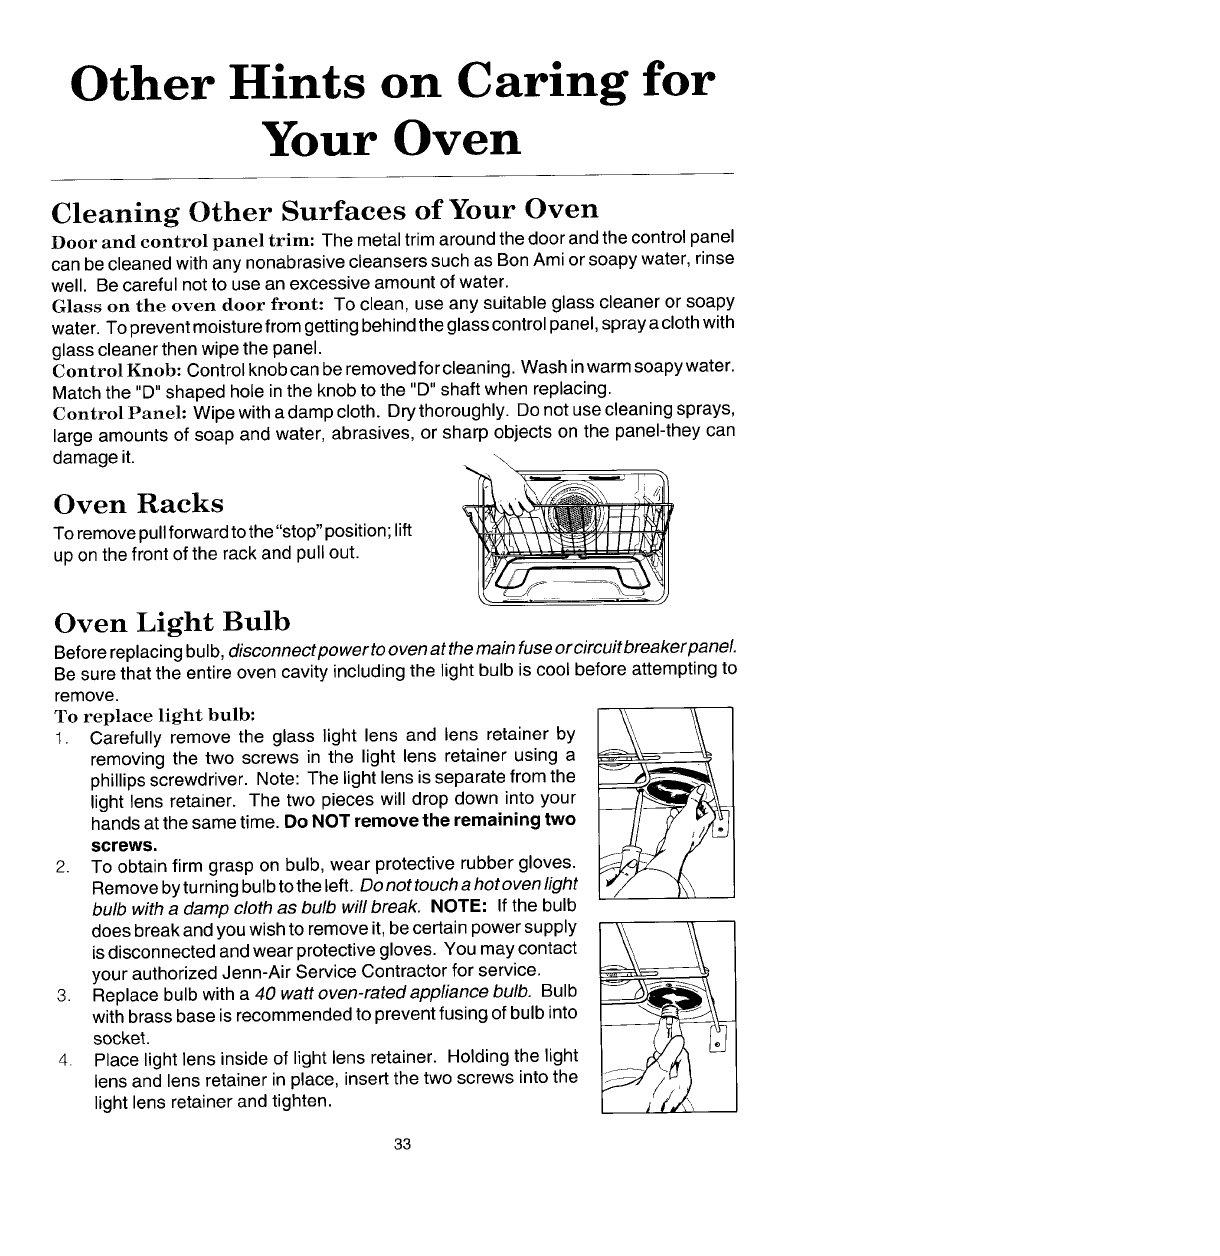
To replace light bulb:
1. Carefully remove the glass light lens and lens retainer by
removing the two screws in the light lens retainer using a
phillips screwdriver. Note: The light lens isseparate from the
light lens retainer. The two pieces will drop down into your
hands at the same time. Do NOT remove the remaining two
screws.
2. To obtain firm graspon bulb, wearprotectiverubbergloves.
Removebyturningbulbtotheleft. Donot toucha hotoven light
bulb with a damp cloth as bulb will break. NOTE: If the bulb
does break and youwishtoremoveit,be certainpowersupply
isdisconnectedand wearprotectivegloves. Youmaycontact
your authorizedJenn-Air ServiceContractorfor service.
3. Replacebulb witha 40 watt oven-rated appliance bu/b. Bulb
withbrassbaseis recommendedtopreventfusingofbulbinto
socket.
4. Place light lens inside of light lens retainer. Holding the light
lens and lens retainer in place, insert the two screws into the
light lens retainer and tighten.
33