Setting Wall Oven Controls
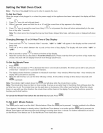
Broil
Broiling is a method of cooking tender cuts of meat by direct heat under the broil
element of the oven. Be sure you center the broiler pan directly under the broil
element for best results.
Arrange oven rack while oven is still cool. Position the rack as needed.
Should an oven fire occur, close the oven door and turn off the
oven. If the fire continues, throw baking soda on the fire or use a fire extinguisher.
DO NOT put water or flour on the fire. Flour may be explosive and water can
cause a grease fire to spread and cause personal injury.
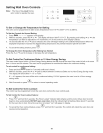
To set for broiling:
1. Arrange oven rack while oven is still cool.
2. Press BrojJ. "--" will appear in the display.
3. Press the A or v pad until the desired broil setting level appears in the
display. Press the A pad for HI broil or the v pad for LO broil. Most foods
may be broiled at the HI broil setting. Select the LO broil setting to avoid excess
browning or drying of foods that should be cooked to the well-done stage.
4. Place the insert on broiler pan, then place the food on the insert. DO NOT
use the pan without the insert or cover the insert with aluminum foil. The
exposed grease could ignite.
5. Place the pan on the oven rack. Open the oven door to the broil stop
position when broiling.
6. Broil on one side until food is browned. Turn and broil food on 2nd side.
Note: Always pull the rack out to the stop position before turning or removing food.
7. When broiling is finished, press s_9.
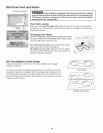
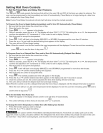
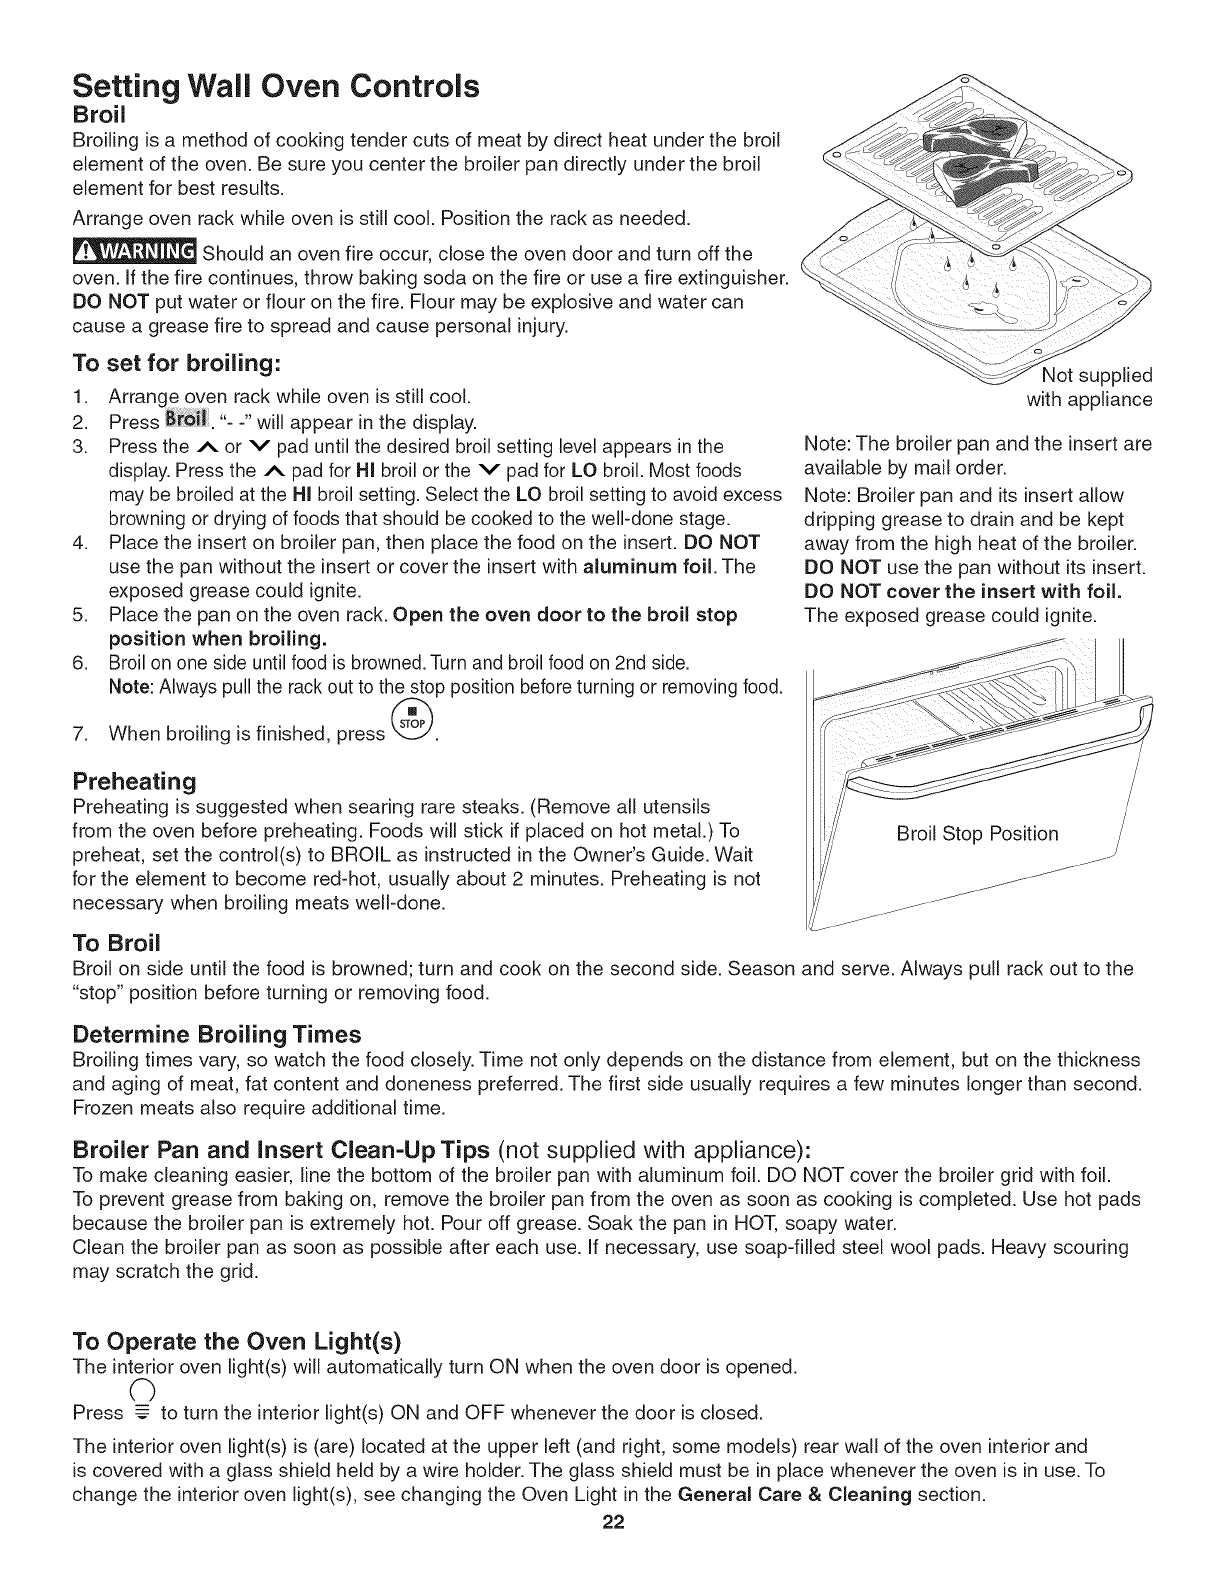
Not supplied
with appliance
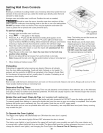
Note: The broiler pan and the insert are
available by mail order.
Note: Broiler pan and its insert allow
dripping grease to drain and be kept
away from the high heat of the broiler.
DO NOT use the pan without its insert.
DO NOT cover the insert with foil.
The exposed grease could ignite.
Preheating
Preheating is suggested when searing rare steaks. (Remove all utensils
from the oven before preheating. Foods will stick if placed on hot metal.) To
preheat, set the control(s) to BROIL as instructed in the Owner's Guide. Wait
for the element to become red-hot, usually about 2 minutes. Preheating Jsnot
necessary when broiling meats well-done.
To Broil
Broil on side until the food is browned; turn and cook on the second side. Season and serve. Always pull rack out to the
"stop" position before turning or removing food.
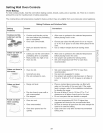
Determine Broiling Times
Broiling times vary, so watch the food closely. Time not only depends on the distance from element, but on the thickness
and aging of meat, fat content and doneness preferred. The first side usually requires a few minutes longer than second.
Frozen meats also require additional time.
Broiler Pan and Insert Clean-Up Tips (not supplied with appliance):
To make cleaning easier, line the bottom of the broiler pan with aluminum foil. DO NOT cover the broiler grid with foil.
To prevent grease from baking on, remove the broiler pan from the oven as soon as cooking is completed. Use hot pads
because the broiler pan is extremely hot. Pour off grease. Soak the pan in HOT, soapy water.
Clean the broiler pan as soon as possible after each use. if necessary, use soap-filled steel wool pads. Heaw scouring
may scratch the grid.
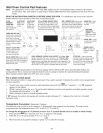
To Operate the Oven Light(s)
The interior oven light(s) will automatically turn ON when the oven door Jsopened.
©
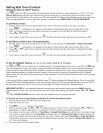
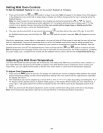
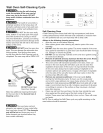
Press %---to turn the interior light(s) ON and OFF whenever the door is closed.
The interior oven light(s) is(are) located at the upper left (and right, some models) rear wall of the oven interior and
Jscovered with a glass shield held by a wire holder. The glass shield must be in place whenever the oven JsJnuse. To
change the interioroven light(s), see changing the Oven Light Jnthe General Care & Cleaning section.
22


