5
Location Requirements
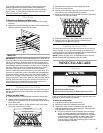
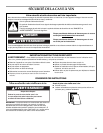
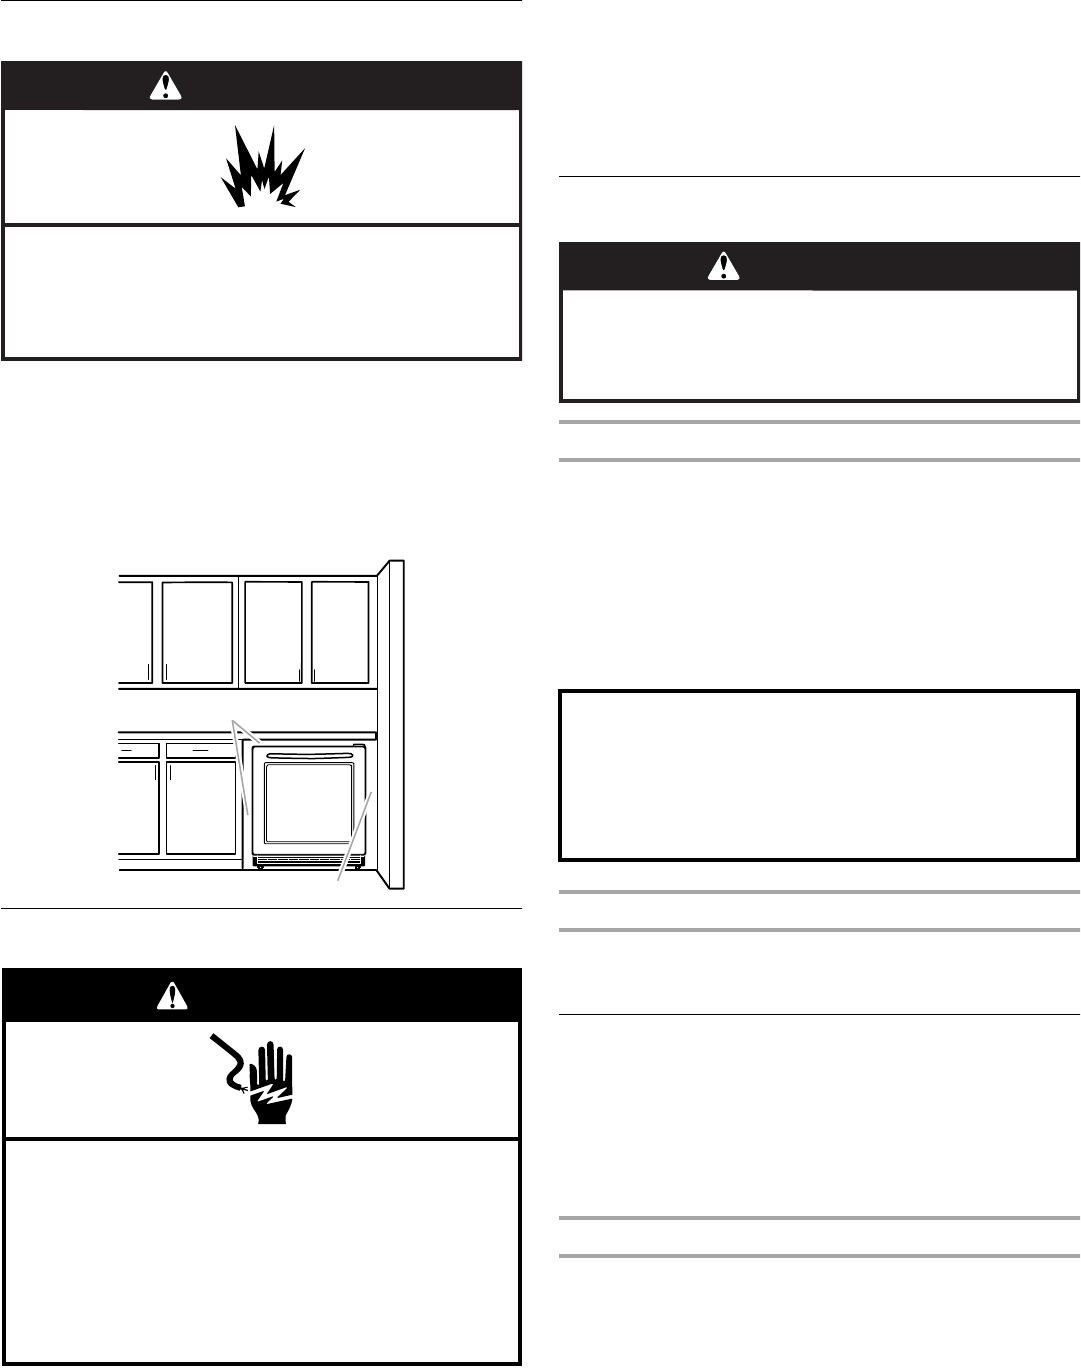
To ensure proper ventilation for your wine cellar, allow for a ¹/₄"
(0.64 cm) space on each side and at the top. When installing your
wine cellar next to a fixed wall, leave 2¹⁄₂" (6.35 cm) minimum
clearance on each side to allow for the door to swing open.
NOTE: It is recommended that you do not install the wine cellar
near an oven, radiator, or other heat source. Do not install in a
location where the temperature will fall below 55°F (13°C). For
best performance, do not install the wine cellar behind a cabinet
door or block the base grille.
Electrical Requirements
Before you move your wine cellar into its final location, it is
important to make sure you have the proper electrical
connection.
Recommended grounding method
A 115 Volt, 60 Hz., AC only 15– or 20–amp fused, grounded
electrical supply is required. It is recommended that a separate
circuit serving only your wine cellar be provided. Use an outlet
that cannot be turned off by a switch. Do not use an
extension cord.
NOTE: Before performing any type of installation, cleaning, or
removing a light bulb, unplug wine cellar or disconnect power.
Unpack the Wine Cellar
Remove the Packaging
■ Remove tape and glue residue from surfaces before turning
on the wine cellar. Rub a small amount of liquid dish soap
over the adhesive with your fingers. Wipe with warm water
and dry.
■ Do not use sharp instruments, rubbing alcohol, flammable
fluids, or abrasive cleaners to remove tape or glue. These
products can damage the surface of your wine cellar. For
more information, see “Wine Cellar Safety.”
■ Properly dispose of packaging.
Clean Before Using
After you remove all of the packaging materials, clean the inside
of your wine cellar before using it. See the cleaning instructions in
“Wine Cellar Care.”
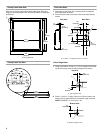
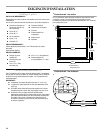
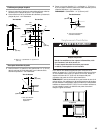
Install Custom Overlay Frame
IMPORTANT:
■ Create custom overlay frame according to the specifications
in the “Custom Overlay Frame" section.
■ KitchenAid is not responsible for the removal or addition of
molding or decorative frames that would prevent the wine
cellar from being serviced.
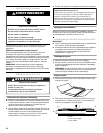
Unpack the Door
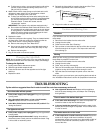
1. Remove the wine cellar door from the box.
2. Remove the cardboard and set aside for later use. Be sure to
properly dispose of all packaging materials when installation
is complete.
NOTE: Place the cardboard on a level floor and use during
assembly to protect the wine cellar door and overlay frame
from scratches.
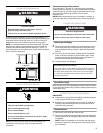
WARNING
Explosion Hazard
Keep flammable materials and vapors, such as
gasoline, away from wine cellar.
Failure to do so can result in death, explosion, or fire.
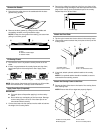
¹⁄₄" (0.64 cm)
2¹⁄₂" (6.35 cm)
Electrical Shock Hazard
Plug into a grounded 3 prong outlet.
Do not remove ground prong.
Do not use an adapter.
Do not use an extension cord.
Failure to follow these instructions can result in death,
fire, or electrical shock.
WARNING
WARNING
Excessive Weight Hazard
Use two or more people to move and install wine cellar.
Failure to do so can result in back or other injury.
When Moving Your Wine Cellar:
Your wine cellar is heavy. When moving the wine cellar for
cleaning or service, be sure to protect the floor. Always pull
the wine cellar straight out when moving it. Do not wiggle
or “walk” the wine cellar when trying to move it, as floor
damage could occur.


