


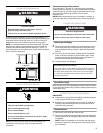

9
If you need to adjust the temperature, wait at least 24 hours
between adjustments and then recheck the temperature.
To make the wine cellar colder, adjust the control to the next
higher setting. To make the wine cellar less cold, adjust the
control to the next lower setting.
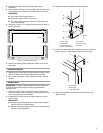
Wine Racks
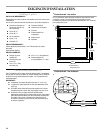
To Remove and Replace the Wine Racks
1. Pull the wine rack forward, lifting it up and out of the rack
supports.
2. Replace the rack by inserting the rack into the supports and
sliding it toward the rear of the wine cellar.
Wood Trim
IMPORTANT: To prevent permanent damage to the inner liner of
your wine cellar, the wine rack wood trim must be removed from
the unit for staining or finishing. Allow the stain or finish to dry
thoroughly for a minimum of 24 hours or in accordance with the
manufacturers directions whichever is longer, prior to reinstalling
the racks. Failure to do so may cause the inner liner to have a
permanent odor which is not covered under the warranty.
Your wine cellar has a natural wood trim on the wine racks. The
wood trim is coated with a clear vinyl sealer that will adequately
protect the wood in normal usage. You may choose to stain the
wood trim or to apply a clear finish coat. If you opt to stain or
coat the wood trim, remove the racks from the wine cellar before
staining. Allow the racks to dry for a minimum of 24 hours or in
accordance with the manufacturers directions, whichever is
longer, before returning them to the wine cellar.
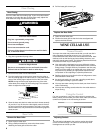
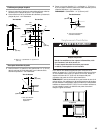
Stocking the Wine Cellar
NOTE: For optimum wine storage, place red wines at the top of
the wine cellar, white wines in the center and sparkling wines at
the bottom.
To Stock the Wine Cellar
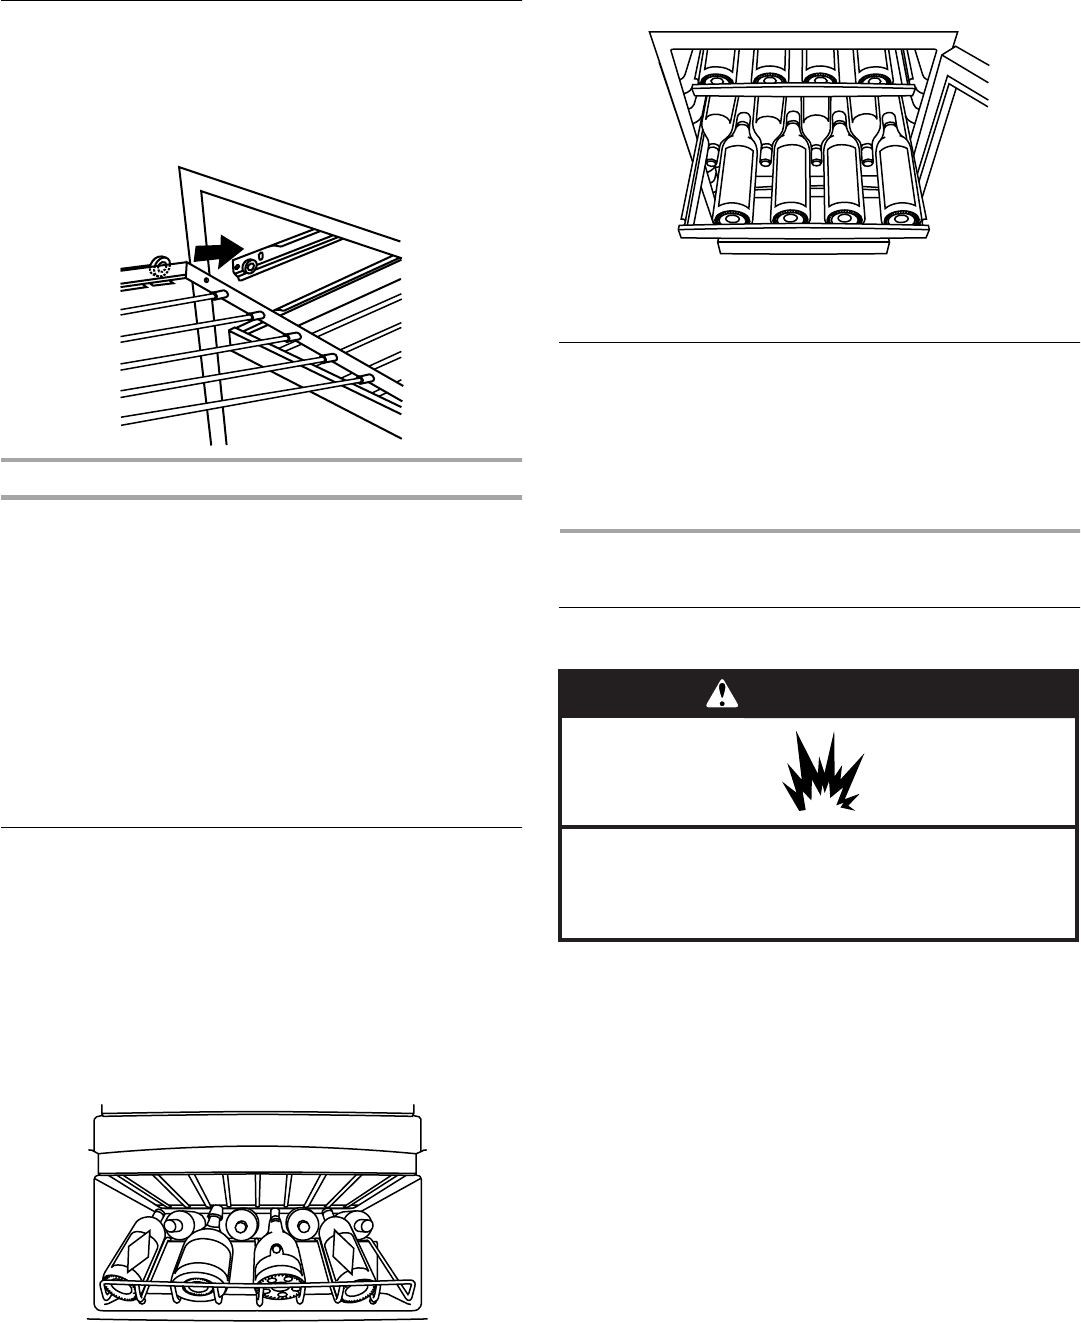
1. Start stocking the wine cellar with the bottom display rack.
2. Starting on the left-hand side, place the first bottle on the
bottom of the rack with the neck of the bottle facing the back
of the wine cellar.
3. Place the next bottle on its side with the neck of the bottle
facing the front of the wine cellar.
4. Alternate in this manner until the display rack is full.
5. Pull the next rack forward.
6. Starting on the left-hand side, place the first bottle on the
rack with the neck of the bottle facing forward.
7. Place the next bottle on the shelf with the neck of the bottle
facing the rear of the wine cellar.
8. Continue alternating in this manner until the rack is full.
9. Slide the rack into place and continue stocking each
remaining rack as described above.
Lighting the Wine Cellar
The wine cellar has an interior light that comes on any time the
door is opened. You may also turn the light on at any time by
opening the door and pressing the exterior switch located beside
the temperature control knob on the base grille.
NOTE: Leaving the light on for an extended period of time will
slightly increase the temperature of the wine cellar.
WINE CELLAR CARE
Cleaning
Clean the wine cellar about once a month to prevent odors from
building up. Wipe up spills immediately.
To clean your wine cellar:
1. Unplug wine cellar or disconnect power.
2. Remove all racks from inside the wine cellar.
3. Hand wash, rinse, and dry removable parts and interior
surfaces thoroughly. Use a clean sponge or soft cloth and a
mild detergent in warm water.
■ Do not use abrasive or harsh cleaners such as window
sprays, scouring cleansers, flammable fluids, cleaning
waxes, concentrated detergents, bleaches or cleansers
containing petroleum products on plastic parts, interior
and door liners or gaskets. Do not use paper towels,
scouring pads, or other harsh cleaning tools. These can
scratch or damage materials.
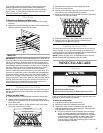
WARNING
Explosion Hazard
Use nonflammable cleaner.
Failure to do so can result in death, explosion, or fire.