


6
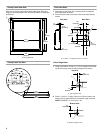
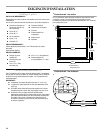
Remove the Gasket
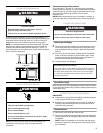
1. Place the wine cellar door on the cardboard with the door
gasket facing upward.
2. Remove the door gasket by pulling from the middle and
proceeding outward, moving toward the edge.
NOTE: To keep the door gasket from tearing, use care when
pulling it out of the groove.
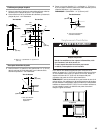
Fit Overlay Frame
1. Turn the door over. Fully seat the overlay frame on all four
sides.
2. If there is a gap between the overlay frame and door front,
apply foam tape to the overlay frame. See “Apply Foam
Ta pe. ”
NOTE: If the overlay frame does not fit securely on all four sides,
review the instructions for “Overlay Frame Dimensions.”
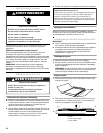
Apply Foam Tape (if required)
IMPORTANT:
■ Trim each piece of tape after applying it to the overlay
frame.
■ Do not allow any overlapping of the foam tape. Damage
to the overlay frame can occur if the foam tape is not
trimmed and fitted correctly.
1. Cut the foam tape into four pieces: two the width of and two
the height of the overlay frame.
2. Remove the adhesive protection–strip from one piece of the
cut foam tape. Align the edge of the foam tape with the inside
edge of the overlay frame, and adhere tape to the overlay.
Repeat Step 2 for all four sides.
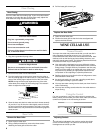
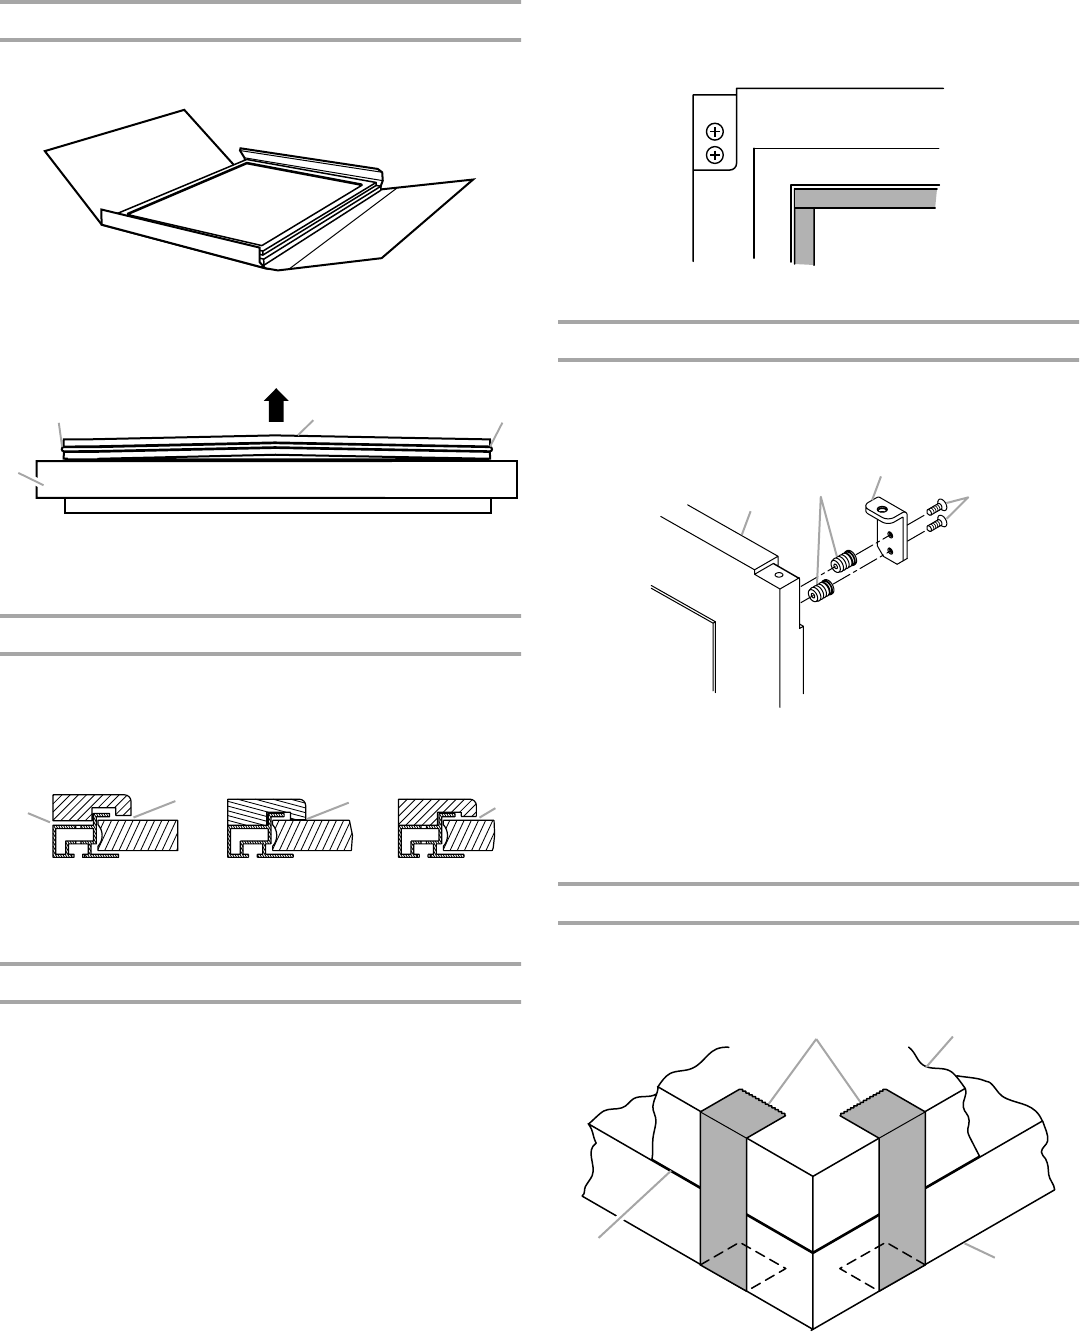
Attach the Pivot Plate
1. Tap the nylon inserts into the two holes in the overlay frame.
2. Use two #6 screws to attach the pivot plate to the top of the
overlay frame.
3. If required, attach optional cabinet handle to the overlay
frame.
NOTE: If an optional cabinet handle is installed, be sure to
countersink the mounting screws.
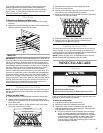
Attach the Overlay Frame to the Door
1. Secure the front of the door to the back of the overlay frame
with masking tape.
NOTE: Ensure that all four edges are properly aligned.
A.Door
B.Gasket–outside edges
C.Gasket–middle
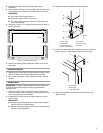
A.Not fully seated B.Little or no gap C.Objectionable gap
C
B
B
A
A
A
B
C
A.Inside edge
A.Overlay frame
B.8 mm nylon inserts
C.Pivot plate
D.#6 x
⁵⁄₈
" flat-head screws
A.Back of overlay frame
B.Masking tape
C.Door frame
D.Front of overlay frame
A
C
D
B
A
B
C
D