2-18
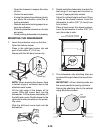
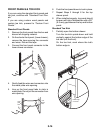
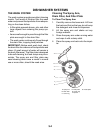
14. Line up the holes through the pinhole and
replace each pin so that the pin line is
vertical.
pin
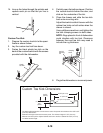
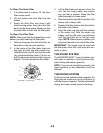
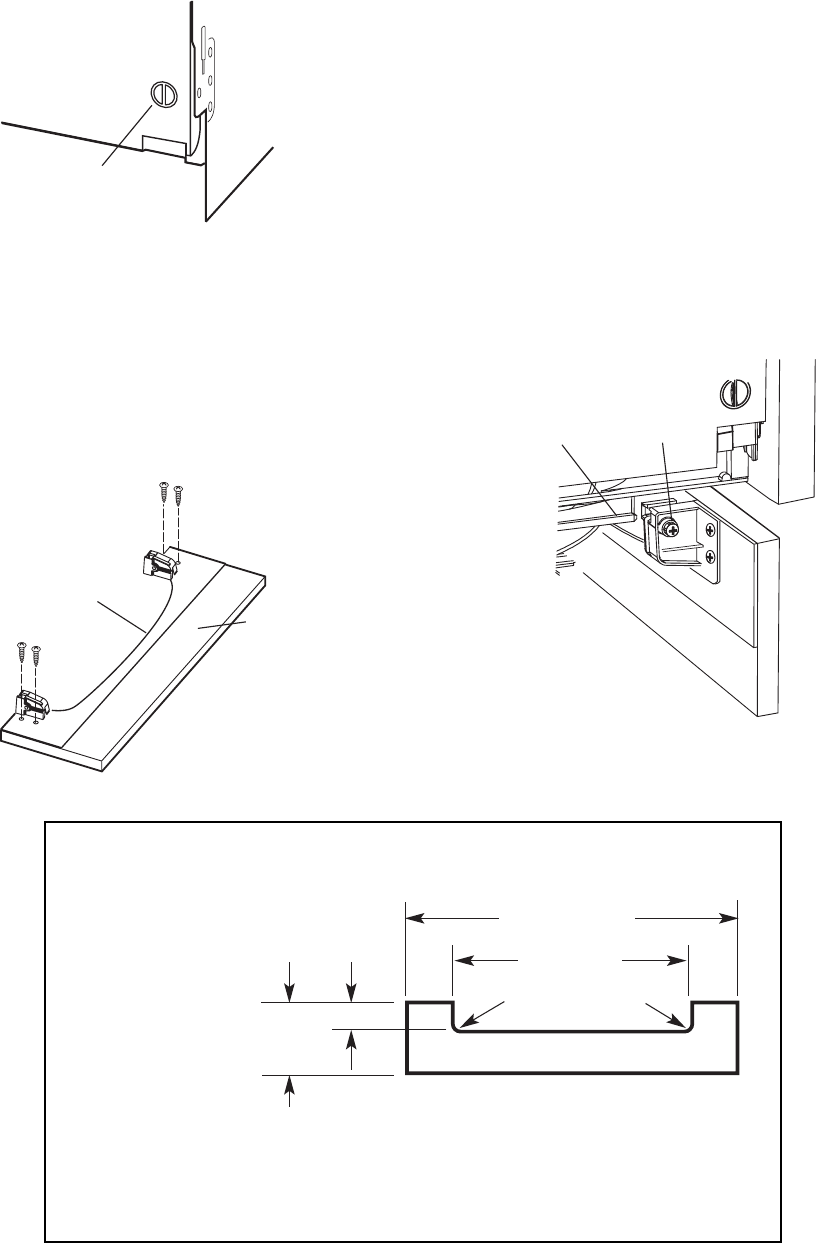
Custom Toe Kick
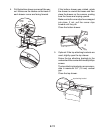
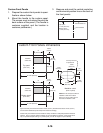
1. Prepare the custom toe kick to the speci-
fications shown below.
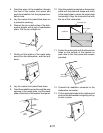
2. Lay the custom toe kick face down.
3. Fasten the black plastic toe kick on the
back of the custom toe kick with the screws
provided with the dishwasher.
plastic
toe kick
custom
toe kick
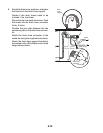
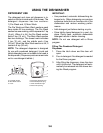
Custom Toe Kick Dimensions
2-5/32"
(55 mm)
23-1/2" (59.7 cm)
17" (43.2 cm)
1/2" (12.7 mm) radius
5" (127 mm)
max.
(varies)
The black prefinished toe kick can also have a custom front panel with a thickness from 3/8" to 3/4"
(9-19 mm) attached to it.
Determine the height of the toe kick custom panel: The minimum height is 2-3/4" (70.5 mm).
Measure from the top of the adjacent cabinet door front to the floor. Subtract 28-15/32" (72.3 cm)
for needed toe kick height.
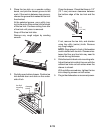
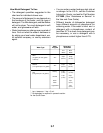
4. Partially open the bottom drawer. Position
the custom toe kick behind the door, and
slide on the underside of the tub.
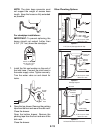
5. Close the drawer and slide the toe kick
back onto mounting rails.
Adjust the toe kick so that it is even with the
cabinet toe kicks on both sides when the
drawer is closed.
Use a phillips screwdriver, and tighten the
toe kick clamping screws on both sides.
NOTE: Rugs placed in front of dishwasher
could interfere with toe kick. Clearance
between floor and toe kick may need to
include the rug thickness.
6. Plug in the dishwasher or reconnect power.
toe kick
mounting
rail
clamping
screw


