PREPARATION OF WALL AND TOP CABINET
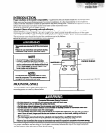
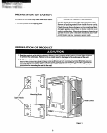
MOUNTING TEMPLATES
THIS PRODUCT CANNOT BE PROPERLY INSTALLED WITHOUT REFERRING TO THE MOUNTING
INSTRUCTIONS FOUND ON BOTH TEMPLATES.
READ AND FOLLOW MOUNTING INFORMATION ON BOTH
TOP CABINET
AND
WALL
TEMPLATES
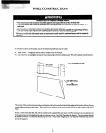
WALL AND TOP CABINET
I
personal Injury or property Dama* Hazard
The mounting area on the top cabinet and wall must be capable of supporting a minimum of127 pounds.
Failure to follow these instructions could result in personal injury and/or property damage.
I
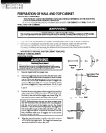
1. If the wall is not flat, use spacers to fill gaps. Mounting plates must be flat for proper installation.
2. Wall space for installation should be the same as the wall template. Make sure the top of the
wall template is at least 66”from the floor and at least 30”from the cooking surface.
For proper rnstallation and servicing, the bottom of the Microwave Oven/Hood system should be
at least 2”above the backsplash of the range.
NOW REFER TO THE WALL AND TOP CABINET TEMPLATES.
PRODUCT INSTALLATION
MOUNTING PLATES
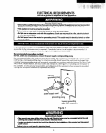
Electrical Shock Harard
Ike special care when drilling holes into the wall.
EkXt&3lwirtZsnla)/beC%nlX&d
llehindBlewaIcauwing.
Contact with them could result in electrical shock
4.
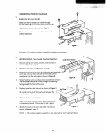
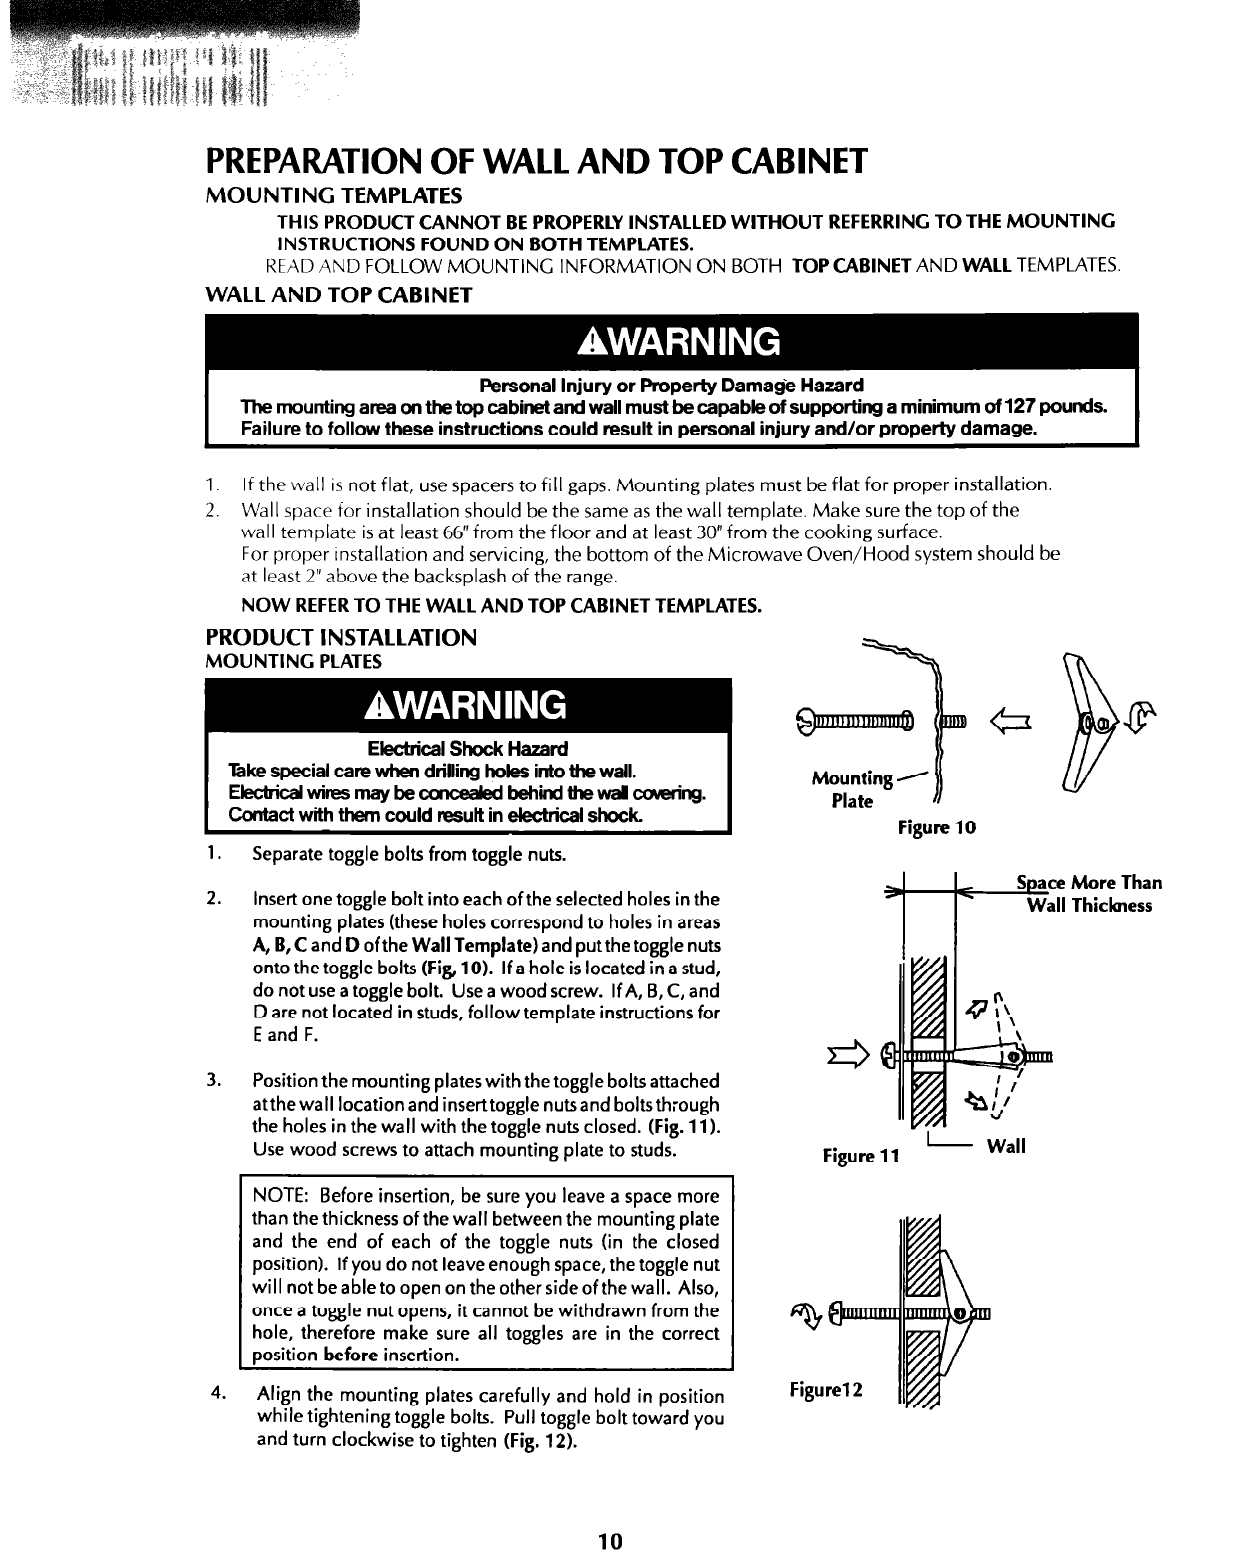
Separate toggle bolts from toggle nuts.
Insert one toggle bolt into each of the selected holes in the
mounting plates (these holes correspond to holes in areas
A, B, C
and
D
ofthe
Wall Template)
and put the toggle nuts
onto the toggle bolts
(Fig, 10).
If a hole is located in a stud,
do not use
a
toggle bolt. Use
a
wood screw. If A, B, C, and
D are not located in studs, follow template instructions for
E and F.
Position the mounting plates with the toggle bolts attached
atthewall locationand inserttoggle nutsand boltsthrough
the holes in the wall with the toggle nuts closed.
(Fig. 11).
Use wood screws to attach mounting plate to studs.
NOTE: Before insertion, be sure you leave a space more
than the thickness of the wall between the mounting plate
and the end of each of the toggle nuts fin the closed
position). If you do not leave enough space, the toggle nut
will not be able to open on the other side of the wall. Also,
once a toggle nut opens, it cannot be withdrawn from the
hole, therefore make sure all toggles are in the correct
position
before
insertion.
Align the mounting plates carefully and hold in position
while tightening toggle bolts. Pull toggle bolt toward you
and turn clockwise to tighten
(Fig. 12).
10
Figure 10
Figure 11
- Wall


