Impinger I – 1000 Series Ops Manual
16
FINGER REMOVAL AND DISASSEMBLY FOR CLEANING
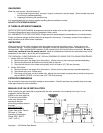
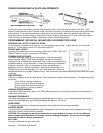
1. Open door and remove upper fingers. Note any particular placement of fingers that you may have, such as
fully closed, half-closed, or fully open, columnating plates.
2. Remove conveyor and then remove bottom fingers.
3. For finger disassembly, see page 11, figures 6, 7, and 8.
4. Reassemble fingers in reverse order with the step of the columnating plate facing downward so it fits under the
lip of the finger housing.
5. Re-install finger in oven. Be sure that they are fully seated over the plenum flanges and the holes are pointing
toward the conveyor.
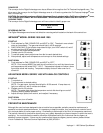
CONVEYOR DISASSEMBLY FOR CLEANING
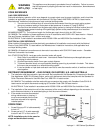
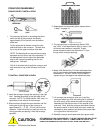
TO REMOVE CONVEYOR FROM OVEN
NOTE: For the Model 1200 Series, steps 3 and 4 are performed on the left end of conveyor.
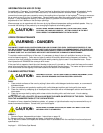
TO REMOVE CONVEYOR BELT
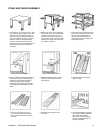
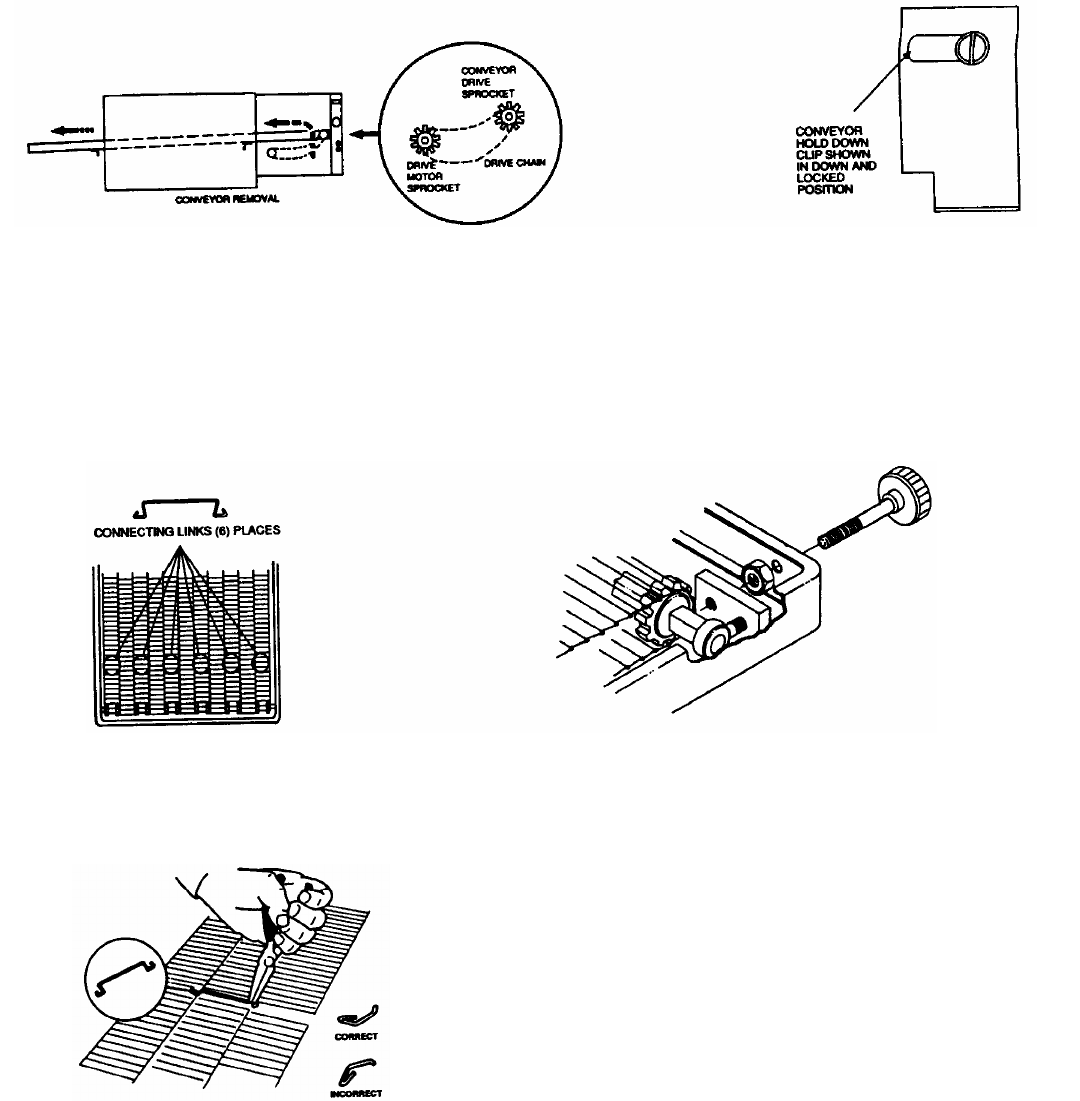
1. Remove conveyor chain guard. Remove crumb
pans.
3. Lift right end of conveyor and push in
approximately 3” (76 mm). Remove drive chain.
2. Next, slide the conveyor hold-down clips so the
screw is in the left side of the slot, then rotate
counterclockwise to the up position.
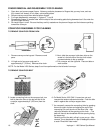
4. Pull conveyor out the right end. Place on table or
work surface.
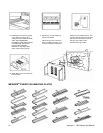
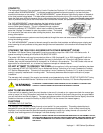
5. Locate connecting links on the conveyor belt, turn
belt to place the links on the top left end of the
conveyor, approximately 8” (203 mm) from the
shaft.
6. On Model Series 1000 ONLY, loosen jam nut and
unscrew the tension adjustment screws. Push the idler
shaft in against the conveyor support bars.
7. You can easily remove the connecting links by grasping
them with a pair of pliers and slipping the eye of the
connecting link over the wire of the other links. Also
notice the direction of the opening on the links. – The
belts will have to be reinstalled with the opening facing
the same way.
Carefully pull out the belt, rolling it up as you go. After
removal, it may be placed in a pan of detergent solution
to soak. Rinse with clean water.


