Impinger X2 – Digital Service Manual – Dom & Int’l
21
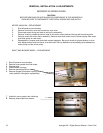
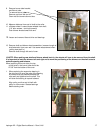
4. Remove pilot tube from gas valve. Disconnect pipe union at burner and at inlet to main gas valve. Loosen
pipe clamp and move piping away from burner.
5. Disconnect wiring from burner and mark wiring for reassembly.
6. Remove four screws from burner end plate and remove burner assembly from burner housing.
7. Remove pilot tube, pilot shield and pilot orifice from spark igniter and remove spark igniter.
8. Reassemble in reverse order and check system operation.
CONVEYOR MOTOR – REPLACEMENT
1. Shut off power at main breaker.
2. Remove control box cover and front control box cover.
3. Disconnect wiring from the conveyor motor assembly and mark all wiring for reassembly.
4. Remove four screws and remove conveyor motor assembly.
5. Reassemble in reverse order and check system operation.
CAPACITOR, CONVEYOR MOTOR – REPLACEMENT
1. Shut off power at main breaker.
2. Remove control box cover.
3. Discharge capacitor. Remove mounting screw and replace capacitor.
4. Reassemble in reverse order and check system operation.
REVERSING SWITCH – REPLACEMENT
1. Shut off power at main breaker.
2. Remove control box cover. Remove reversing switch cover.
3. Disconnect wiring from reversing switch and mark all wiring for reassembly.
4. Remove mounting nut from reversing switch and remove reversing switch.
5. Reassemble in reverse order and check system operation.
OVEN CONTROL – REPLACEMENT
1. Shut off power at main breaker.
2. Remove control box cover.
3. Remove all wiring connections from the oven control and mark all wires for reassembly.
4. Remove oven control by pulling control from the mounting pins. Remove control from oven.
5. Reassemble in reverse order and set the new control for the proper operating mode. See below for set-up
procedure:
OVEN CONTROL - PROGRAMMING
NOTES: All bake times should be within 10 seconds of set bake time, cavity temperature should be calibrated to
within 5° of set temperature. For temperature calibration, allow oven temperature to stabilize for, at minimum, 30
minutes. Before checking conveyor speed, allow conveyor to run for 10 minutes.
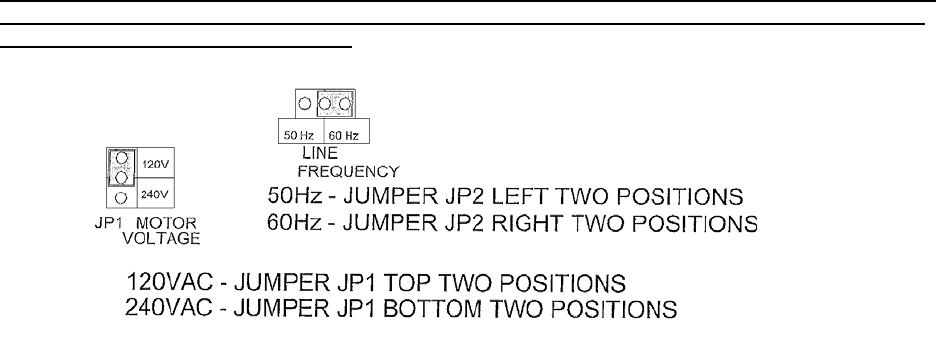
1. BEFORE APPLYING POWER TO OVEN, ENSURE PROPER VOLTAGE JUMPER SETTING FOR 120V
or 240V, AND THAT THE 50HZ / 60HZ JUMPER SETTING IS CORRECT. JUMPERS ARE LOCATED
ON CONVEYOR CONTROL BOARDS.


