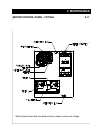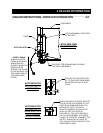
If a remote operator station is furnished, it will be factory wired using Sealtite. If it is
necessary to disconnect it from the wires (to install the operator station inside a build-
ing), exercise care that these wires are reconnected as originally furnished. (Check
local codes to be certain that Sealtite is acceptable.)
CAUTION: Operator Station must be located so that the Mushroom (Emergency) Stop
Button is readily accessible to the operator and within three (3) feet of the charging
chamber access door. If installation requires this operator station to be located in a
more remote area, a second Emergency Stop Button should be added and installed in
the manner described above.
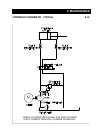
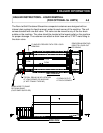
Run power lines, between fused disconnect switch (customer furnished) and com-
pactor's motor control panel, in accordance with local electrical codes, using knock-
outs in bottom of motor control panel. See Fuse & Circuit Breaker Chart for Motors
and Wire Size Chart, in the Maintenance Section, to determine the proper service
disconnect amperage rating and the proper wire size.
NOTE: High legs should be installed to L3 on motor starter.
Check voltage at fused disconnect switch to be certain it is the same as is shown on
compactor or remote power pack. If voltage is correct, put fused disconnect switch
in "ON" position.
1.
2.
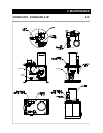
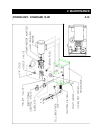
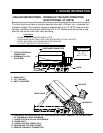
With the ram fully retracted, check to be sure the oil reservoir is full to the 3/4 level
on the sight gauge (Refer to the maintenance chart for hydraulic oil recommenda-
tions). The hydraulic system pressure has been factory set and the entire unit has
been operated prior to shipment.
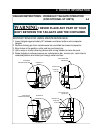
CAUTION: MAKE SURE PERSONS AND MATERIAL ARE CLEAR OF CHARGE
BOX AREA.
Depress the start button and check the pump shaft for proper rotation.
CAUTION: If the pump rotates backward, stop immediately. The pump will be
damaged if it is operated in reverse even for short periods. Reversing any two
incoming power lines will change the motor/pump rotation.
Make sure that the operators are trained in the proper use of this equip-
ment.
1.
2.
3.
4.
3 INSTALLATION
ELECTRICAL & HYDRAULIC INSTALLATION 3-4
ELECTRICAL CONNECTIONS
START-UP INSTRUCTIONS
PUSHBUTTON OPERATOR STATION


