


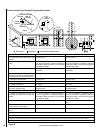
26
NOTE: DIAGRAMS & ILLUSTRATIONS ARE NOT TO SCALE.
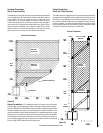
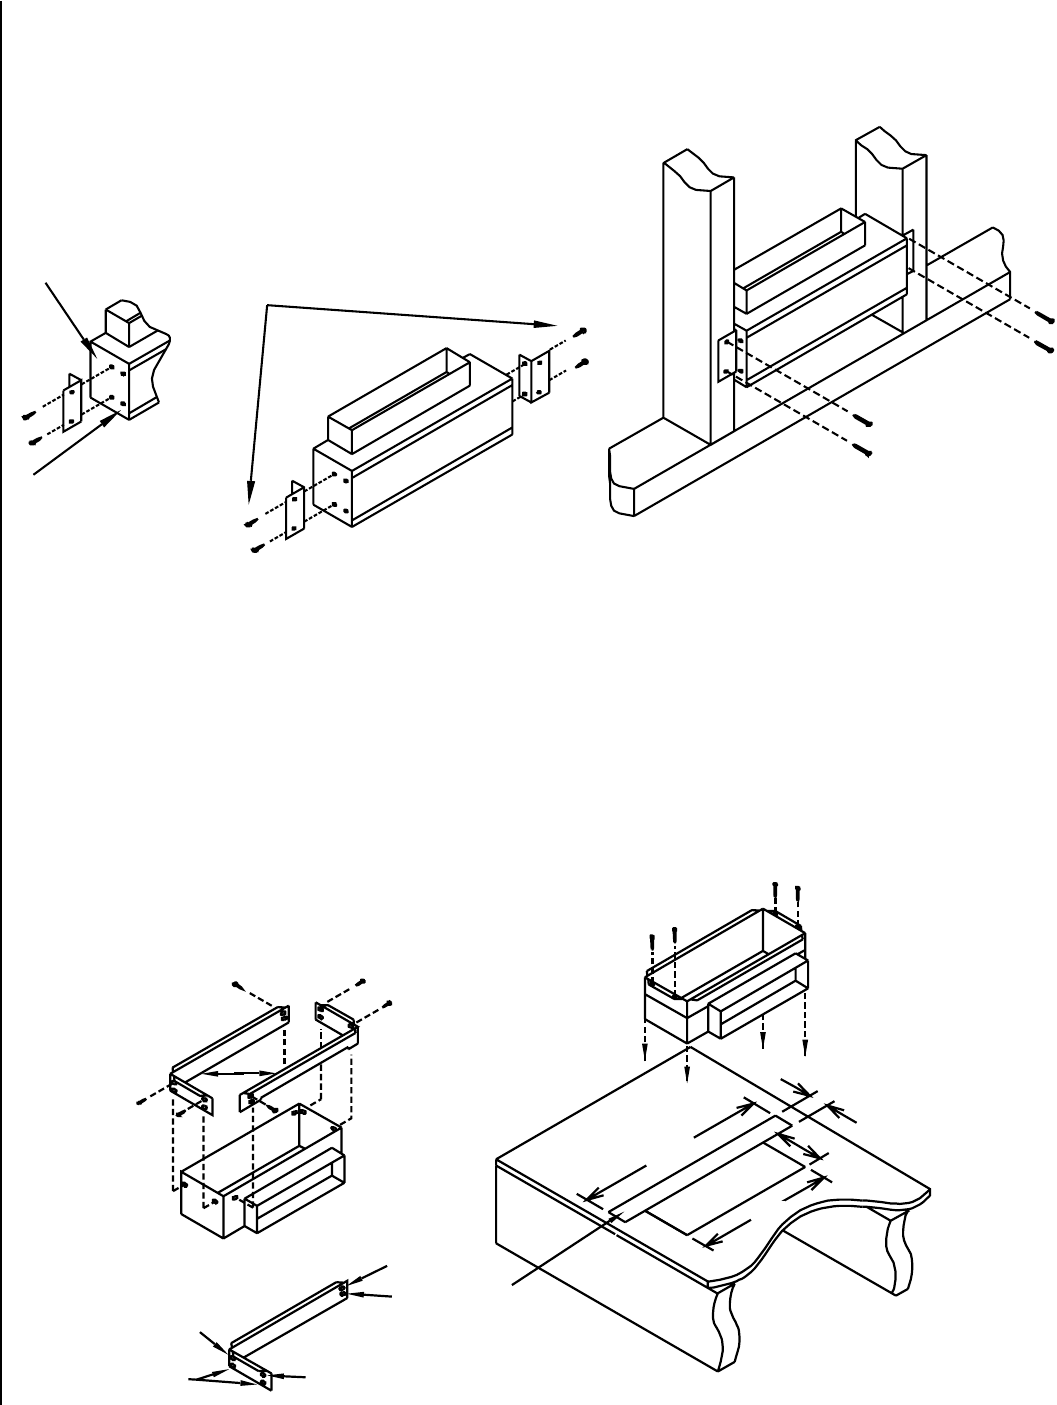
The fan box may be located in the wall, floor, or ceiling.
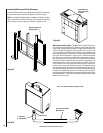
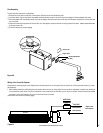
Ceiling and Wall Mounting:
1) Fasten the two angled brackets to the side of the face box with the screws provided (see A below).
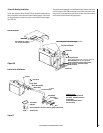
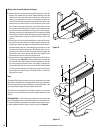
Floor Mounting:
1. Fasten the two floor mount adapters (B below) to the side of the fan box with the screws provided. The floor mount adapters have two sets of holes.
The upper holes (C below) should be used if the flooring material is thin and the lower holes (D below) should be used if the flooring material is
thick.
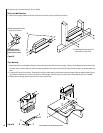
2. Cut the hole (E below) for the fan box. Since the fan box body is wider than the portion that comes up through the floor an additional piece of floor
-
ing (F below) should also be cut out for the fan box to slide through. (Save this piece F and nail it back in place after the fan box is installed).
3. Slide the fan box through the cut holes and nail or screw it to the floor.
3. Then fasten the fan box to the
ceiling rafters or wall studs.
A
2. Fasten the bracket in
these holes for 2 x 4 walls.
Fasten the bracket in
these holes for 2 x 6 or
greater walls or ceiling.
B
14”
C
C
D
D
F
E
2”
16”
5”
C
Figure 38
Figure 39
2) Fasten the bracket in these
holes for 2 x 4 walls.
3) Then fasten the blower box to the
ceiling rafters or wall studs.
Fasten the bracket in
these holes for 2 x 6 or
greater walls or ceiling.
16”
14”