


28
WARNING SERVICING TO BE CARRIED OUT ONLY BY AN AUTHORISED PERSON
Disconnect from electricity and gas before servicing. Check appliance is safe when you have finished.
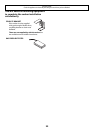
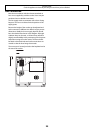
1 To Remove the Control Panel
Disconnect from electricity supply.
Pull off all the control knobs.
Open the grill and right hand oven doors and remove
the 4 fi xing screws underneath the control panel.
The control panel should drop down slightly. It is held at
the top by two holes in the top edge, one at each end,
that locate on tags on the inner panel.
Clear the control panel holes from the inner panel and
pull the control panel forward.
Disconnect the wiring from the rear.
Reassemble in reverse order. When replacing leads refer
to the wiring diagram. Check operation of timer.
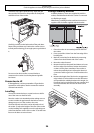
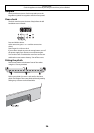
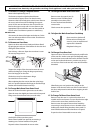
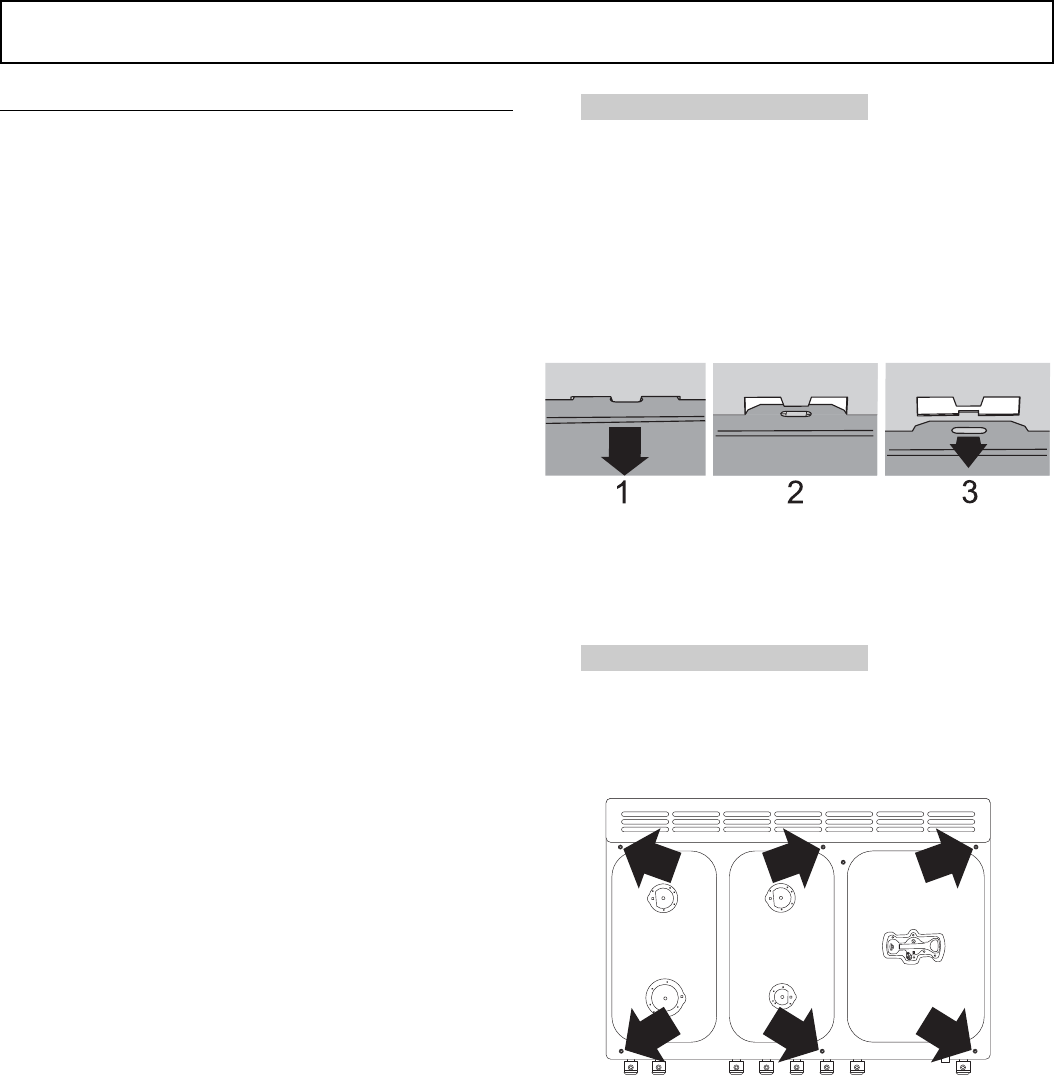
2. To Remove Hotplate
Disconnect from electricity supply.
Remove the pan supports and burner heads. Remove
the screws holding the hotplate burners to the hotplate.
Remove the 6 screws holding the hotplate tray to the
cooker.
Taking care not to damage the burner electrodes,
carefully lift the hotplate, from underneath disconnect
the earth lead at the right hand rear from the rear cross
member and withdraw the hotplate.
Reassemble in reverse order ensuring that the leads
are reconnected. Take care not to damage the ignition
electrodes of the burners.
It is important that the rear earthing leads are replaced
when the fi xing screws are refi tted as they from part of
the cooker earthing.
Check for correct burner operation.
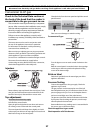
Servicing
BEFORE SERVICING ANY GAS CARRYING COMPONENTS.
TURN OFF THE GAS SUPPLY
Check the appliance is gas sound after completion of
service. When checking for gas leaks do not use washing
up liquid - this can corrode. Use a product specifi cally
manufactured for leak detection.
Do not use re-conditioned or unauthorised gas controls.
Disconnect from the electricity supply before
commencing servicing, particularly before removing any
of the following: - control panel, side panels, hotplate
tray or any electrical components or covers.
Before electrical re-connection, check that the appliance
is electrically safe.
Note - References to LH and RH oven apply as viewed
from the front.
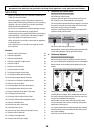
Contents
1 To Remove the Control Panel 28
2. To Remove Hotplate 28
3. To Remove Side Panels 29
4. To Remove Ignition or light Switch 29
5. To Remove Clock 29
6. To Remove a Thermostat 29
7. To Change Grill Controller 29
8. To Change Hotplate Control Taps 29
9. To Change Hotplate Burner Injector 29
10. To Change Hotplate Burner Electrode 29
11. To Remove or Change a Hotplate Burner. 30
12. To Remove an Oven Door 30
13. To Change Main Oven Door Outer Panel 30
14. To Change the Main Oven Door Latch 30
15. To Adjust the Main Oven Door Catch Keep 30
16. To Change Oven Door Seal 30
17. To Change Tall Oven Door Outer Panel 30
18. To Change Tall Oven Door Magnetic Latch 31
19. To Remove Grill Element. 31
18. To Remove an Oven Inner Back. 31
19. To Change Fan in Oven. 31
20 To Remove an Oven element Thermal Cut-Out. 31
21. To Remove Oven Element. 31
22. To change oven light bulb. 31
23 To Adjust the Oven Door Angle 31