NOTE: Variation in ingredients and environmental conditions will
affect the freezing time of the mixture. The ice cream may be ready
before or after the churning time stated in the recipe. When you see
that the ice cream is starting to solidify, you can test it. Simply press
the Dispensing Button and dispense some ice cream to test. Continue
to run if you would like a firmer consistency.
Personal preference for consistency will determine actual freezing
time.
5. Press and hold the Dispensing Button inward to dispense.
6. Place towel underneath the Dispensing Button to catch any melting
ice cream.
Soft Serve or Hard Ice Cream?
Making Soft Serve
Simply follow the instructions above and recipes provided. See page 10.
Making Hard Ice Cream
NOTE: Do not use typical hard ice cream recipes. The specially
formulated recipes provided in the manual can be used for both soft
serve and hard ice cream.
1. Using these recipes, follow steps 1 through 5 in the section titled -
How To Use Your Soft Serve Ice Cream Maker.
2. Remove the Top Cover, including Motor, Dasher Assembly, and
Screw.
3. Remove excess ice cream from dasher with spoon and place into
airtight container.
4. Place remaining ice cream from Canister in airtight container. Put
closed container in freezer for 2-4 hours.
HOW TO CLEAN YOUR SOFT SERVE ICE CREAM MAKER
1. Use a damp cloth to clean the Motor Housing. Never immerse the
Motor Housing Unit, Plug or Cord in water or in any other liquids.
2. Wash the Top Cover, Dasher, Screw, Canister Lid, and Collar in hot
soapy water. These parts are also dishwasher safe.
3. Wash the Canister with hot soapy water. NEVER place the Canister,
or Rubber Sealing Ring in the dishwasher. These parts are NOT
dishwasher safe.
4. Make sure all parts are thoroughly dried.
Using the Soft Server
NOTE: During operation it is normal for condensation to form on the
outside of the canister. Therefore, do not use your Soft Serve Ice
Cream Maker on a surface that could be damaged.
1. Plug in unit.
2. Press the Rocker Switch to the I (On) position.
NOTE: The unit must be running when the chilled
recipe is added. (See p. 10 for recipe ideas)
CAUTION: Do not place hands or utensils into the Mouth of unit.
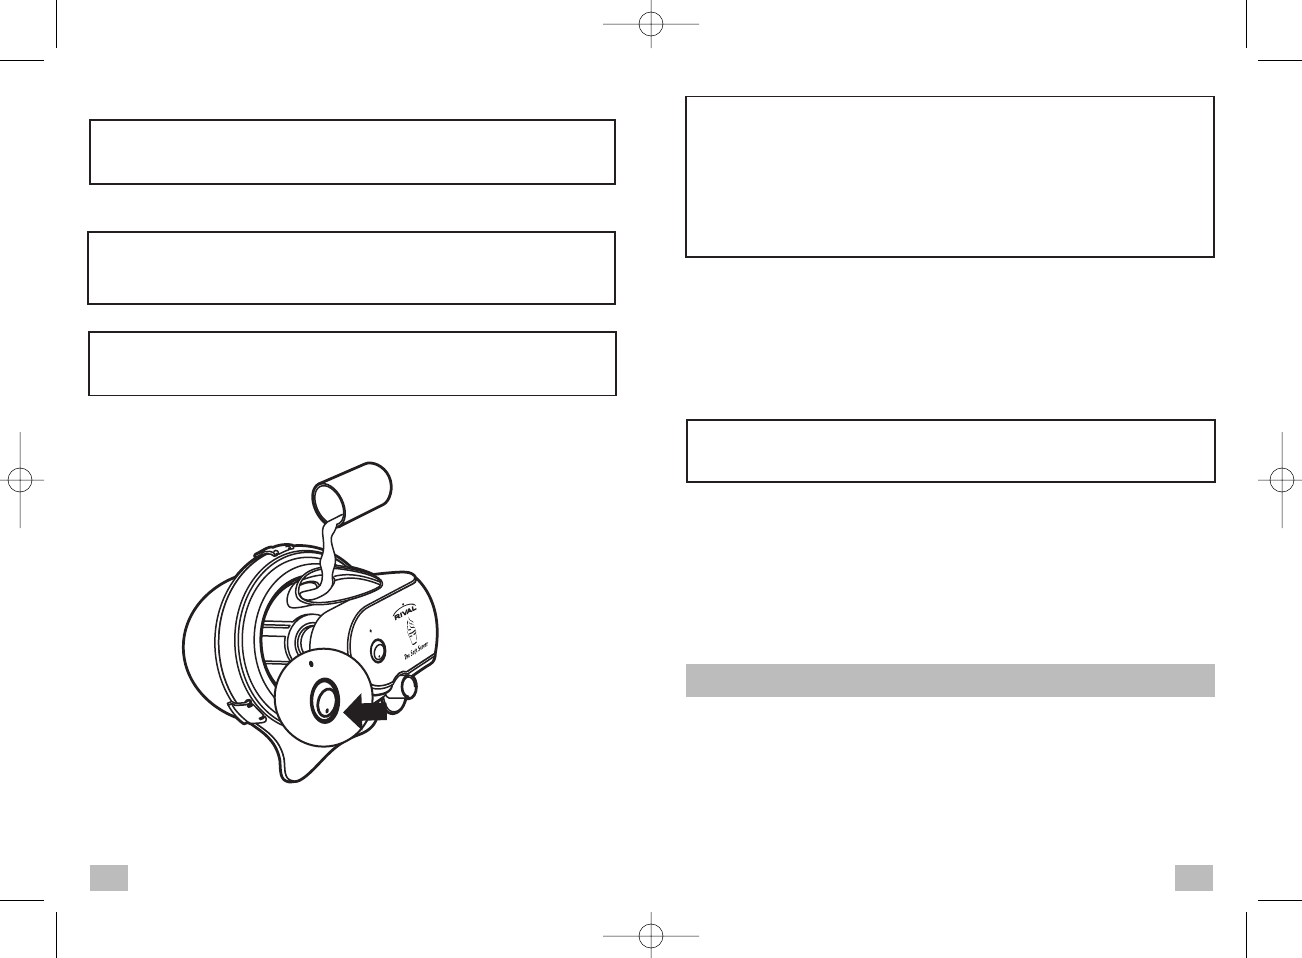
3. Pour chilled recipe slowly into the Mouth of unit.
NOTE: The volume of soft serve ice cream will increase during the
freezing process. Do not fill the Soft Serve Ice Cream Maker all the
way to the top.
4. Churn the ice cream according to the recipe.
On
Off
On
Off
6 7
GC8250-I/GC8250I04M1.qxd 6/16/04 11:28 Page 6


