


HRX-OM-J049-A
Chapter 3 Transport and Installation
HRG010-W HRG015-W 3.2 Installation
1st edition : Aug. 2006
Rev. A: May. 2007
3-13
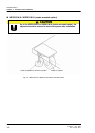
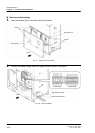
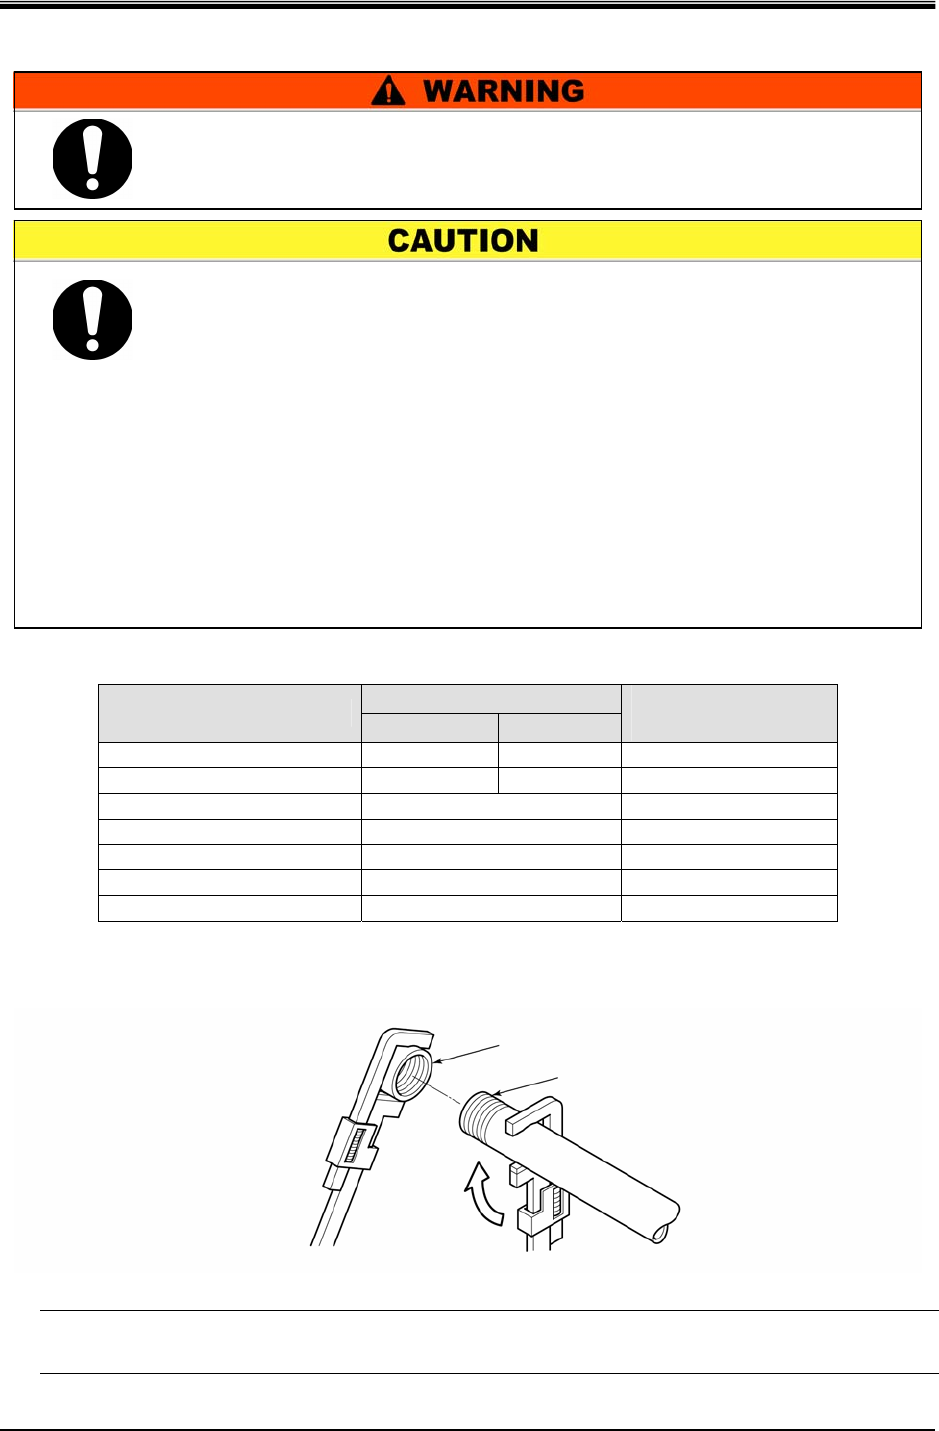
Pipe coupling hole
Sealant
Fig. 3-12 Tightening of Pipe
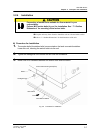
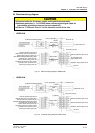
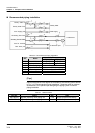
3.2.6 Piping
Pipe diameter
Table 3-5 Pipe diameter
Diameter
Pipe
HRG010-W HRG015-W
Recommended
tightening torque
Facility water IN Rc1/2 Rc3/4
28 to 30N·• m
Facility water OUT Rc1/2 Rc3/4
28 to 30N·• m
Auto supply port Rc1/2
28 to 30N·• m
Circulating fluid OUT Rc3/4
28 to 30N·• m
Circulating fluid RETURN Rc3/4
28 to 30N·• m
Port for overflow
Rc1/2
28 to 30N·• m
Port for drain in tank Rc1/2
28 to 30N·• m
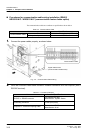
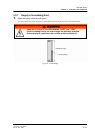
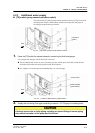
How to install piping
1. Hold the piping connected port with a specific wrench and tighten the pipe.
[Tips]
Install a valve at the drain port to facilitate the replacing and draining of the circulating fluid from the
tank described in chapter 6 “Unit Maintenance”. (The valve needs to be prepared separately.)
Only expert engineers or personnel who have adequate knowledge of
and experiences with piping installation are allowed to install piping.
Potential fluid leakage or stagnant fluid may occur if disregarded.
z Install piping properly. Failure to conduct proper piping installation
may result in the entry of supplied and drained water into the inside
of the building, which may cause the work area and equipment to
get wet.
z Keep facility water pressure below 0.5MPa.
z Make sure the locations of IN and OUT ports for circulating fluid
supply. The reverse connection inhibits proper operation of the unit.
z Make sure no entry of dust and foreign materials into the water
circuit during piping installation.
z Hold the piping connected port with a pipe wrench when tightening
the pipe. Excessive force will damage the port and cause leaks if
disregarded.
z Hold the piping connected port with a pipe wrench when tightening
piping.