


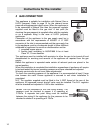


Instructions for the installer
14
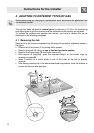
6 FINAL OPERATIONS
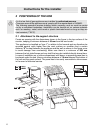
6.1 Reassembling the hob
Follow the instructions given in paragraph “5.1 Removing the hob”, but in the reverse
order.
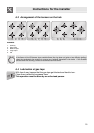
When replacing the burner rings, remember that they have to be tightene
d
completely by means of the wrench supplied, otherwise the flame interruption zone
s
on the flame crowns will not be aligned with the grid spokes.
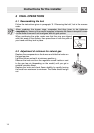
When positioning the grids, make sure that the pins are aligned
with their seats in the surface, then press them in with the palm of
your hand until they lock in place.
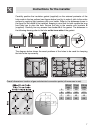
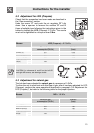
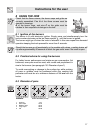
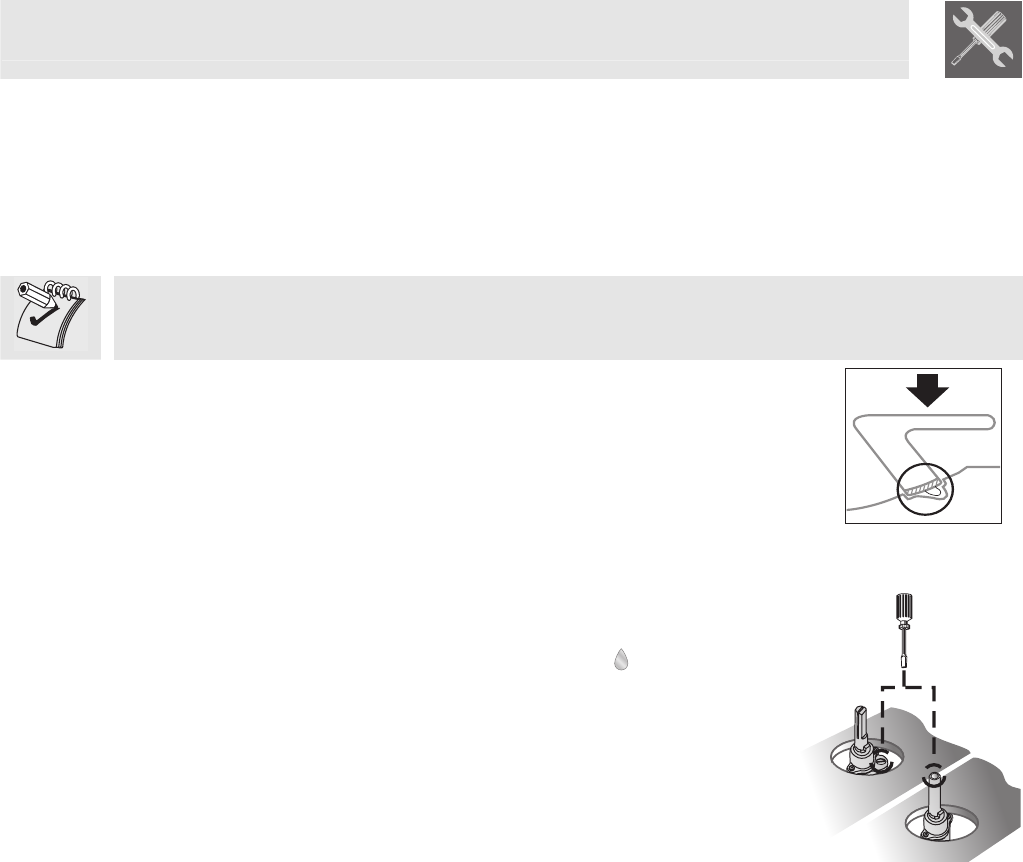
6.2 Adjustment of minimum for natural gas
Replace the components on the burner and slide the knobs on
the gas tap pins.
Light the burner and set it at minimum position .
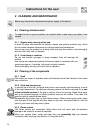
Remove the knob and turn the regulation screw inside or next
to the gas tap pin (depending on the model) until you get a
suitable minimum flame.
Replace the knob and check flame stability by rapidly turning
the knob from maximum to minimum. The flame should not go
out.