14
3.7 CLEANING THE FREEZER
CAUTION
Risk of Product Damage
Do not use acid cleaners, strong caustic compounds
or abrasive materials to clean any part of the freezer
exterior or plastic parts.
The exterior should be kept clean at all times to
preserve the lustre of the stainless steel. A good
grade of stainless steel has been used on the
freezer to ease clean-up. To remove spilled or dried
mix, simply wash the exterior in 90° to 110°F (32°C
to 43°C) , soapy water and wipe dry.
Do not use highly abrasive materials as they will
mar the finish. A mild alkaline cleaner is recom-
mended. Use a soft cloth or sponge to apply the
cleaner. For best results, wipe in the direction of the
grain of the steel.
A. Clean the rear seal surface from inside of the freezer
barrel.
B. Using this sanitizing solution and the large barrel
brush provided, sanitize the barrel by dipping the
brush in the sanitizing solution and brushing the
inside of the barrel.
C. Remove the rear drip tray by pulling from side panel.
Clean and replace drip tray.
3.8 ASSEMBLING FREEZER
To assemble the freezer parts, refer to the following steps:
NOTICE
Petro-Gel sanitary lubricant or equivalent must be
used when lubrication of freezer parts is specified.
NOTICE
The United States Department of Agriculture and
the Food and Drug Administration require that lubri-
cants used on food processing equipment be certi-
fied for this use. Use Lubricants only in accordance
with the manufacturer's instructions.
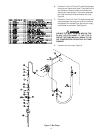
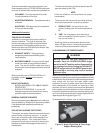
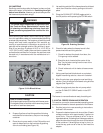
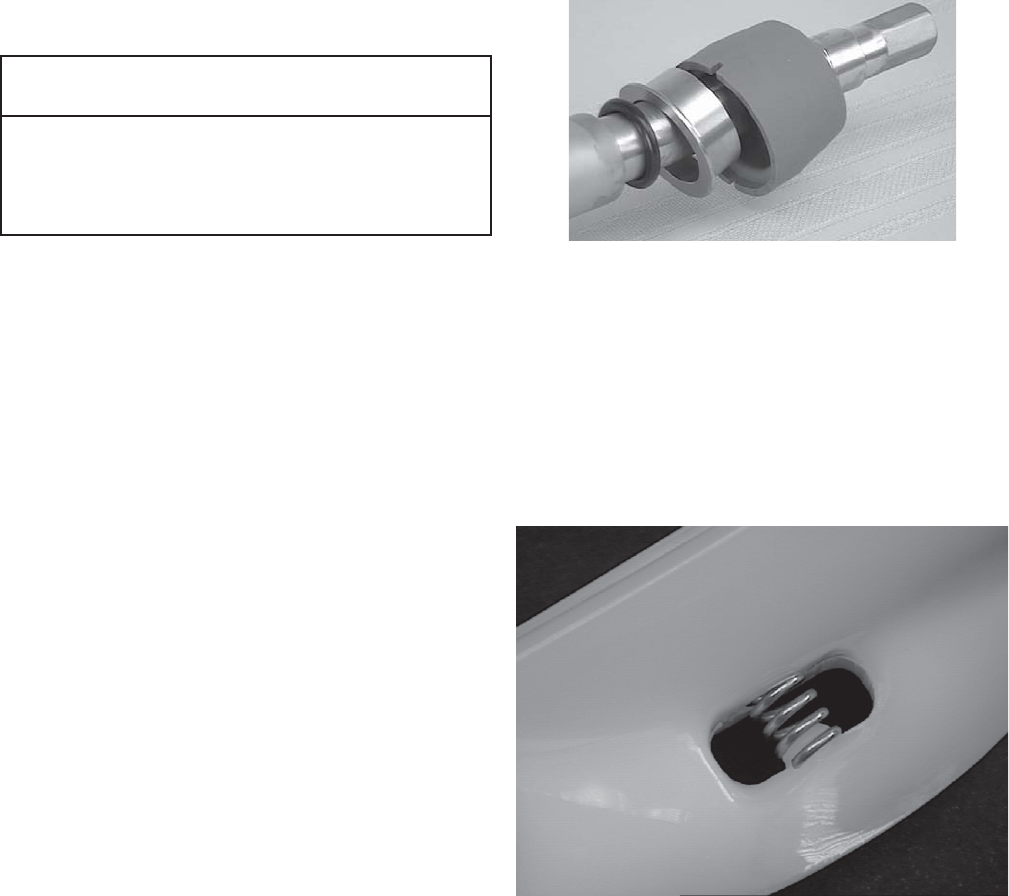
Figure 17. Spring Installation
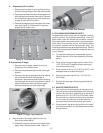
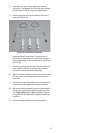
E. Install first flights to bottom of auger, rotate, add
successive flights from bottom as the auger is pushed
slowly into the freezer barrel. Carefully engage auger
with drive socket in speed reducer by rotating auger
slowly and pushing on end of auger.
F. Apply a thin film of sanitary lubricant to the inside and
outside of the front auger support bearing, then place
on the front of the auger. Assemble the front auger
support onto the auger bearing.
C. Lubricate the hex drive end of auger with a small
amount of white socket lubricant. A small container
of socket lubricant is shipped with the freezer.
D. Screw the springs onto the studs in plastic flights.
Spring must be screwed into the flights com-
pletely to provide proper tension (see Figure 17).
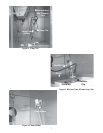
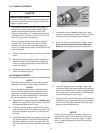
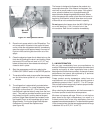
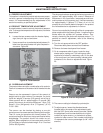
Figure 16. Rear Seal Lubrciation
ÉÉ
ÉÉ
É
ÉÉ
ÉÉ
É
Lubricate with Petrogel
ÊÊ
ÊÊ
Ê
Lubricate
with
Socket
Lubricant
ÉÉ
ÉÉ
É
A. Assemble all O-rings onto parts dry, without lubri-
cation. Then apply a thin film of sanitary lubrication
to exposed surfaces of the O-rings.
B. Lubricate rear seal area on auger shaft with a thin
layer of sanitary lubricant. Install the rear seal O-ring.
Lubricate outside of rear seal O-ring with sanitary
lubricant.
C. Install stainless steel rear seal adapter into rear seal
dry (without lubricant). Lubricate inside surface of
rear seal adapter and install onto auger shaft. DO
NOT lubricate outside of rear auger seal (see Figure
16).
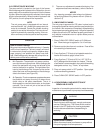
NOTICE
Position the front support on auger so legs do not
interfere with the pin on the back of the front door
assembly. Front door must push auger in slightly
when it is being tightened to prevent the rear seal
from leaking.


