22
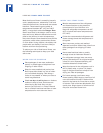
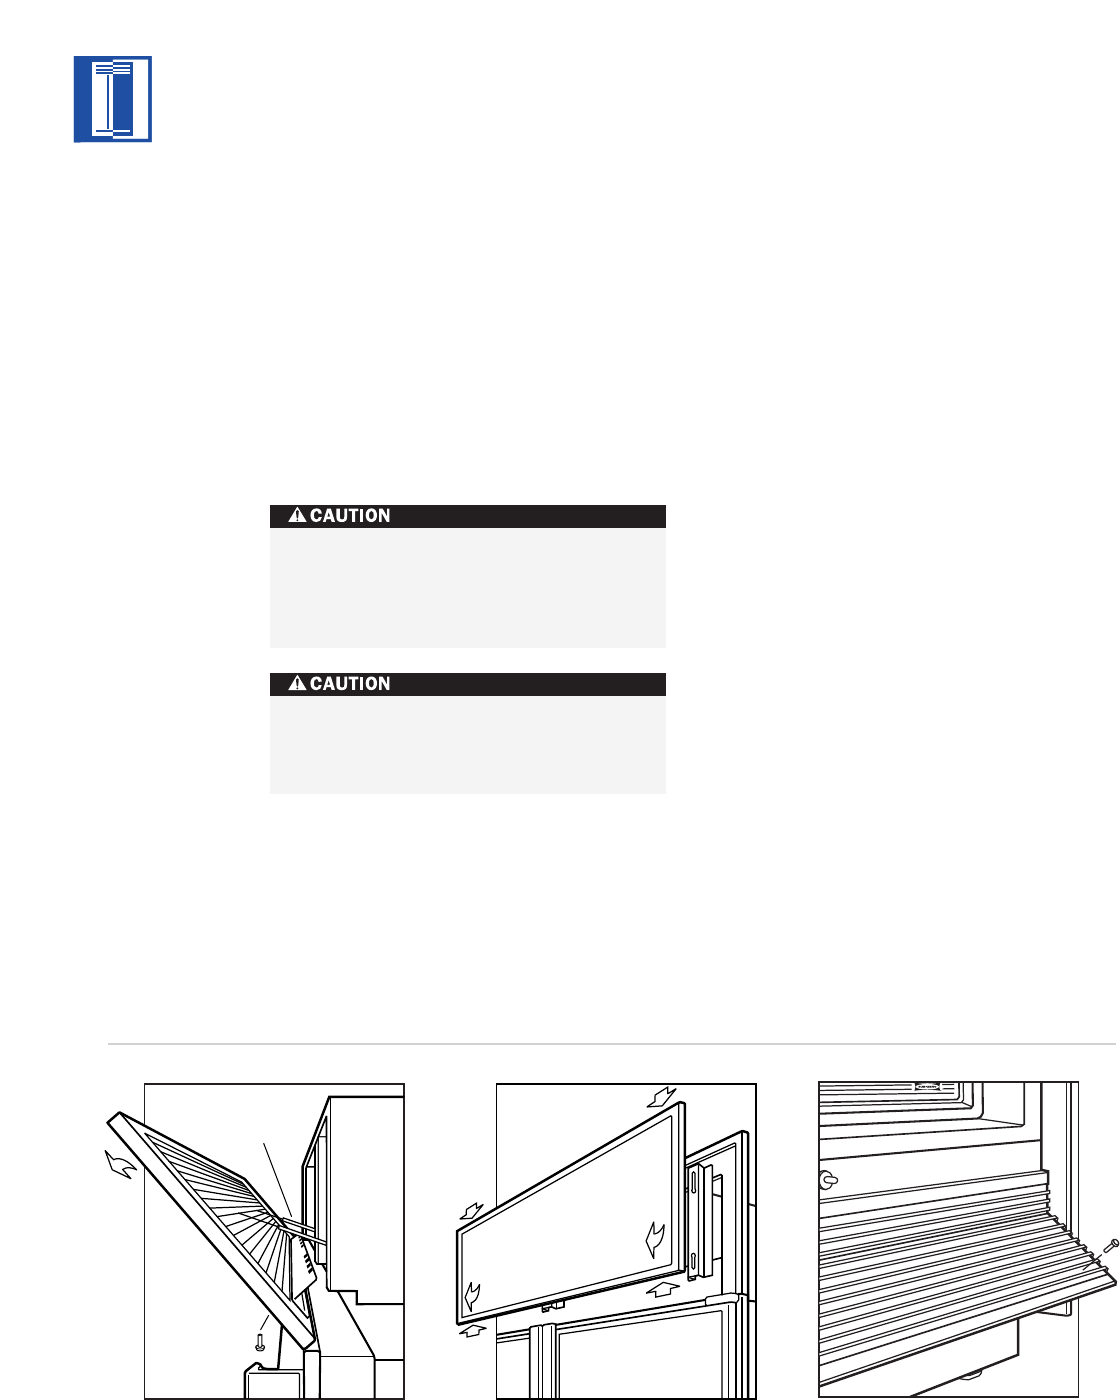
GRILLE REMOVAL
F
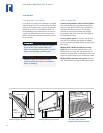
ramed and stainless steel louvered grilles:
First remove the grille screws located at the
bottom of the grille. NOTE: Grille screws are
a
ccessed with door(s) open. Tilt the grille
forward at the top and release the springs
from behind the grille, then lift it off. Refer to
the illustration below.
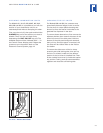
Overlay panel grille:
To remove, lift up, then
pull out at the bottom and down to release
from its mounting bracket. Refer to the illustra-
tion below.
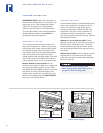
Models 601R, 601RG and 601F louvered
grille:
Remove the two black screws in the
lowest louver in the grille. Tilt the bottom of
the grille out and away. It will release from the
top of the grille. Refer to the illustration below.
Model 601RG stainless steel grille:
Remove
in a similar fashion as the overlay panel grille.
SUB-ZERO BUILT-IN USE & CARE
Grille Springs
Grille
Screws
(inside door)
1
1
2
2
3
3
Louvered grille removal Overlay panel grille removal Louvered grille removal –
Models 601R, 601RG and 601F
CLEANING
CONDENSER CLEANING
I
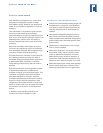
n all Built-In models, the condenser is located
behind the grille. First, remove the grille. Then
using a soft bristle brush, vacuum to remove
d
ust and lint from the condenser. NOTE: To
avoid bending the condenser fins, be sure to
vacuum in the direction of the fins (up and
down). Clean the condenser area every three
to six months.
Before cleaning the unit, shut the electric-
ity off at the control panel. When you
clean the condenser, wear gloves to avoid
injury from the sharp condenser fins.
Failure to clean the condenser could
result in temperature loss or mechanical
failure or damage.


