assembling
Assembling
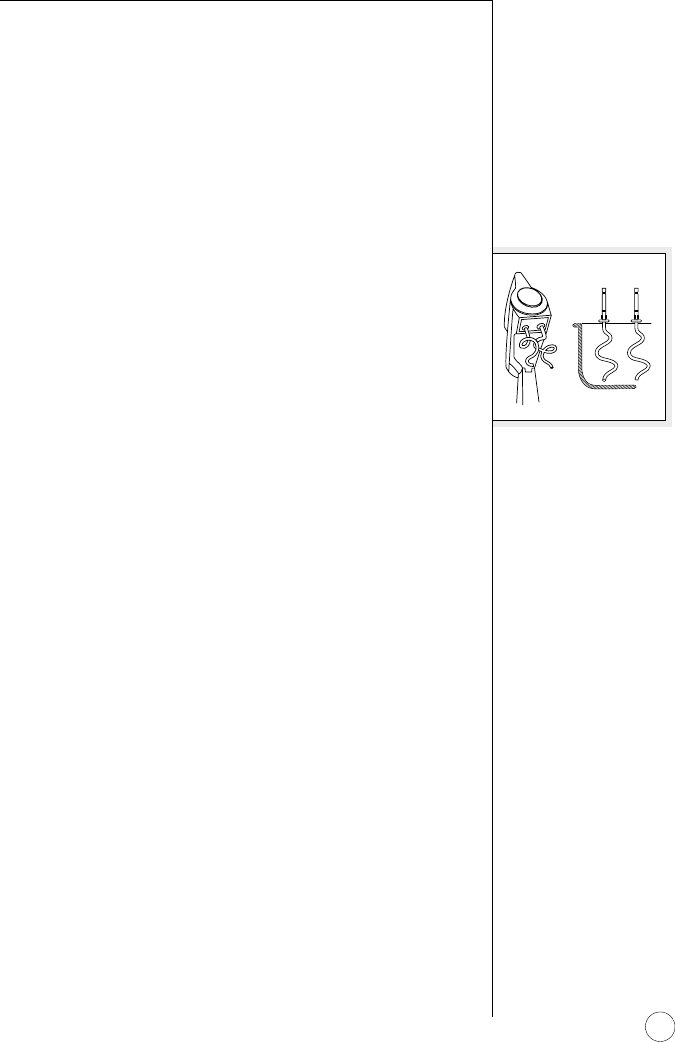
ATTACHING THE DOUGH HOOKS
Set the speed dial in the OFF position and unplug
the electric cord from the electrical outlet. Lift mixer
head up and back to tilt it out of the way of the
bowl, while holding it in an upright position.
NOTE: The dough hooks must go into the correct
sockets. The mixer will operate with the dough
hooks in the wrong position. However, you will not
get proper kneading action and you could risk
ruining a recipe or damaging your mixer. Read the
following instructions carefully.
The dough hook with the small washer and foot
goes into the socket on the side of the mixer nearest
the side of the bowl. The other dough hook with the
large washer goes into the socket nearest the center
of the bowl. See the dough hook symbols located on
the bottom of the mixer head.
5
assembling
Adding the Mixing Bowl
Move the turntable locator switch to the proper
setting – the large bowl icon if you are using the
large bowl; the small bowl icon if you are using a
small bowl. Place the desired mixing bowl onto the
turntable.
Mixing bowls should NEVER be used in a
conventional oven, microwave oven, on top of the
range or on any other heated surface. If mixing
bowls are scratched or chipped, do not use mixer.
Mixer bowl should not be used to blend in hot
liquids.
Attaching the Beaters
Be sure the speed control dial is in the OFF position
and unplug electric cord from the electrical outlet.
Lift mixer head up and back to pull it out of the
way of the bowl.
NOTE: It is important that the beaters go into the
correct sockets. Otherwise the mixer will not give
you the proper mixing action. Do not risk ruining a
recipe or damaging your mixer. Read the following
instructions carefully.
One of the beaters is shaped like a cone and has a
nylon button on the bottom. It goes into the socket
on the side of the mixer nearest the side of the
bowl. The other beater is square-shaped and goes
into the socket nearest the center of the bowl. See
beater symbols located on the bottom of the mixer
head.
Insert the beaters, one at a time, using a
combination pressing and twisting motion, until the
beaters snap into position.
If a beater should not properly snap into place, pull
it out of the socket and rotate it one quarter turn.
Reinsert the beater into the socket until it snaps
into position.
4
Assembling
CONE SHAPED
BEATER
SQUARE
BEATER
NYLON
BUTTON
SIDE OF BOWL
CONE
BEATER
SQUARE
BEATER
SUN400_2377_StandMxr_mech 3/14/02 11:38 AM Page 10


